Everything You Should Know About HyperDisplay
Introduction
Nobody wants to reinvent the wheel, right? Well that's just what it felt like we were doing every time we wrote another (slightly different) graphics library for new products like the RGB OLED Breakout and ePaper displays. Not to mention that having to use specific code for each product makes it very hard to start using a new display in a project. Our HyperDisplay library is designed to put an end to all that - making it easy to add support for and use new displays!
The goal of this tutorial is to get you up-to-speed on how to use HyperDisplay, from the basics all the way to being able to extend the library. Stick around to learn all about how to use this easy, powerful, and flexible new tool!
The subjects that we cover in various sections will progress from fundamental all the way to the most advanced use of the library. Feel free to read the parts you need and skim the rest - you can always come back for more.
Tutorial Sections
- What is HyperDisplay: This is the foundation of knowledge and a roadmap to further exploration
- Installing HyperDisplay: What you need to know to start using the library
- Basic Drawing Functions: A simple reference for when you just need something working
- Advanced Drawing Functions: See HyperDisplay's full drawing capability with a complete reference for drawing functions
- Using Windows: Quickly rearrange groups of elements
- Buffering: Store drawings in memory and use 'show()' to unleash them all at once
- Derive Custom Driver: Templates for use in extending support for displays
What is HyperDisplay?
HyperDisplay was created with the following goals in mind:
- Standardize a graphics library so that the same code will work for any display
- Reduce the duplicated work of adding support for new display technologies
- Use a general interface that can be simplified when not needed
- Make it easier to create graphical user interfaces
Those goals are met by modularity, default parameters in drawing functions, the windows feature, and buffered drawing mode.
Modularity
Standardization and easy extensibility is achieved by making HyperDisplay modular. There are up to three levels of code that all work together.
- Top Level: HyperDisplay
- HyperDisplay itself is the top level and it contains the standardized drawing interface. This includes all of the drawing, window, and buffering options.
- A few functions, like that to draw a single pixel, are left as pure virtual to indicate that they must be implemented by a lower level
- The remainder of functions are all defined in terms of these pure virtual functions so that as long as they are implemented the whole HyperDisplay suite will be available
- There are some optional functions that can be re-written to provide extra speed or additional capabilities for a particular display
- Mid Level: Drivers, ICs
- It is possible to make a fully functional HyperDisplay driver at this level just by implementing the required functions
- Often at this level we will represent the internal workings of the integrated circuit that is used to run a whole genre of display, such as the ILI9163C used to control TFT LCD screens
- Bottom Level: Specific Products
- Drivers based on mid-level layers
- Represent a particular interface type (e.g. SPI vs I2C vs parallel)
- Represent the physical dimensions of the display
That is as much as you need to know about the modularity for now. At the end of the tutorial we will cover how to create a driver of your own.
Default Parameters
A simple interface helps avoid confusion. It would be unfortunate to need a whole slew of possible functions like drawRectangle() and drawThickRectangle() and drawThickFilledInRectangle() -- how would you ever know where to start? In HyperDisplay we make use of the default parameters in C++ which allows you to use each drawing function with only the information that you need. As the core of a graphics library we will present the drawing functions in two parts:
- Simply, with just enough information to use the color of your choice
- E.g. line( x0, y0, x1, y1, width, color );
- In full complexity, with the option to use repeating patterns of color and additional arguments
- E.g. line( x0, y0, x1, y1, width, color, colorCycleLength, startColorOffset, reverseGradient);
Windows Feature and Buffered Drawing
With the creation of HyperDisplay was the opportunity to add something that was missing from other microcontroller graphics libraries; namely being able to draw in 'windows' like on a computer. Buffered drawing is available as an option when memory constraints are not a concern. Now it is easier to create GUIs, animations, and, with some creativity, even translucent layered images.
Now read on to learn how to install HyperDisplay and get started!
Installing HyperDisplay
Installing the HyperDisplay Library
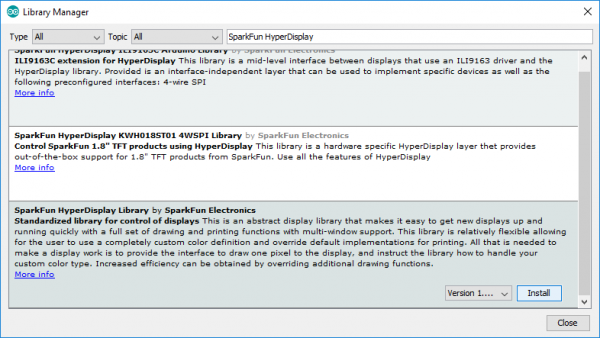
Remember that HyperDisplay is a three-level layer cake, and you need all three layers to make it do anything useful. The top layer is always the main HyperDisplay library, which is available in the Arduino library manager. In the Arduino IDE, navigate to Sketch > Include Library > Manage Libraries. Then in the search box, begin searching for "SparkFun HyperDisplay" Once your search is narrowed down, select the SparkFun HyperDisplay library and click "Install."
Otherwise, you can manually download the library. Navigate to GitHub repository and download the repository as a ZIP folder (or click the link below):
To manually install the library via a ZIP folder, open Arduino, navigate to Sketch > Include Library > Add .ZIP Library, and select the ZIP folder you just downloaded.
Installing the HyperDisplay Compatible Library
The middle layer will be a HyperDisplay compatible library that is designed to work on the actual chip that runs the display. This part will be specific to the display that you want to use so you should use the Library Manager link in the example sketches that you can get from the product page.
Installing the Driver Specific Library
The final layer is specific to the exact product that you are using because the particular interface (e.g. SPI vs I2C) and the particular resolution of the screen might vary even with the same driver IC. Again, get this library from the product page of the display that you are using.
Or you can download the libraries by clicking on the buttons here:
Once you know where to find all of the required layers, check out our guide on Installing an Arduino Library to get set up.
Installing an Arduino Library
With everything installed you can make sure all is well by choosing an example sketch from the bottom level library and trying to compile it. When everything is working move on to the next section to start learning about the basic use of the drawing functions.
Basic Drawing Functions
To avoid a severe case of infoxicity it is best to start out with HyperDisplay a little bit at a time. The first two things that you'll need to know about are how colors are handled and how to use the drawing functions in their minimal form.
Colors in HyperDisplay
Displays come in, well, all shapes and colors! From monochrome LCDs and OLEDs to full-color TFT and LED displays, not to mention the unique three-color ePaper displays, there is a lot to cover. Since HyperDisplay is designed to accommodate all of these displays and more, we had to consider how to represent all of the colors that a user might choose. How can we solve that problem? Using three bytes to represent Red, Green, and Blue channels for each pixel is certainly good enough to represent all the colors that current display technology can show, but it would be overkill for something like a dot matrix display that could actually store 24 pixels worth of information in that same space.
The solution was to leave the representation of colors up to the hardware-specific layers. Still, the top level HyperDisplay functions need to know at least where to find the information about the color. This naturally leads to the use of a pointer as the color argument in HD functions. What that looks like in code is this:
language:c
// Ways to make a hawrdware-specific color variable
hwColor myColor0 = RED; // Using a pre-defined constant or another color
hwColor myColor1 = 0x01; // Specifying the single-byte value (if applicable)
hwColor myColor2 = {0x00, 0x00, ... , 0x00 }; Specifying the value of each byte in a structure (if applicable)
hwColor myColor3 = converterFunctionRGB( redVal, greenVal, blueVal); // Using a function that returns the desired color based in inputs

// Making your color into a HyperDisplay color pointer
color_t myHDColor = (color_t)&myColorN; // The '&' takes the location of your color in memory, and (color_t) casts that location to a HD color type
Simple Drawing Usage
In the simplest case, to draw something you'll need to know where to draw it and what color to use. You can draw individual pixels, x or y lines, point-to-point lines, rectangles, circles, and even polygons! You can also fill the entire window with a certain color in one fell swoop.
The coordinates are zero-indexed so that the first pixel is number 0 (in x or y directions) and the last pixel on the screen in N-1 when you have N pixels in a given direction. The variable type for coordinates is 'hd_extent_t' which is specified to be a float so any number you pass in should work.
Here are the basic functions that you can use:
- pixel( x0, y0, color )
- Sets the pixel at ( x0, y0 ) to the color that exists at color
- xline( x0, y0, length, color )
- Draws a line from ( x0, y0 ) to ( x0 + (length - 1), y0 ) with color
- yline( x0, y0, length, color )
- Draws a line from ( x0, y0 ) to ( x0, y0 + (length - 1) ) with color
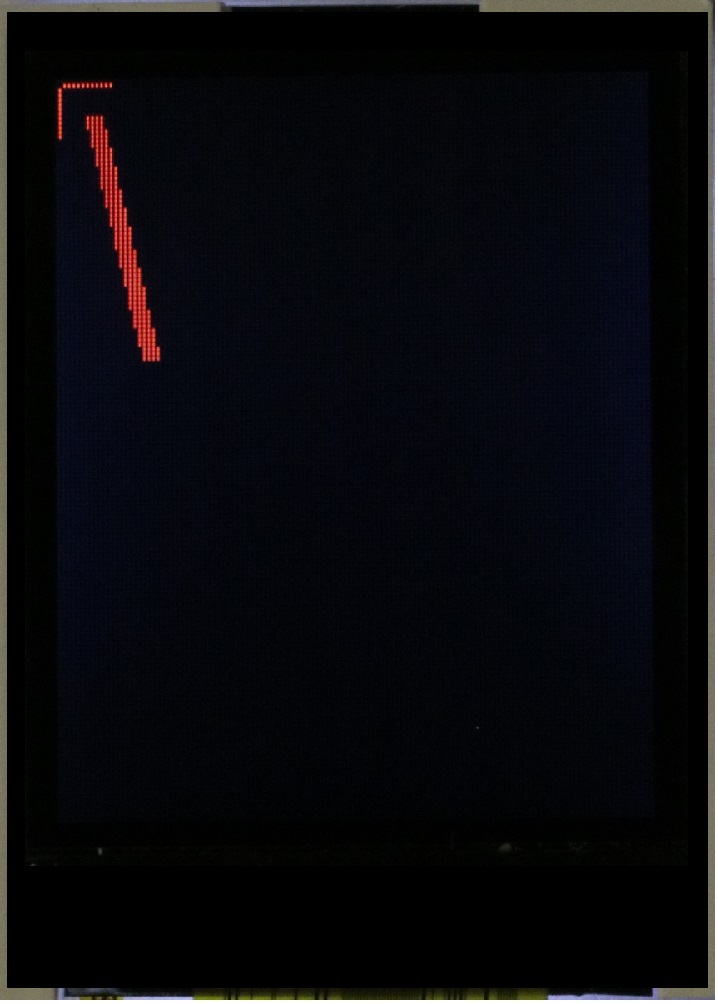
- line( x0, y0, x1, y1, width, color )
- Daws a line from ( x0, y0 ) to ( x1, y1 ) with color and width
- rectangle( x0, y0, x1, y1, filled, color )
- Draws a rectangle with corners at ( x0, y0 ), ( x0, y1 ), ( x1, y0 ), and ( x1, y1 ) that can be optionally filled in (when 'true') with color
- circle( x0, y0, radius, filled, color )
- Draws a circle centered at ( x0, y0 ) with radius that can be optionally filled with color
- polygon( x[], y[], numSides, width, color )
- Connects numSides points with numSides lines in a closed shape with width and color. x[] and y[] should be arrays of floats that represent your coordinates
- fillWindow( color )
- Fills the entire current window with color
Thanks to automatic casting in C++, you will be able to put any numerical variable in the x or y parameters, except for in the 'polygon' function, in which case they will need to be of the type hd_extent_t.
These functions also support default values - for example the color never has to be specified. If left out, HyperDisplay will use the 'current' color for the window which can be changed by using:
- setCurrentWindowColorSequence( color )
Additionally, the filled parameter will default to 'false' and the width parameter will default to '1.'
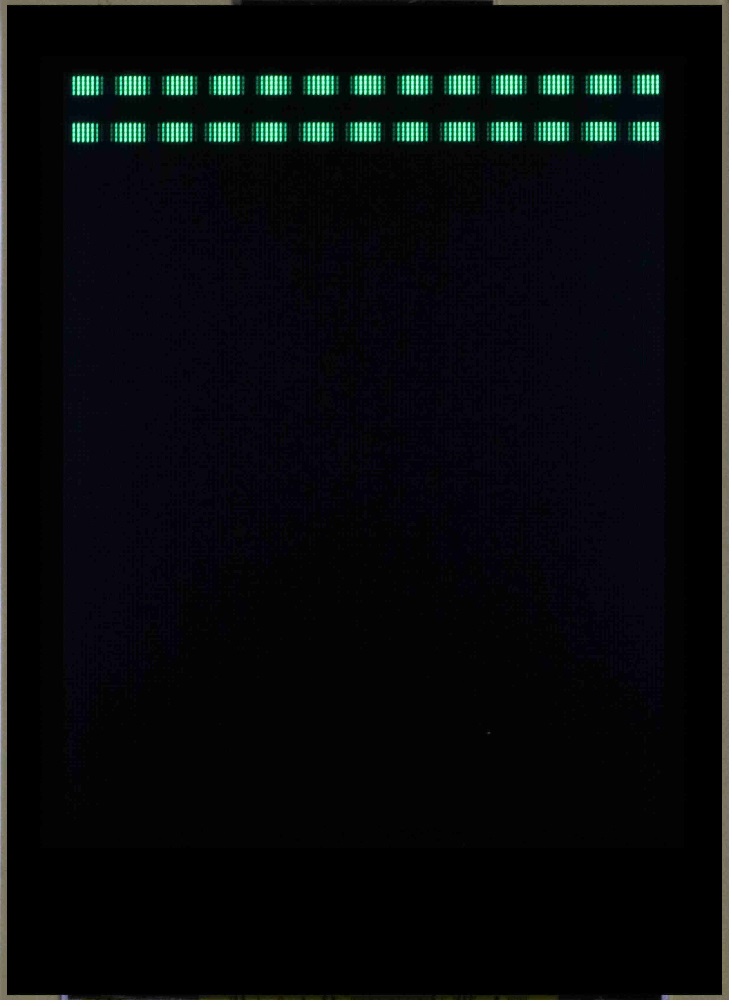
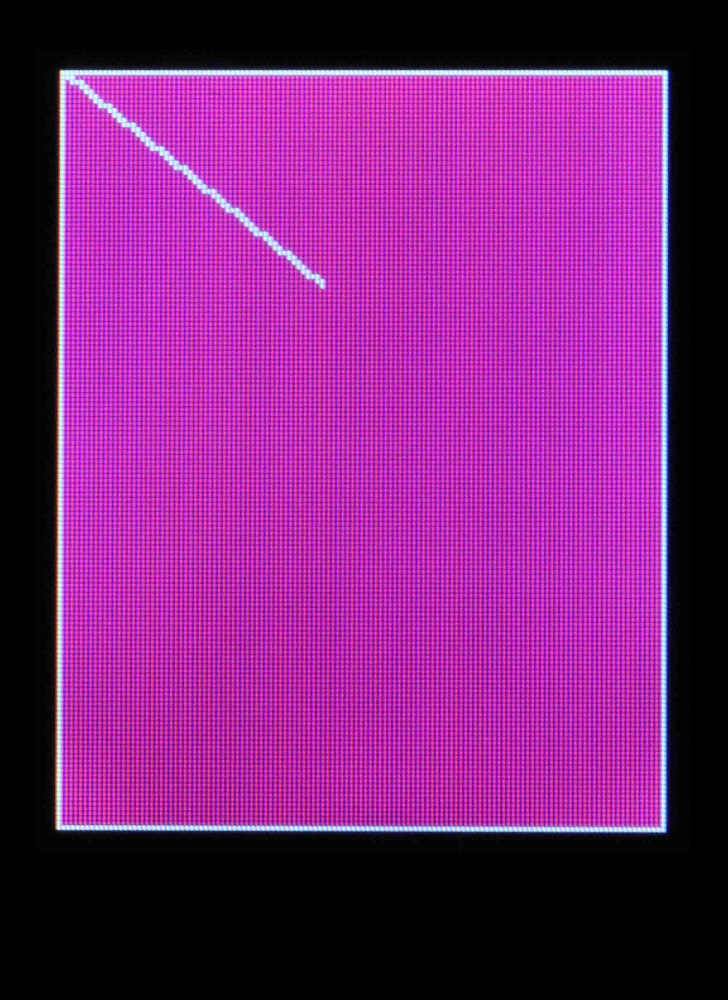
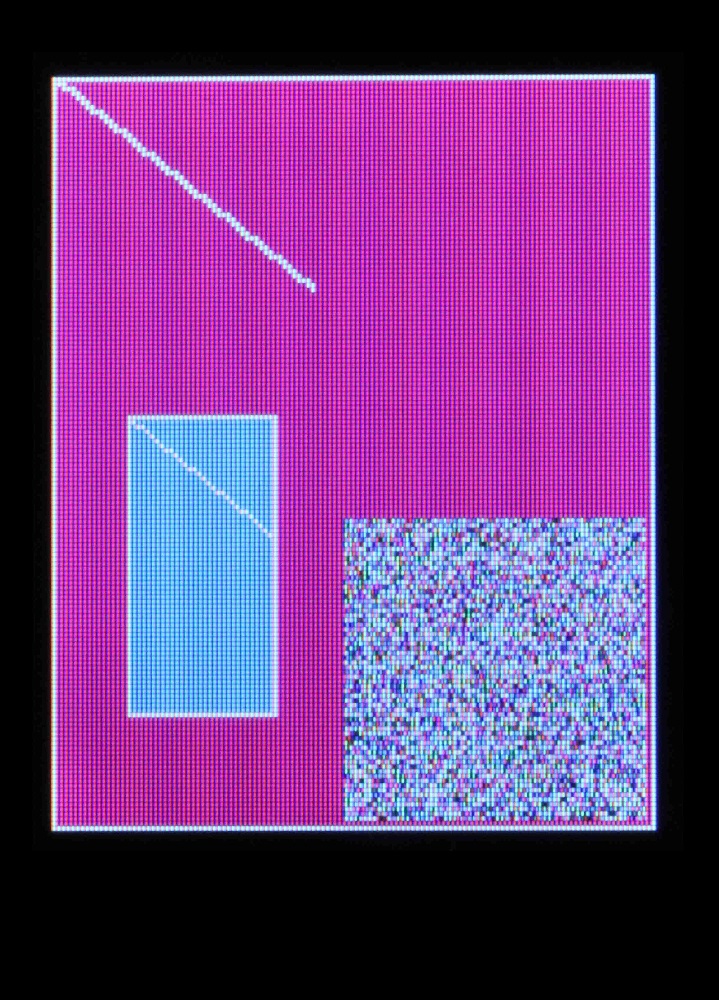
Basic Drawing Output from TFT Examples
The function to set the current window color hints at a few of the more advanced features that will be discussed next, particularly why we say 'color sequence' instead of just 'color'. Check out the next section to find out!
Advanced Drawing Functions
The advanced HyperDisplay drawing functions are actually the same functions that you already know, but this time with less hand holding!
Color Cycles
In the previous section we only used a single color to draw our images. HD, however, supports repeating 'color cycles' in all drawing functions. This makes it easy to create repeating patterns without using a lot of memory. There are three things you need to specify when creating a color sequence.
- A contiguous array - this is an array of your color type (as defined by the hardware being used) where the data parameter points to the first element
- colorCycleLength - The length of your cycle in the number of color type objects
- startColorOffset - The offset at which to start from the first object
After the color cycle specification, it is possible to adjust the direction (and, in the case of the rectangle, the axis alignment) by using boolean arguments in every function except the single pixel. Below are the full declarations with variable types shown for the curious.
void pixel( hd_extent_t x0, hd_extent_t y0, color_t data = NULL, hd_colors_t colorCycleLength = 1, hd_colors_t startColorOffset = 0);
void xline( hd_extent_t x0, hd_extent_t y0, hd_extent_t len, color_t data = NULL, hd_colors_t colorCycleLength = 1, hd_colors_t startColorOffset = 0, bool goLeft = false);
void yline( hd_extent_t x0, hd_extent_t y0, hd_extent_t len, color_t data = NULL, hd_colors_t colorCycleLength = 1, hd_colors_t startColorOffset = 0, bool goUp = false);
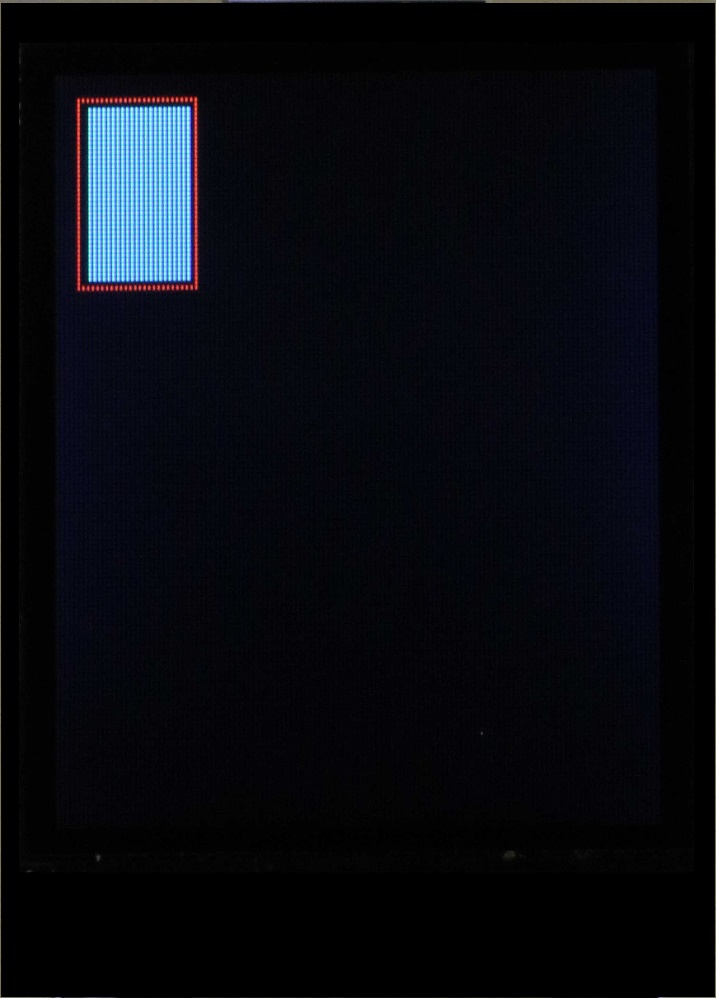
- void rectangle( hd_extent_t x0, hd_extent_t y0, hd_extent_t x1, hd_extent_t y1, bool filled = false, color_t data = NULL, hd_colors_t colorCycleLength = 1, hd_colors_t startColorOffset = 0, bool reverseGradient = false, bool gradientVertical = false);
- void fillFromArray( hd_extent_t x0, hd_extent_t y0, hd_extent_t x1, hd_extent_t y1, color_t data = NULL, hd_pixels_t numPixels = 0, bool Vh = false);
void fillWindow( color_t color = NULL, hd_colors_t colorCycleLength = 1, hd_colors_t startColorOffset = 0);
uint16_t line( hd_extent_t x0, hd_extent_t y0, hd_extent_t x1, hd_extent_t y1, uint16_t width = 1, color_t data = NULL, hd_colors_t colorCycleLength = 1, hd_colors_t startColorOffset = 0, bool reverseGradient = false);
- void polygon( hd_extent_t x[], hd_extent_t y[], uint8_t numSides, uint16_t width = 1, color_t data = NULL, hd_colors_t colorCycleLength = 1, hd_colors_t startColorOffset = 0, bool reverseGradient = false);
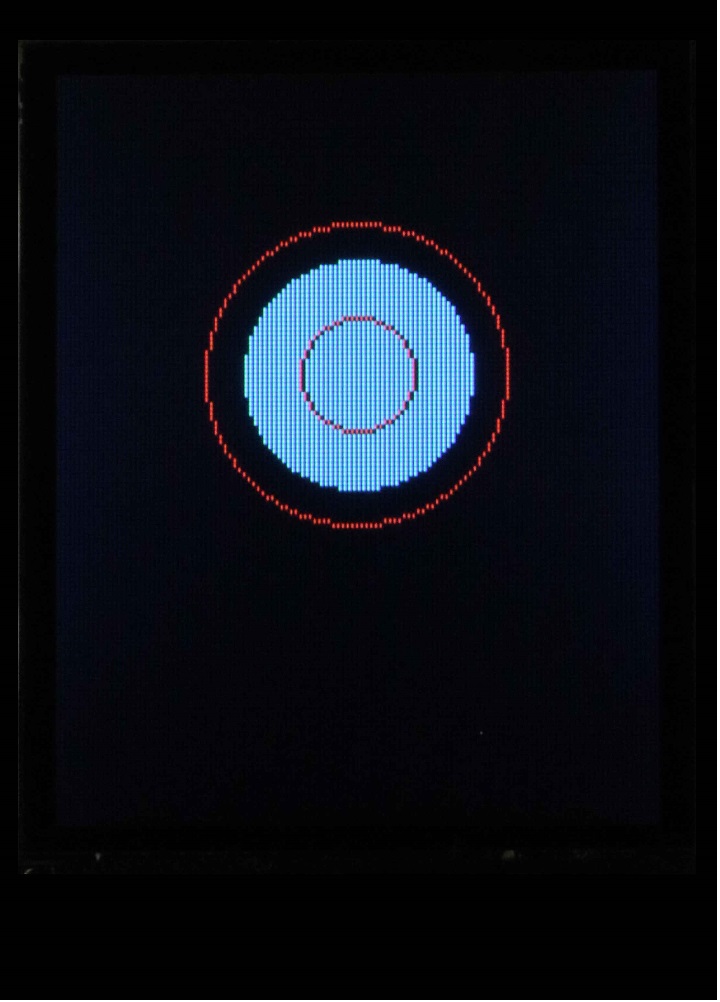
- void circle( hd_extent_t x0, hd_extent_t y0, hd_extent_t radius, bool filled = false, color_t data = NULL, hd_colors_t colorCycleLength = 1, hd_colors_t startColorOffset = 0, bool reverseGradient = false);
Have fun trying out these full functions and see what you can make with them!
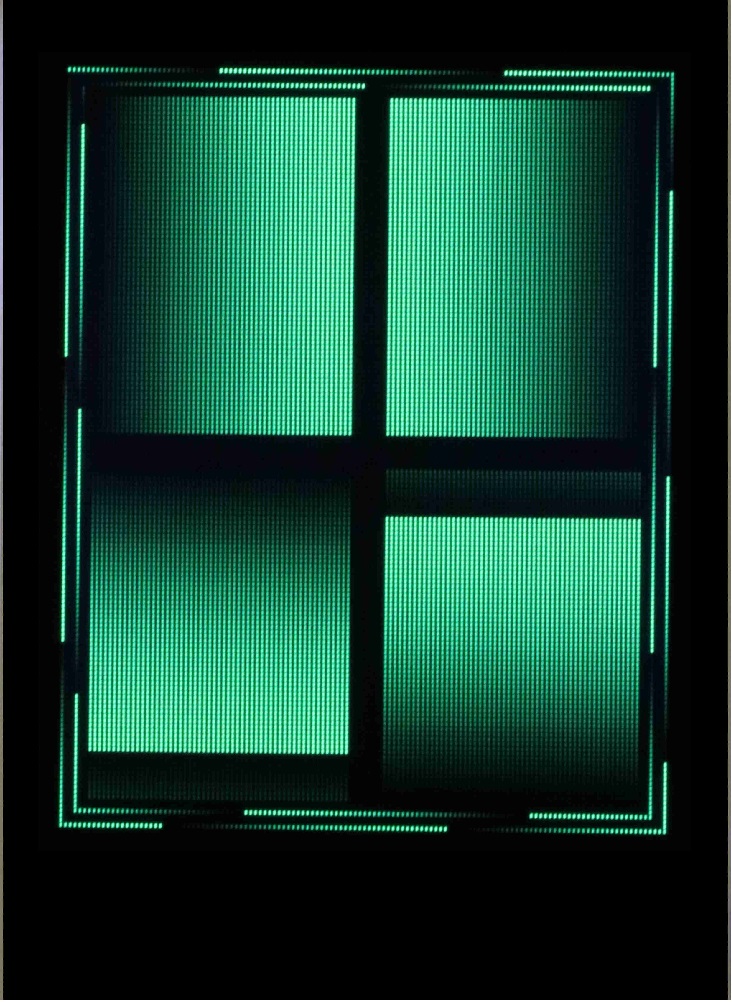
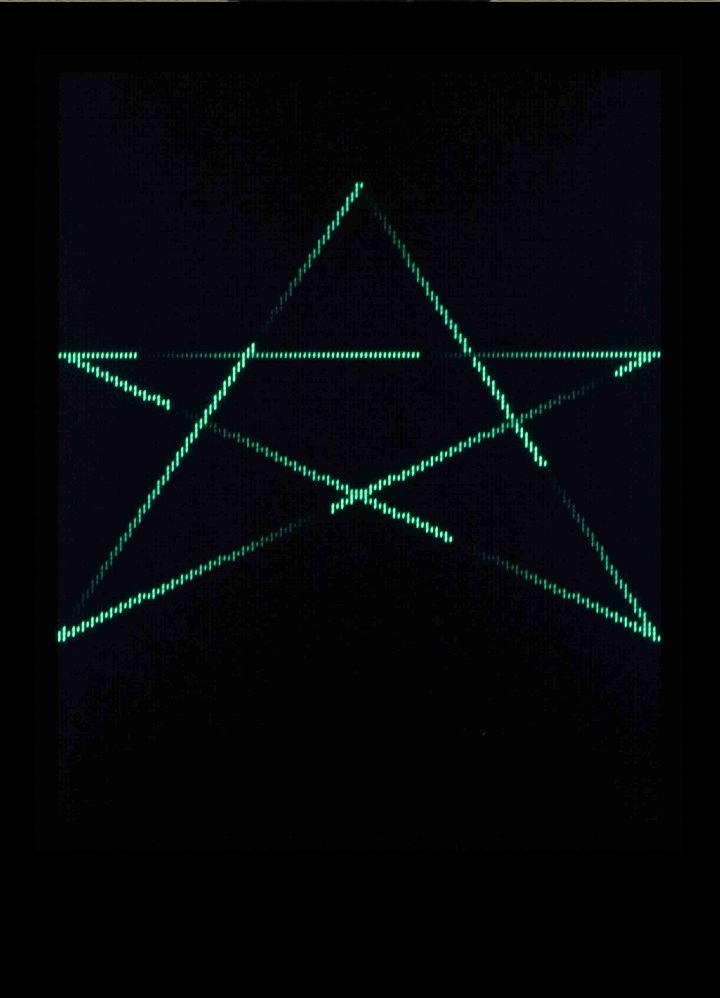
Advanced Drawing Output from TFT Examples
Okay, so HyperDisplay seems pretty easy to use at first but is also very capable! Ready to call it quits? Not so fast -- we still can go over the use of windows and buffering, and also a guide on how to create a HyperDisplay driver for your own display. So grab a snack and then move onto the next section!
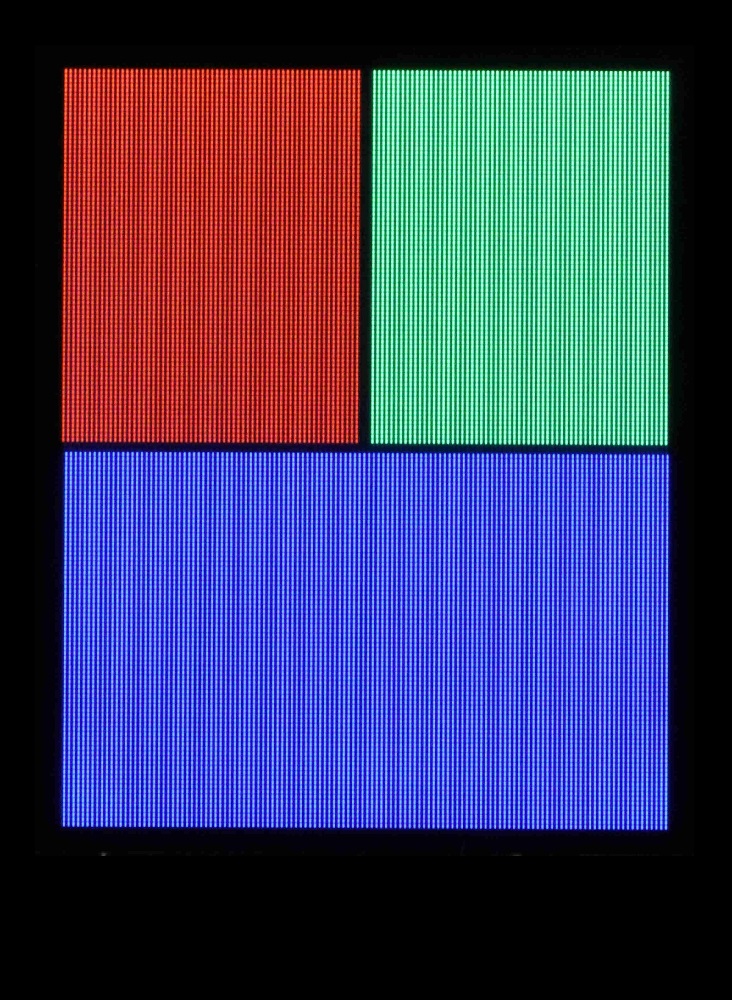
Using Windows
If you've only tried out the functions that have been presented so far (and haven't done any super-sleuthing in the source code) then you've just put pixels right where they ought to go in terms of the physical screen... Well I'm here to tell you that it doesn't have to be that way!
When we designed HyperDisplay, we wanted to make it better than the other options available for small-ish microcontrollers. One thing that always bugged me was having to write complicated expressions for my X and Y coordinates to account for other things on the screen, particularly when they might move. The solution is to allow things to be drawn in windows. So anything that needs to stay in one position with respect to another element can be grouped into a window, and then that window can be moved around easily.
When using a drawing function, you are drawing into the currently selected window for the display and if left untouched that window is equivalent to the physical hardware of the display so HD feels like any other graphics library.
Window Info Structure
The wind_info_t type contains information about location, text printing, color sequence, and memory.
language:c
  typedef struct window_info{
    hd_hw_extent_t  xMin;                      // FYI window min/max use the hardware frame of reference
    hd_hw_extent_t  xMax;
    hd_hw_extent_t  yMin;
    hd_hw_extent_t  yMax;
    hd_extent_t     cursorX;                  // Where the cursor is currently in window-coordinates
    hd_extent_t     cursorY;
    hd_extent_t     xReset;
    hd_extent_t     yReset;
    char_info_t     lastCharacter;
    color_t         currentSequenceData;      // The data that is used as the default color sequence
    hd_colors_t     currentColorCycleLength;
    hd_colors_t     currentColorOffset;
    bool            buffer;                   // Indicates either buffer or direct mode (direct is default)
    color_t         data;
    hd_pixels_t    numPixels;
    bool            dynamic;
  }wind_info_t;                               // Window infomation structure for placing objects on the display
Window Location Variables
The location variables are specified in terms of the physical hardware coordinates of the display - this is how you set the size and position of the window. When windows don't match the screen dimensions they will restrict drawing to within their bounds so it is OK to present negative or large values as arguments to drawing functions. Additionally, windows are allowed to run off of the screen, in which case pixels drawn off of the hardware will not be shown (so there is no need to worry about incorrect hardware access). The location of the window is specified by:
- xMin
- xMax
- yMin
- yMax
Text Tracking
Next in the list are five parameters that are used to track text. These values are in window coordinates so that (0, 0) is always in the upper-left corner of the window, no matter where on the screen the window is. Variables 'cursorX' and 'cursorY' keep track of where the next character will try to be printed. On the other hand 'xReset' and 'yReset' keep track of where the cursor will be after a reset. Finally 'lastCharacter' is used to keep track of what the previous character was - currently it is used to avoid performing two newlines when a newline needs to wrap around the window.
- cursorX
- cursorY
- xReset
- yReset
lastCharacter
You can use setTextCursor( int32_t x0, int32_t y0, wind_info_t * window = NULL); to modify the current cursor location of a given window (current window by default).
- You can use resetTextCursor( wind_info_t * window = NULL); to put the cursor back to the reset location.
Default Color Cycle
Window information structures also keep track of the default color cycle to use if none is given for a drawing function. These three variables are just like those three that can be passed into the drawing functions:
- currentSequenceData
- currentColorCycleLength
currentColorOffset
setWindowColorSequence( wind_info_t * wind, color_t data = NULL, hd_colors_t colorCycleLength = 1, hd_colors_t startColorOffset = 0); is used to set the current color cycle for a given window. and
- setCurrentWindowColorSequence( color_t data = NULL, hd_colors_t colorCycleLength = 1, hd_colors_t startColorOffset = 0); will set the current color cycle for the current window.
Buffering
The last job of the window information structure is to hold information about buffering, which we will discuss in the next section so sit tight.
The best way to learn about the windows feature of HyperDisplay is to try it out, but here's an incomplete list of things you can do:
- Simplify drawing by using a default color
- Create simple animations of complex arrangements
- Overlay text onto images
- Create easier GUIs
Characters
HyperDisplay comes with a default font but like everything else in HD it is totally customizable by YOU! When you call a 'print' function (they are just like the normal Arduino print functions) it in turn calls a 'write' function for each character that is handled by HyperDisplay. In 'write()' hyperdisplay uses a char_info_t object to figure out what to do next, such as show the character, skip it, or cause a newline. Additionally the object describes how to construct the character. To get the information for the character information structure HD uses a function called 'getCharInfo().'
- virtual void getCharInfo( uint8_t character, char_info_t * pchar);
By rewriting this function you can cause any symbol to be printed out for any character that might be requested, as long as the symbol can be drawn in a rectangular area. To implement the function you will need to fill out the char_info_t object that the 'pchar' pointer points to with the information that you want.
A full example of creating your own font doesn't exist yet but may be added in the future. If you're feeling brave we'd certainly appreciate a pull request on the HyperDisplay Repo!
language:c
typedef struct character_info{
    color_t             data;                       // The data that is used to fill the character frame
    hd_font_extent_t*   xLoc;                       // x location data relative to the upper left-corner of the character area
    hd_font_extent_t*   yLoc;                       // y location data relative to the upper left-corner of the character area
    hd_font_extent_t    xDim;                       // The maximum value of xLoc
    hd_font_extent_t    yDim;                       // The maximum value of yLoc - also the number of pixels to move down for characters that cause new lines
    hd_pixels_t         numPixels;                  // The number of color_t types that pdata points to
    bool                show;                       // Whether or not to actually show the character
    bool                causesNewline;              // This indicates if the given chracter is meant to cause a newline
}char_info_t;                               // Character information structure for placing pixels in a window
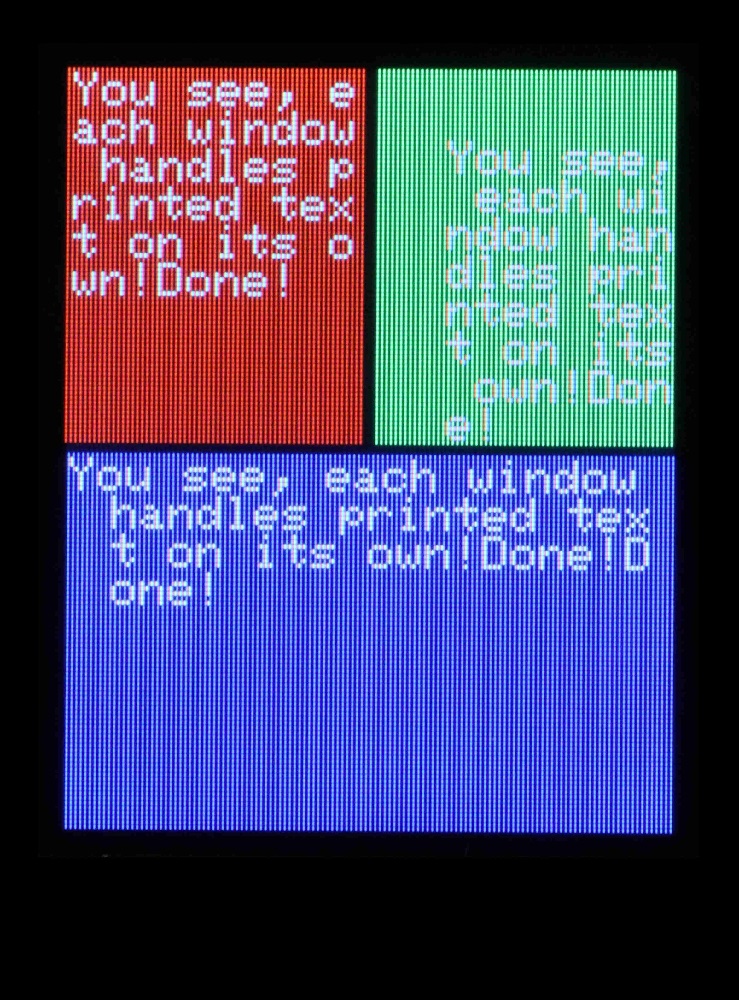
Windowed Drawing Output from TFT Examples
Okay, windows are neat and all but it's a bummer that they don't have any memory of what was drawn in them, right? Actually they can! Read on to figure that one out.
Buffering
Memory is a touchy subject on microcontrollers and embedded systems. Particularly on the ever-popular AtMega 328p you need to conserve every byte of memory that you can and for that reason HyperDisplay defaults to running in an unbuffered mode (except in some cases where the display hardware demands a buffer). However, operating this way means that you have to watch the drawing operations take place in real time. To avoid this, and also enable other cool features such as (possibly) layer transparency we need to keep record of what is on the screen. This is where the buffered drawing mode comes into play.
Fortunately, running in buffered mode is really easy! All you need to do is allocate memory for your buffer (big enough to hold all the pixels), tell your buffered window where to find that memory, and switch it into buffered mode. Once in buffered mode drawing functions won't appear on the screen until 'show()' is called. In the meantime the data will be rerouted to the buffer you provided. Here's how that process might look in code:
language:c
hwColor_t smallWindowMem[32*64];    // Reserve 32*64 pixels worth of memory

wind_info_t smallWindow;            // Create a window
smallWindow.xMin = 16;              // Set the paramters to match the buffer size
smallWindow.yMin = 72;
smallWindow.xMax = 16 + 31;         // See, 16+0 would be one pixel, so 16+31 is actually 32 pixels wide
smallWindow.yMax = 72 + 63;         // and this means 64 pixels tall.. so now our small window can be filled with 32*64 pixels


myDisplay.setWindowMemory(&smallWindow, (color_t)smallWindowMem, 32*64);    // Make sure that the window knows about the memory
myDisplay.pCurrentWindow = &smallWindow;    // Switch curent window to small window
myDisplay.buffer();                         // Set the current window to buffer mode
myDisplay.line(0,0, 55,45);                 // Draw a line over the window
...                                         // Continue drawing
myDisplay.show();                           // Show all the changes at conc
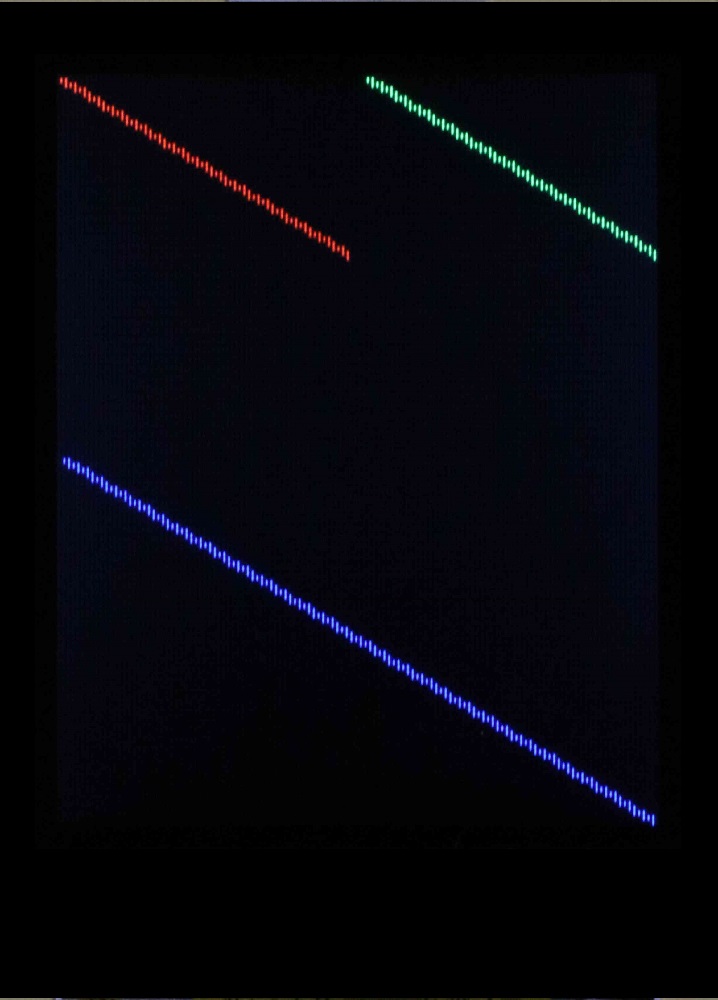
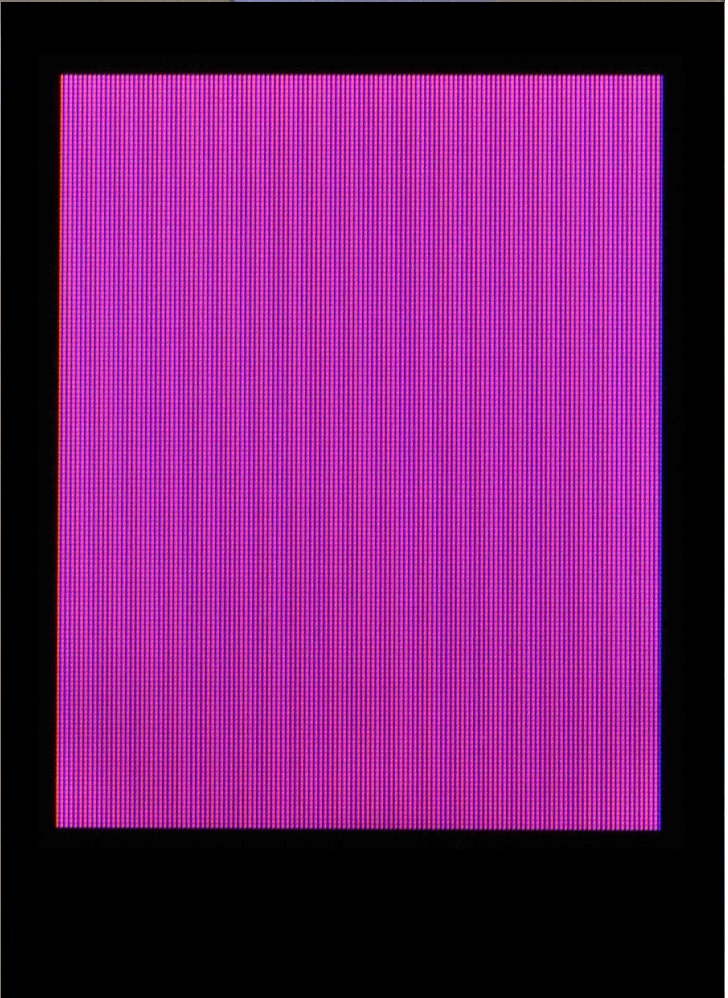
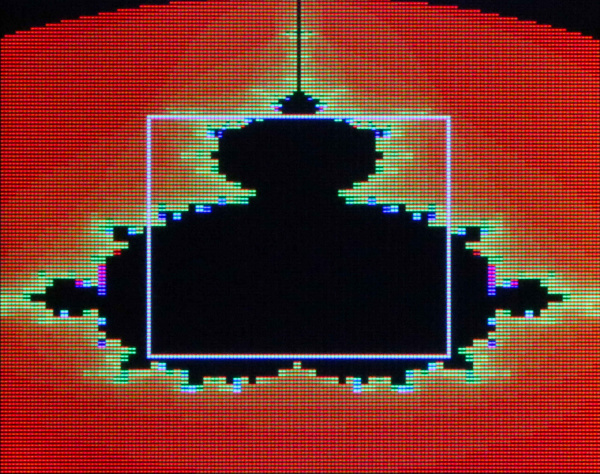
Buffered Drawing Output from TFT Examples
Alright, you've nearly made it to the summit of HyperDisplay! One more section to go and you'll be a true master!
Derive Custom Driver
While you might be totally content to use HyperDisplay as it is, hopefully people like you will add support for ever more displays whether on a traditional digital screen or in some more exotic medium (zen garden printer, anyone?). This last section is supposed to give you an idea about the interface that exists to do just that, which is in fact the whole reason the we created HyperDisplay in the first place.
Adding HD support for another display is very simple -- all you need to do is derive a child class from the HyperDisplay class and implement three functions:
- a constructor
- a function to set a single pixel at a particular location
- a function that tells HD where the next color type will be in a color cycle.
If you want to try it out but don't have a display to use try making a virtual screen that prints X's and O's to the serial monitor.
SimpleBareNecessities.h
This class definition contains the bare minimum that is needed to make an instantiable HD child class, as well as comments about what to do and also optional improvements that you can make. Since the class inherits from HyperDisplay you'll have full access to all the features of HD.
language:c
class bareMinDerived : virtual public hyperdisplay{             // Using hyperdisplay as virtual will allow support for future I/O libraries that also inherit from hyperdisplay
private:
protected:
public:

    // Constructor: at minimum pass in the size of the display
    /*
        xSize: number of pixels in the x direction of the display
        ySize: number of pixels in the y direction of the display
    */
    bareMinDerived(uint16_t xSize, uint16_t ySize /* Additional Parameters */);


    // getoffsetColor: allows hyperdisplay to use your custom color type
    /*
        base: the pointer to the first byte of the array that holds the color data
        numPixels: the number of pixels away from the beginning that the function should return the pointer to
    */
    color_t     getOffsetColor(color_t base, uint32_t numPixels);

    // hwPixel: the method by which hyperdisplay actually changes your screen
    /*
        x0, y0: the x and y coordinates at which to place the pixel. 0,0 is the upper-left corner of the screen, x is horizontal and y is vertical
        data: the pointer to where the color data is stored
        colorCycleLength: this indicates how many pixels worth of valid color data exist contiguously after the memory location pointed to by color.
        startColorOffset: this indicates how many pixels to offset by from the color pointer to arrive at the actual color to display
    */
    void    hwpixel(hd_hw_extent_t x0, hd_hw_extent_t y0, color_t data = NULL, hd_colors_t colorCycleLength = 1, hd_colors_t startColorOffset = 0);

    // Additional hardware drawing functions
    /*
        There are additional hardware drawing functions beyond hwpixel. They are already implemented by default using
        hwpixel so they are not required in order to start drawing. However implementing them with more efficient
        methods for your particular hardware can reduce overhead and speed up the drawing process.

        In these functions the coordiantes x0, x1, y0, and y1 are always with respect to the hardware screen. (0,0) is the upper-left pixel
        The variables pertaining to color sequences (data, colorCycleLength, and startColorOffset) always have the same meaning as in hwpixel
        Additional variables will be described in the function prototype in bareMinimumDerivedClass.cpp
    */
    // void hwxline(uint16_t x0, uint16_t y0, uint16_t len, color_t data, uint16_t colorCycleLength = 1, uint16_t startColorOffset = 0, bool goLeft = false);
    // void hwyline(uint16_t x0, uint16_t y0, uint16_t len, color_t data, uint16_t colorCycleLength = 1, uint16_t startColorOffset = 0, bool goUp = false);
    // void hwrectangle(uint16_t x0, uint16_t y0, uint16_t x1, uint16_t y1, color_t data, bool filled = false, uint16_t colorCycleLength = 1, uint16_t startColorOffset = 0, bool gradientVertical = false, bool reverseGradient = false);
    // void hwfillFromArray(uint16_t x0, uint16_t y0, uint16_t x1, uint16_t y1, uint32_t numPixels, color_t data);

    // Additional optional implementations by the user:
    // ================================================

    // getCharInfo: you can create custom fonts without changing how printing functions work
    /*
        character: the byte-sized character to show on screen
        pchar: a pointer to a valid char_info_t object that needs to be filled out peroperly for the given character
    */
    // void getCharInfo(uint8_t character, char_info_t * pchar);


    // write: you decide what happens when someone calls bareMinDerived.print or bareMinDerived.println
    /*
        val: the byte-sized character value to display
    */
    // size_t write(uint8_t val);
};
SimpleBareNecessities.cpp
This .cpp file contains templates for the methods declared in the 'bareminDerived' class. If you fill out these methods you'll have a working HyperDisplay driver.
language:c
#include "bareNecessities.h"


// Constructor: at minimum pass in the size of the display
/*
    xSize: number of pixels in the x direction of the display
    ySize: number of pixels in the y direction of the display

    *Note:
    This notation allows you to explicitly state what variables are passed to the parent class's constructor when the derived class' constructor is called.
    Additional direct or virtual base classes can also be initialized by a comma separated list with the same syntax - the 'deepest' base class is listed first.
*/
bareMinDerived::bareMinDerived(uint16_t xSize, uint16_t ySize /* Additional Parameters */) : hyperdisplay(xSize, ySize) /* , anotherVirtualBaseClass(params), aDirectBaseClass(moreParams) */
{
    // Perform setup of the derived class with any additional parameters here.
}


// getoffsetColor: allows hyperdisplay to use your custom color type
/*
    base: the pointer to the first byte of the array that holds the color data
    numPixels: the number of pixels away from the beginning that the function should return the pointer to
*/
color_t     bareMinDerived::getOffsetColor(color_t base, uint32_t numPixels)
{
    // This method is requried so that your color type can be totally flexible - be it an enumeration of three colors for an E-ink
    // display or a structure of bytes for 24-bit color it is totally up to you and how your display works.

    // This implementation will depend on how you choose to store colors, however one decent way to do it is provided as a reference:
    // This function returns an offset pointer according to the number of pixels and the _colorMode of the object

    // color_t pret = NULL;
    // your_color_type * ptemp = (your_color_type *)base;   // Here's the magic. Cast the base pointer to a pointer of your color type to allow pointer arithmetic
    // pret = (color_t)(ptemp + numPixels);                 // The offset by the number of pixels. This will account for the number of bytes that your color type occupies
    // return pret;                                         // And return the offset pointer
}

// hwPixel: the method by which hyperdisplay actually changes your screen
/*
    x0, y0: the x and y coordinates at which to place the pixel. 0,0 is the upper-left corner of the screen, x is horizontal and y is vertical
    data: the pointer to where the color data is stored
    colorCycleLength: this indicates how many pixels worth of valid color data exist contiguously after the memory location pointed to by color.
    startColorOffset: this indicates how many pixels to offset by from the color pointer to arrive at the actual color to display
*/
void        bareMinDerived::hwpixel(hd_hw_extent_t x0, hd_hw_extent_t y0, color_t data, hd_colors_t colorCycleLength, hd_colors_t startColorOffset)
{
    // Here you write the code that sets a pixel. It is up to you what to do with that data. Here are two basic options:

    // 1) Write directly to display ram: if you choose this option and your display supports it then this is all you need to show an image
    // 2) Write to a scratch space: you might use this option to compose a whole image and then show it all on the screen at once.
    //      In that case you would need your own function that actually gets all that information to the display when the time is right.
}

// Additional hardware drawing functions
/*
    There are additional hardware drawing functions beyond hwpixel. They are already implemented by default using
    hwpixel so they are not required in order to start drawing. However implementing them with more efficient
    methods for your particular hardware can reduce overhead and speed up the drawing process.

    In these functions the coordiantes x0, x1, y0, and y1 are always with respect to the hardware screen. (0,0) is the upper-left pixel
    The variables pertaining to color sequences (data, colorCycleLength, and startColorOffset) always have the same meaning as in hwpixel
    Additional variables will be described in the function prototype in bareMinimumDerivedClass.cpp
*/
// void bareMinDerived::hwxline(uint16_t x0, uint16_t y0, uint16_t len, color_t data, uint16_t colorCycleLength = 1, uint16_t startColorOffset = 0, bool goLeft = false)
// void bareMinDerived::hwyline(uint16_t x0, uint16_t y0, uint16_t len, color_t data, uint16_t colorCycleLength = 1, uint16_t startColorOffset = 0, bool goUp = false);
// void bareMinDerived::hwrectangle(uint16_t x0, uint16_t y0, uint16_t x1, uint16_t y1, color_t data, bool filled = false, uint16_t colorCycleLength = 1, uint16_t startColorOffset = 0, bool gradientVertical = false, bool reverseGradient = false);
// void bareMinDerived::hwfillFromArray(uint16_t x0, uint16_t y0, uint16_t x1, uint16_t y1, uint32_t numPixels, color_t data);

// Additional optional implementations by the user:
// ================================================

// getCharInfo: you can create custom fonts without changing how printing functions work
/*
    character: the byte-sized character to show on screen
    pchar: a pointer to a valid char_info_t object that needs to be filled out peroperly for the given character
*/
// void getCharInfo(uint8_t character, char_info_t * pchar);


    // write: you decide what happens when someone calls bareMinDerived.print or bareMinDerived.println
/*
    val: the byte-sized character value to display
*/
// size_t write(uint8_t val);
The Sketch
This sketch creates an instance of your derived display. You can use it to see if everything worked out.
language:c
/*
  HyperDisplay Example 1:  simpleBareNecessities
  By: Owen Lye
  SparkFun Electronics
  Date: August 17, 2018
  License: This code is public domain but you buy me a beer
  if you use this and we meet someday (Beerware license).

  Don't expect too much from this code: it just prints a nice message to the serial terminal...
  However it demonstrates instantiation of a class derived from the HyperDisplay library. Once
  you implement the functions:
  - getOffsetColor(color_t base, uint32_t numPixels);
  - hwpixel(uint16_t x0, uint16_t y0, color_t data, uint16_t colorCycleLength, uint16_t startColorOffset);

  Then you will be able to use all these standardized functions (and more to come in the near future!)
  - xline
  - yline
  - rectangle
  - fillFromArray
  - fillWindow
  - line
  - polygon
  - circle

*/

#include "bareNecessities.h"  // Click here to get the library: http://librarymanager/SparkFun_HyperDisplay

#define NUM_PIX_X 64
#define NUM_PIX_Y 64

// Note: this won't make any displays work because the functions are not implemented, however it shows that this implementation is instantiable
bareMinDerived myMinimalDisplay(NUM_PIX_X, NUM_PIX_Y);

void setup() {
  // put your setup code here, to run once:
  Serial.begin(9600);
  Serial.println("Example1: Simple Bare Necessities");
  Serial.println("Well, this is a good launch point in case you want to make your own class of displays underneath the hyperdisplay library. Have fun! :D");
}

void loop() {
  // put your main code here, to run repeatedly:
}
Resources and Going Further
For information relating to this tutorial:
Want to Improve HyperDisplay?
We're eager to share and improve HyperDisplay. If you have an idea for a feature, a bug fix, or any other comments please feel free to write an issue, or even better make a pull request with your addition!
Interested in Abstraction?
HyperDisplay abstracts 2-dimensional drawing from the devices used to show it. Have you thought about other places that abstraction shows up?
- The window feature in HD is like a coordinate abstraction
- The Arduino IDE is an amazing abstraction of the main duties of microcontrollers (Serial, SPI, I2C, GPIO, Analog etc..) from how it is actually performed on each supported development platform.
You can learn to write extensible code in pretty much any language you want, so go ahead and give it a shot!
Need some inspiration? Check out the tutorials below!
