Everything You Should Know About HyperDisplay
Installing HyperDisplay
Installing the HyperDisplay Library
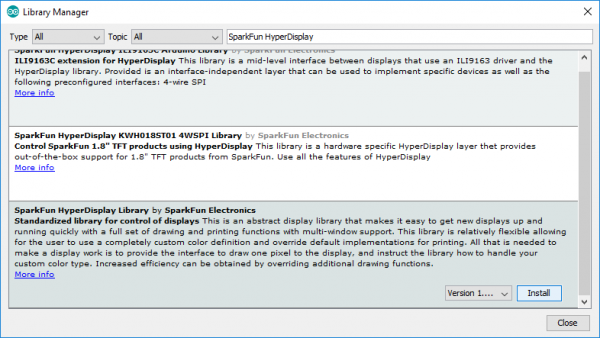
Remember that HyperDisplay is a three-level layer cake, and you need all three layers to make it do anything useful. The top layer is always the main HyperDisplay library, which is available in the Arduino library manager. In the Arduino IDE, navigate to Sketch > Include Library > Manage Libraries. Then in the search box, begin searching for "SparkFun HyperDisplay" Once your search is narrowed down, select the SparkFun HyperDisplay library and click "Install."
Otherwise, you can manually download the library. Navigate to GitHub repository and download the repository as a ZIP folder (or click the link below):
To manually install the library via a ZIP folder, open Arduino, navigate to Sketch > Include Library > Add .ZIP Library, and select the ZIP folder you just downloaded.
Installing the HyperDisplay Compatible Library
The middle layer will be a HyperDisplay compatible library that is designed to work on the actual chip that runs the display. This part will be specific to the display that you want to use so you should use the Library Manager link in the example sketches that you can get from the product page.
Installing the Driver Specific Library
The final layer is specific to the exact product that you are using because the particular interface (e.g. SPI vs I2C) and the particular resolution of the screen might vary even with the same driver IC. Again, get this library from the product page of the display that you are using.
Or you can download the libraries by clicking on the buttons here:
Once you know where to find all of the required layers, check out our guide on Installing an Arduino Library to get set up.
Installing an Arduino Library
With everything installed you can make sure all is well by choosing an example sketch from the bottom level library and trying to compile it. When everything is working move on to the next section to start learning about the basic use of the drawing functions.
