ESP8266 Thing Hookup Guide
 jimblom
 Programming the Thing
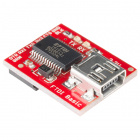
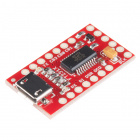
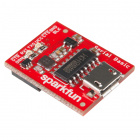
The ESP8266 has a built-in serial bootloader, which allows for easy programming and re-programming. You don't need a specialized, expensive programmer -- just a simple, USB-to-Serial converter. We use a 3.3V FTDI Basic to program the Thing, but other serial converters with 3.3V I/O levels should work (e.g. FT231X Breakout, CH340G Basic Breakout). Just make sure to install the respective drivers for your converter and get the compatible USB cable. The converter does need a DTR line in addition to the RX and TX pins.
Depending on your setup, there is a few methods of programming the ESP8266 Thing. Below are a few ways to program the ESP8266 Thing using a serial-to-USB converter.
Method 1: Two USB Cables
The FTDI Basic's 6-pin header matches up exactly to the Thing's 6-pin serial port header. To set up for programming, simply connect the FTDI directly to this port -- take care to match up the DTR and GND pins! If you solder female headers to the Thing, plugging a 6-pin row of right-angle male headers between the FTDI and header helps create a temporary programming interface. The header pins are small on one side, so make sure that there is contact between the two boards while uploading.

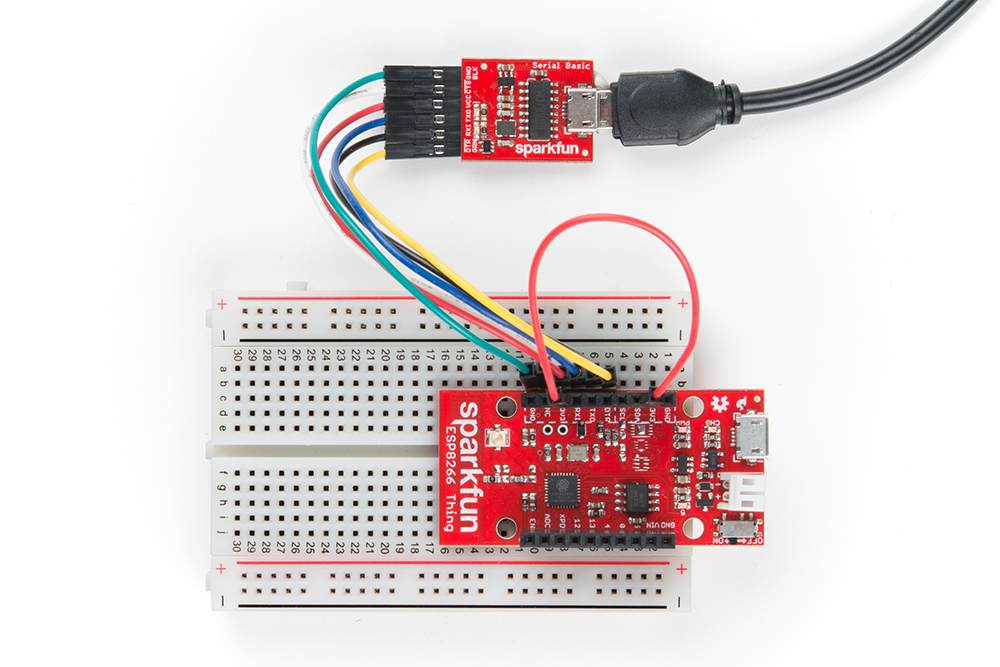
Method 2: One USB Cable with Jumper Wire
If you only have one USB cable, you can connect a USB-to-serial converter to the ESP8266 Thing's serial programming header. You will just need to connect 3V3 on the serial programming header side to the 3V3 on the I2C header together with a jumper wire. Below is an example of the CH340G serial basic connected with the jumper wire connecting the 3.3V pins.
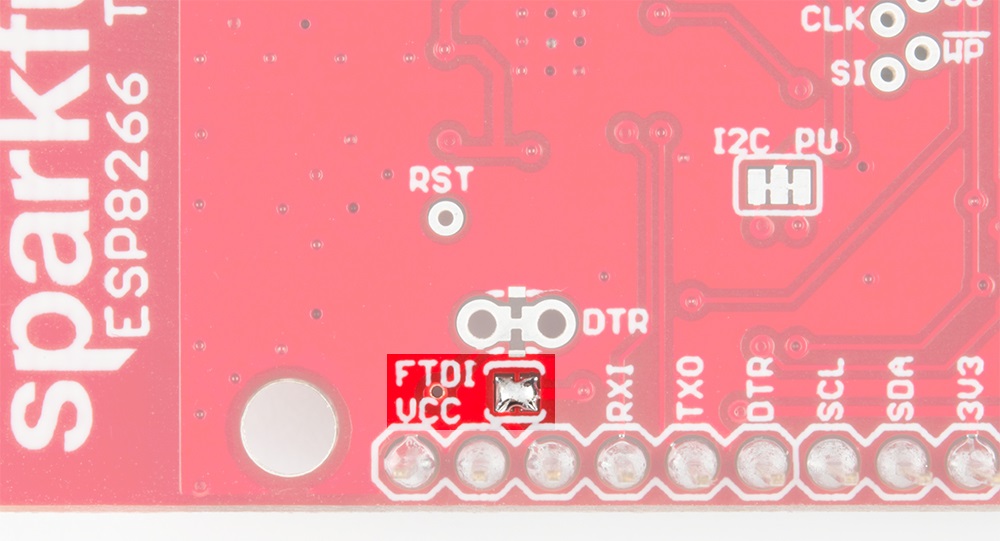
Method 3: One USB Cable with Solder Jumper
A third method is to add a solder jumper to the jumper pads labeled as "FTDI VCC" to connect the 3V3 pins together between the serial programming header and the I2C header. You can then connect a USB-to-serial converter to the serial programming header as stated earlier.