ESP32 Environment Sensor Shield Hookup Guide
Hardware Assembly
As previously mentioned, it's a good idea to use headers (both male and female) to connect the two boards. Here we'll show you a bomb-proof method to solder down the headers and making sure that they're true and square so it's easier to connect (and disconnect) the two boards.
Trim the Headers
When you purchase male and female headers, they'll be too long for the ESP32 Thing and Environment Sensor Shield. You'll need to trim them down to an appropriate length. This means 20 pins each.
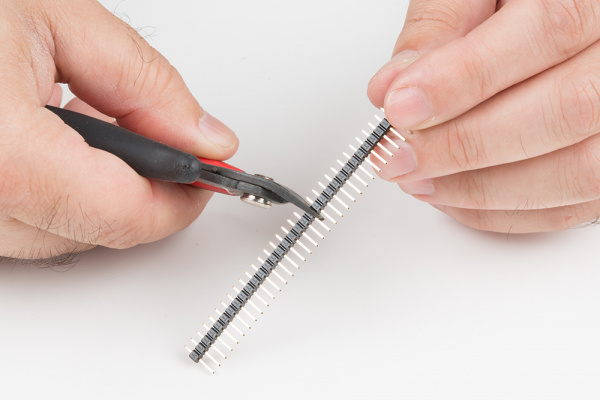
For the male headers, this is relatively easy--they're designed to be trimmed or snapped to length. They come in 40-position pieces, so you'll only need to order one and then snap it in half.
For the female headers, however, things are a little trickier. In order to trim to the appropriate length, you'll lose one pin since these come in 40-position pieces as well. That means you'll need to order two of these in order to get two 20-position pieces, and you'll have two 19-position pieces left over. Bummer, I know.
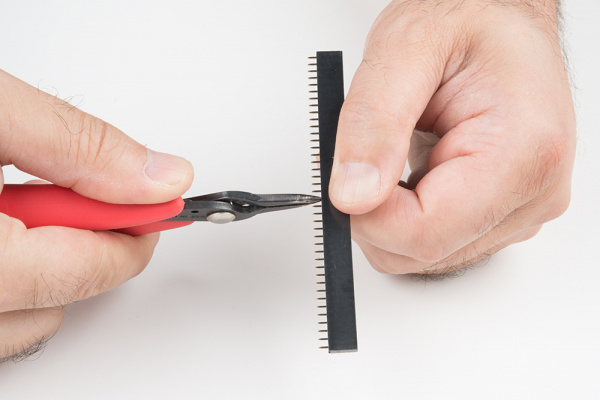
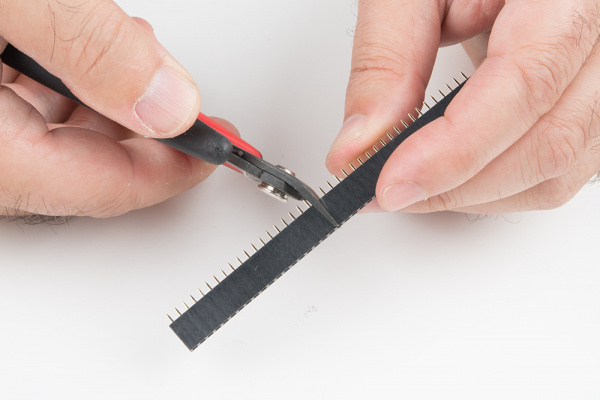
The best way to trim the female header pieces is to count out 20 pins, pull the 21st pin, then use a side cutter to cut the gap between the 20th and 22nd pin.
You must be careful when cutting the header to center your snip. An off center cut may result in the mechanical portion of the header escaping or losing some of its retention force.
Optionally, you may take a file, piece of sandpaper, or some other sanding/grinding tool to sand down the end of the header so that it's smoother. You can do both pieces at the same time by holding them together and rubbing the ends on the finishing surface.
Install the Male Headers
We're going to install the male headers on the ESP32 Thing board first. We're going to do so "right side up", with the headers extending down from the side of the board with no components on it. This is easier than doing it the other way as the connectors on the component side of the board create a difficult gap when attempting this method from that side.
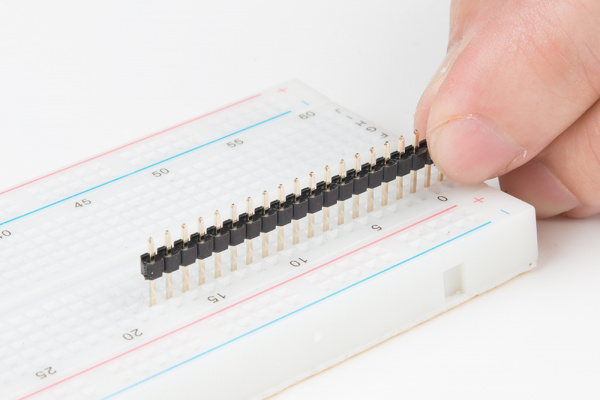
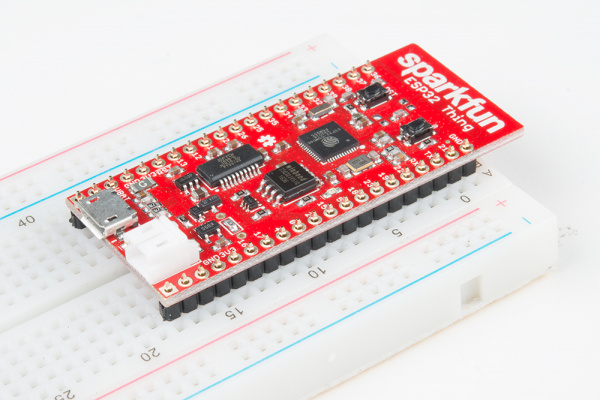
First, insert your male headers long-side-down into a breadboard, as shown below. You can see that we're inserting the headers into the second column in from the edge--columns labeled as B and I on the breadboard we're using here.
Now, with the headers installed, you can easily drop the ESP32 Thing board into place on top of them.
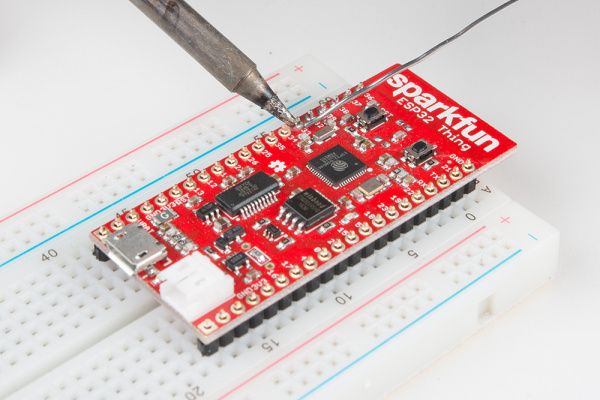
Go ahead and solder all the pins to the ESP32 Thing at this time.
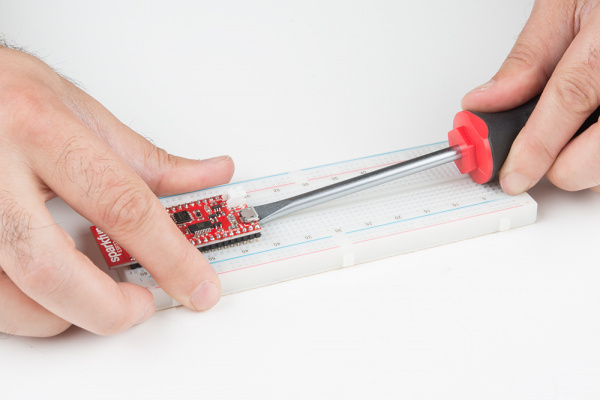
If you're new to soldering, you may want to solder just the first and last position on each side, then pull the board free of the breadboard, to avoid heat damage to your breadboard. You may find it easier to remove the board from the breadboard by inserting a flat-edge screwdriver under the end of the ESP32 and gently levering the board away from the breadboard by turning the handle of the screwdriver.
Install the Female Headers
Now we need to install the female headers onto the ESP32 Environment Sensor Shield. We'll do this using the pins we just soldered to the ESP32 Thing.
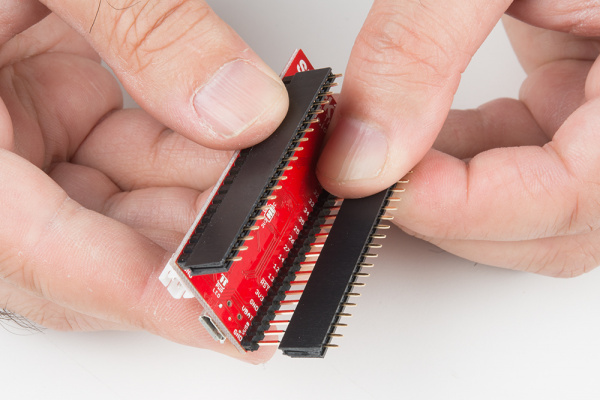
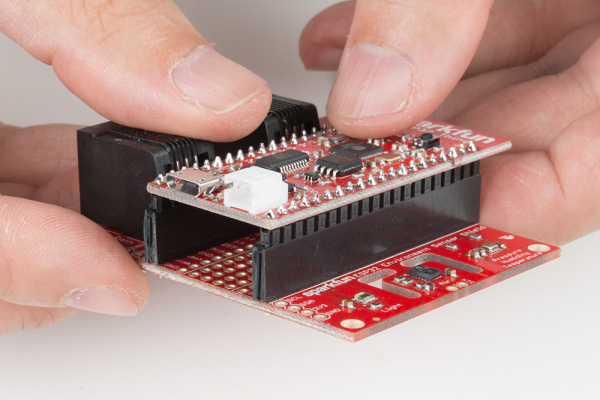
Take your female headers and place them on the male headers on the ESP32 Thing, as shown here.
Because we used the breadboard to hold our pins perfectly perpendicular to the ESP32 Thing board, the pins of the female headers should line up perfectly with the holes on the ESP32 Environment Sensor Shield.
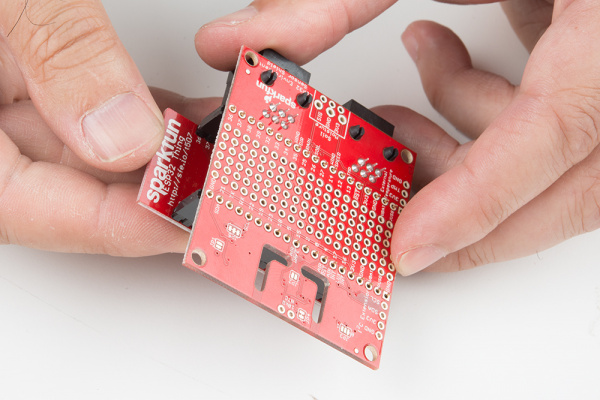
Flip the board over before soldering the female header pins.
You may now solder the female header pins to the ESP32 Environment Sensor Shield just like the male header pins for the ESP32 Thing.
