Displaying Your Coordinates with a GPS Module
Example Code
Micro OLED Code
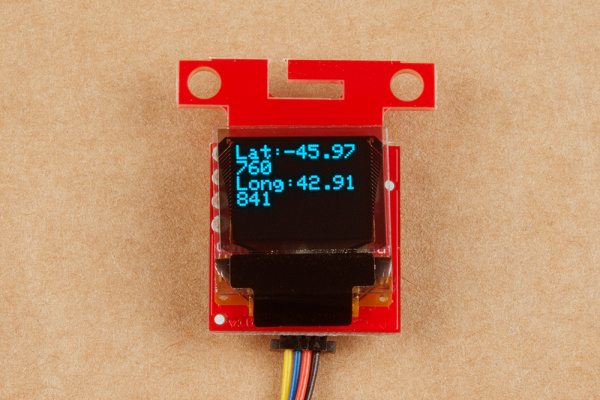
I’ve modified a snippet of code from our hookup guide for a small test of writing text to the OLED screen. Before it can be used, make sure you've installed the micro OLED library as listed in the Software Setup section above. Copy the code, paste it into the Arduino IDE, select the Arduino/Genuino Uno, and the COM port, and hit upload to test!
language:c
#include <Wire.h>  // Include Wire if you're using I2C
#include <SFE_MicroOLED.h>  // Include the SFE_MicroOLED library

//////////////////////////
// MicroOLED Definition //
//////////////////////////
//The library assumes a reset pin is necessary. The Qwiic OLED has RST hard-wired, so pick an arbitrarty IO pin that is not being used
#define PIN_RESET 9
//The DC_JUMPER is the I2C Address Select jumper. Set to 1 if the jumper is open (Default), or set to 0 if it's closed.
#define DC_JUMPER 1

//////////////////////////////////
// MicroOLED Object Declaration //
//////////////////////////////////
MicroOLED oled(PIN_RESET, DC_JUMPER);    // I2C declaration

void setup()
{
  delay(100);
  Wire.begin();
  oled.begin();
  oled.clear(ALL);
  oled.display();
  delay(1000);
  oled.clear(PAGE);
}

void loop(){
  printTest("Lat:-45.97760\nLong:42.91841", 0);
}

void printTest(String title, int font)
{
  oled.clear(PAGE);
  oled.setFontType(font);
  oled.setCursor(0,0);
  oled.print(title);
  oled.display();
  delay(1500);
  oled.clear(PAGE);
}
Once the library is installed we can simply compile and see a dummy text on our screen.
GPS Code
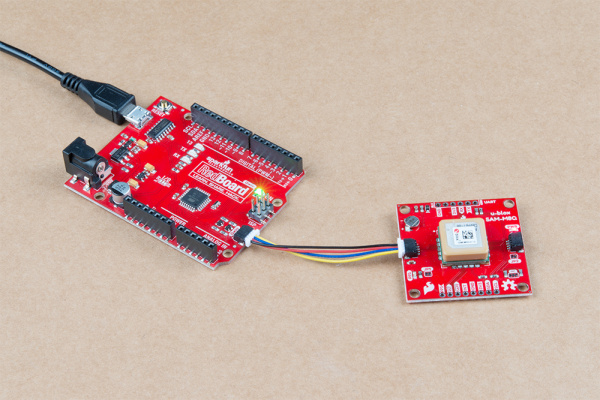
One done, two to go. Next we have our SAM-M8Q GPS module to test. I personally found the Example3_GetPosition code by Nathan Seidle to be the easiest and most convenient to experiment with. We find this sketch under File>Examples>Sparkfun u-Blox GNSS Arduino Library. Can’t find it? Make sure you've got the library for this GPS module installed as explained above in the Software Setup. It’s ok, I’ll wait. I may perhaps make some tea. Let me know when you’re ready and busting out data to the Arduino Serial Monitor. If that’s new to you, just verify and upload the code the board and hit that magnifying glass in the upper right hand corner. Set the baud rate to 115200, unless you want to see what our alien overlords have to say.
Final Code
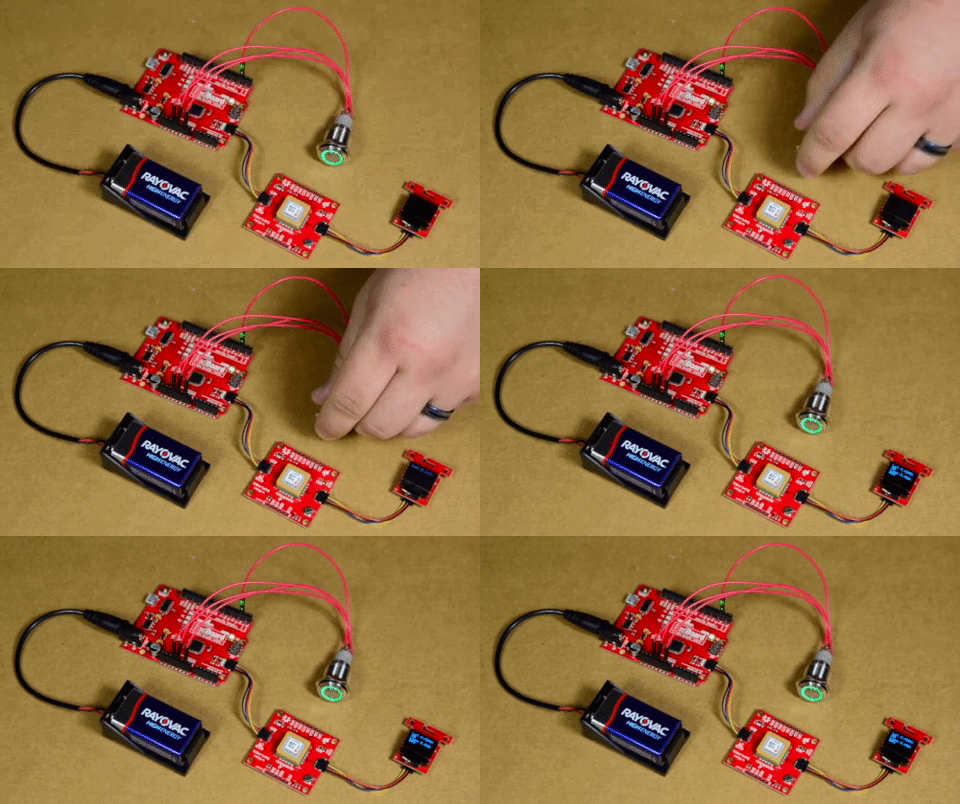
If you're here, I take it that you’ve mastered the OLED Screen and SAM-M8Q module? Then I believe you’re ready! Seriously, this is the simple part. I blended the two previous sections of code to use the button to trigger a read from the GPS module and output the latitude and longitude to the OLED Screen. If you feel savvy, read through it and reverse engineer what I did so you can make glorious modifications! I say learn by breaking, master by rebuilding.
language:c
#include <Wire.h>
#include <SFE_MicroOLED.h>
#include "SparkFun_Ublox_Arduino_Library.h" //http://librarymanager/All#SparkFun_Ublox_GPS

#define PIN_RESET 9
#define DC_JUMPER 1

SFE_UBLOX_GPS myGPS;
MicroOLED oled(PIN_RESET, DC_JUMPER);

const int buttonPin = 2;
const int ledPin =  13;

int buttonState = 0;

void setup() {
  Wire.begin();

  delay(100);
  oled.begin();
  oled.clear(ALL);
  oled.display();
  delay(1000);
  oled.clear(PAGE);
  oled.display();

  oled.setFontType(0);
  oled.setCursor(0,0);

  pinMode(ledPin, OUTPUT);
  pinMode(buttonPin, INPUT_PULLUP);
}

void loop() {
    buttonState = digitalRead(buttonPin);
    if (buttonState == LOW){
      if (myGPS.begin() == false){
        oled.clear(PAGE);
        oled.print("No GPS");
        oled.display();
        delay(1500);
        oled.clear(PAGE);
        oled.display();
        oled.setCursor(0,0);
      }
      if(myGPS.begin() == true){
        myGPS.setI2COutput(COM_TYPE_UBX);
        myGPS.saveConfiguration();

        float latitude = myGPS.getLatitude();
        latitude = latitude / 10000000;

        float longitude = myGPS.getLongitude();
        longitude = longitude / 10000000;
      ////////////////////////////////////////////
      // Uncomment for altitude, add to output  //
      ////////////////////////////////////////////
      //   float altitude = myGPS.getAltitude();//
      ////////////////////////////////////////////

        oled.clear(PAGE);
        oled.print("Lat:");
        oled.print(latitude,6);
        oled.print("\nLong:");
        oled.print(longitude,6);
        oled.display();
        delay(10000);
        oled.clear(PAGE);
        oled.display();
        oled.setCursor(0,0);
      }
    }

}
With everything connected, press the button to view your coordinates on the OLED! Instead of using your USB for power, connect a 9V battery to the RedBoard to go mobile!


