Creating a Humidor Control Box
 Paul Smith
Time to Cut
(1) Once the machine is set up, it is time to get the wood into place. I'll be using some run-of-the-mill 3/8" plywood. Because there will be large amounts of force pushing into the wood from the endmill, it is very important to secure the wood to the table. Our CNC has a grid pattern of threaded holes that allow pieces of any size and shape (okay, almost any size and shape) to be securely mounted to the bed.
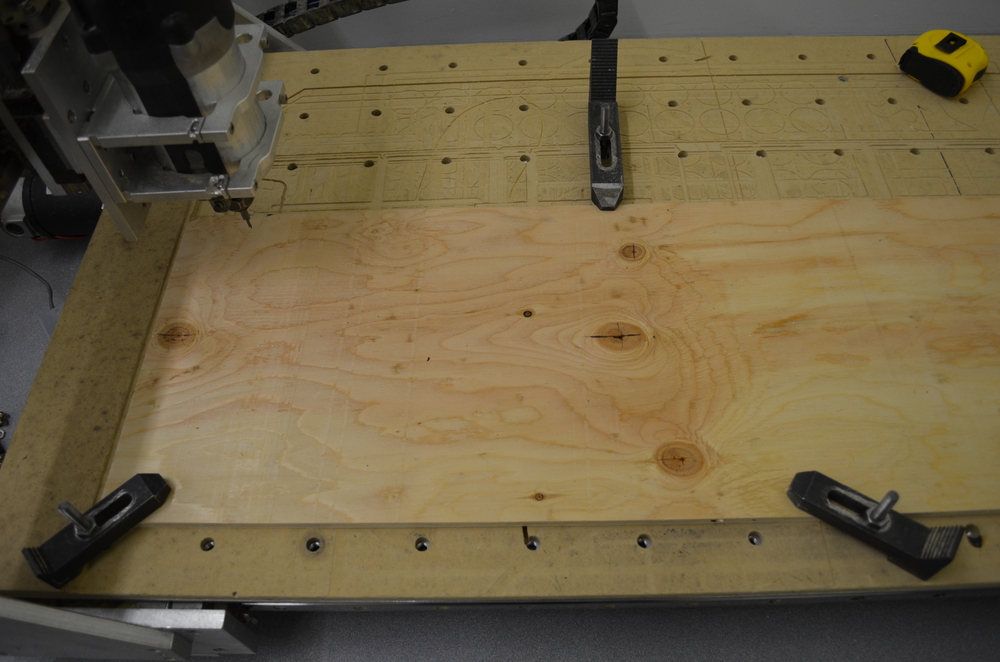
(2) Next we need to tell the machine where the wood is located. Since we could have placed the wood at any random location on the bed, we need to make sure the machine knows where to start cutting. We do this by placing the center of the bit over the bottom left corner of the plywood and clicking the 'Zero X' and 'Zero Y' buttons shown in the POSITION box I labeled in the previous section. Because our plywood is larger than it needs to be, our positioning does not need to be exact. Anywhere near the bottom corner will be just fine.

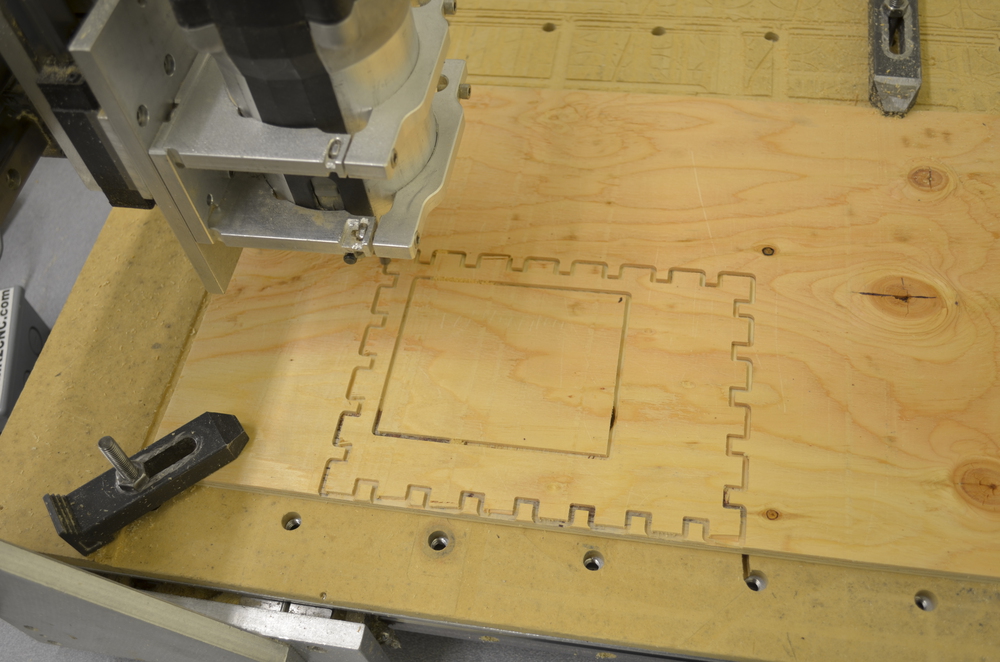
(3) Once that is all set, we can click the 'Cycle Start' button and watch in wonder as the parts are cut out. You will have to talk my word for it since you only get to see a picture. But trust me, it is really fun to watch!
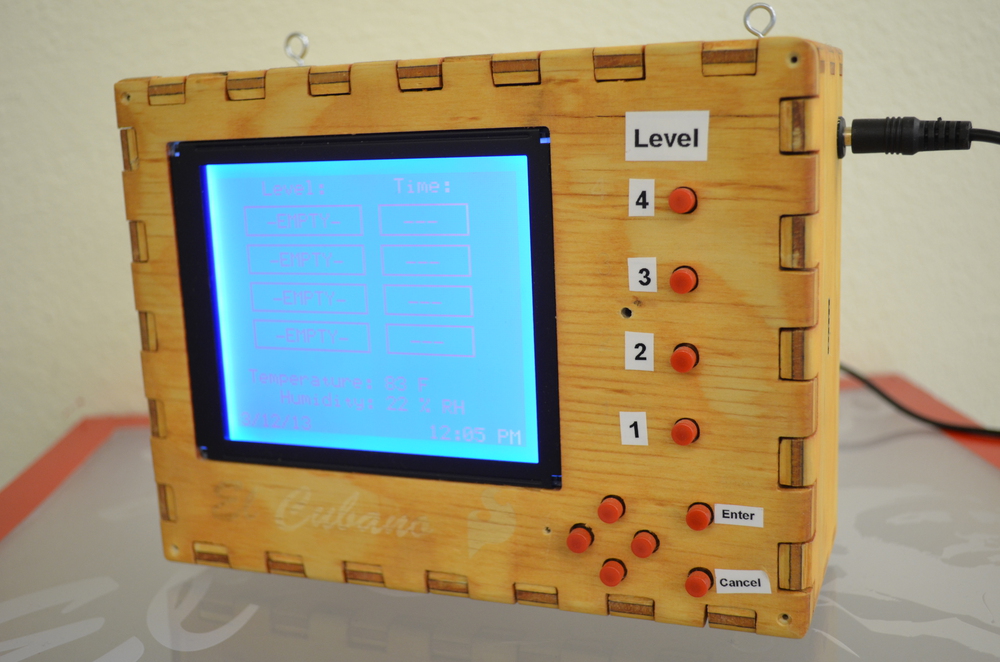
(4) Once the box was cut out, I stained it and fit the pieces together. I added all of the electronic components and glued them in.