Creating a Humidor Control Box
 Paul Smith
3D Assembly
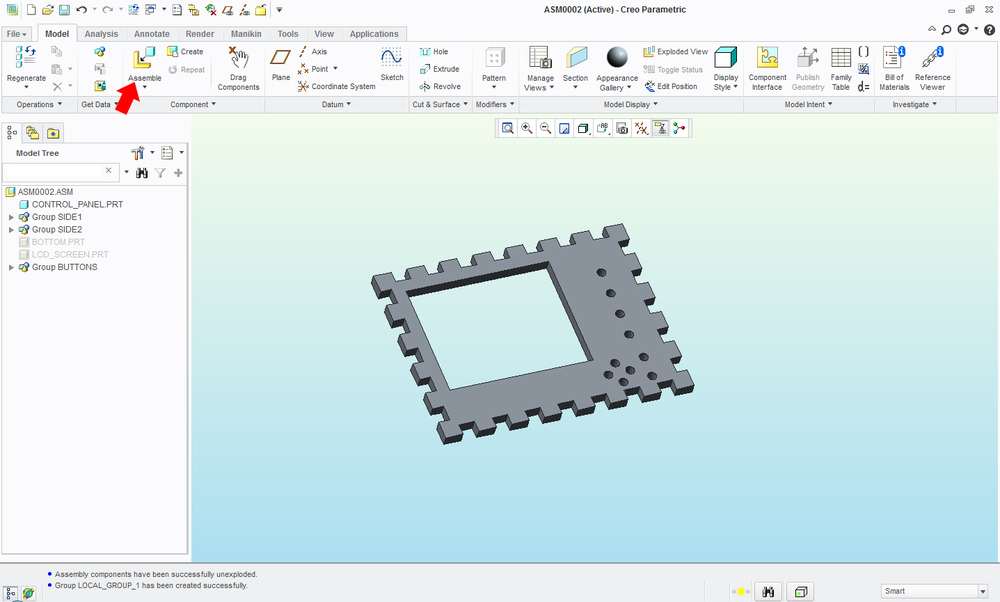
(1) Using the same techniques as above, I went ahead and made the side walls and bottom piece for the box. Now that we have 6 individual parts of the box, let’s put them together! In a new file, I’ll import the control panel using the ‘Assemble’ command.
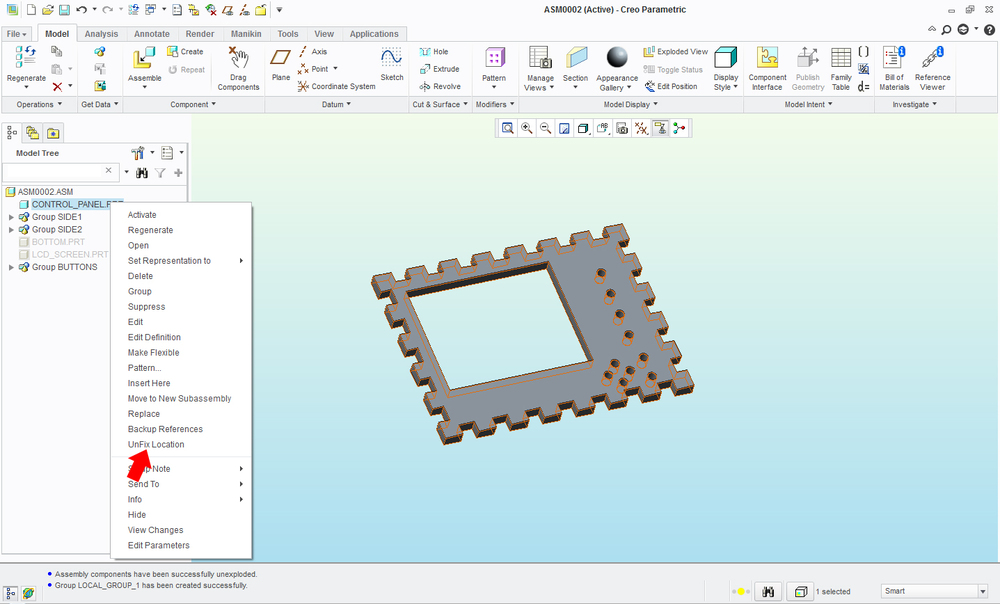
(2) Next, I will tell the computer that I do not want this piece to move. I will be building all of the other parts around it, so it is nice to have it stay still. By right clicking on the part in the Model Tree, I can choose Fix Location. Mine is already fixed so the option to UnFix is displayed.
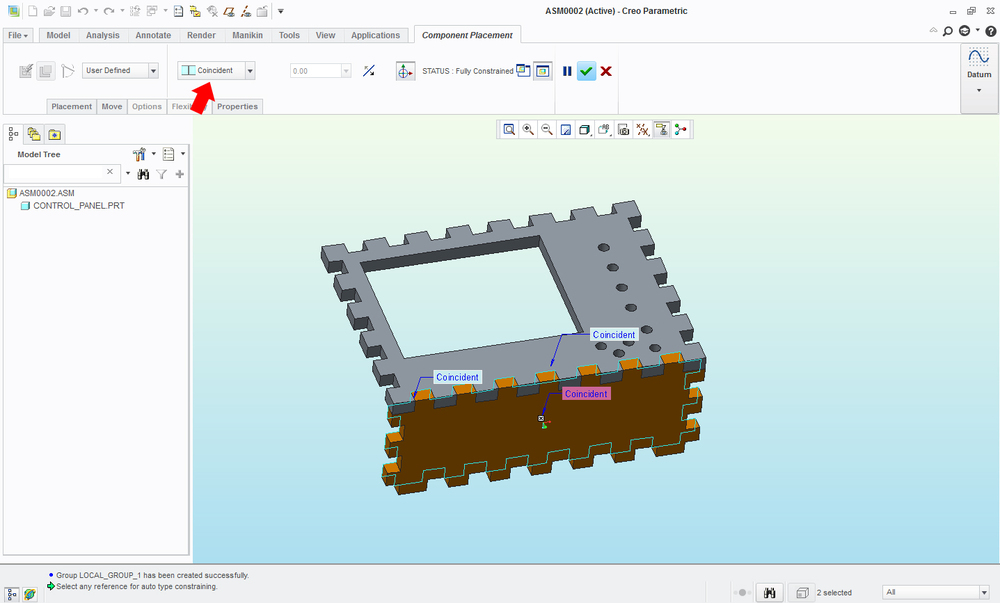
(3) Next, I will add another piece of the box. Using the Assemble command from before, I’ll bring in the part I want. If you look at the picture, the word ‘Coincidence’ appears several times. This is more or less the way to tell the computer to ‘make these two surfaces touch or line up.’ Simply put, I choose what surfaces should be lined up, and the computer will ‘glue’ them together.
(4) Repeating the process four more times gives us a completed box! Now we can inspect all the sides to see if we made any mistakes in the length or position of any features.
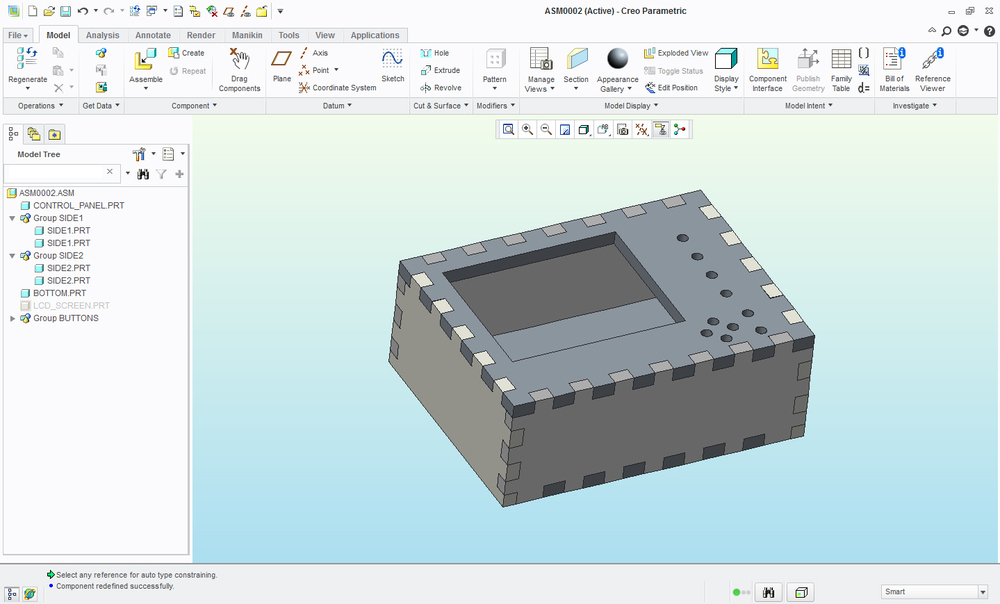
(5) Let’s go ahead and add the LCD screen and buttons just for fun.

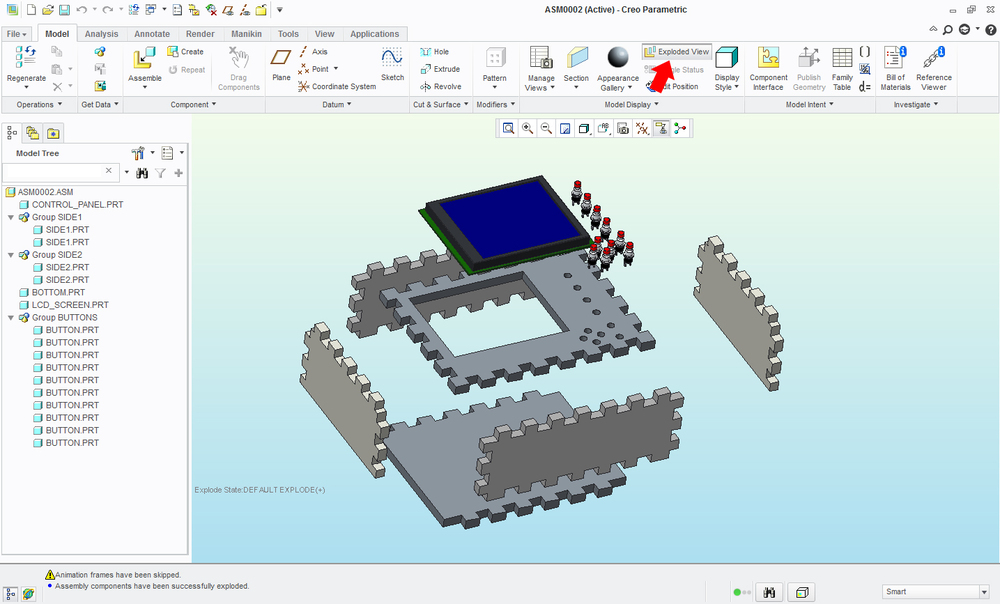
(6) We can now use the ‘Exploded View’ command to see the box as if it were taken apart.
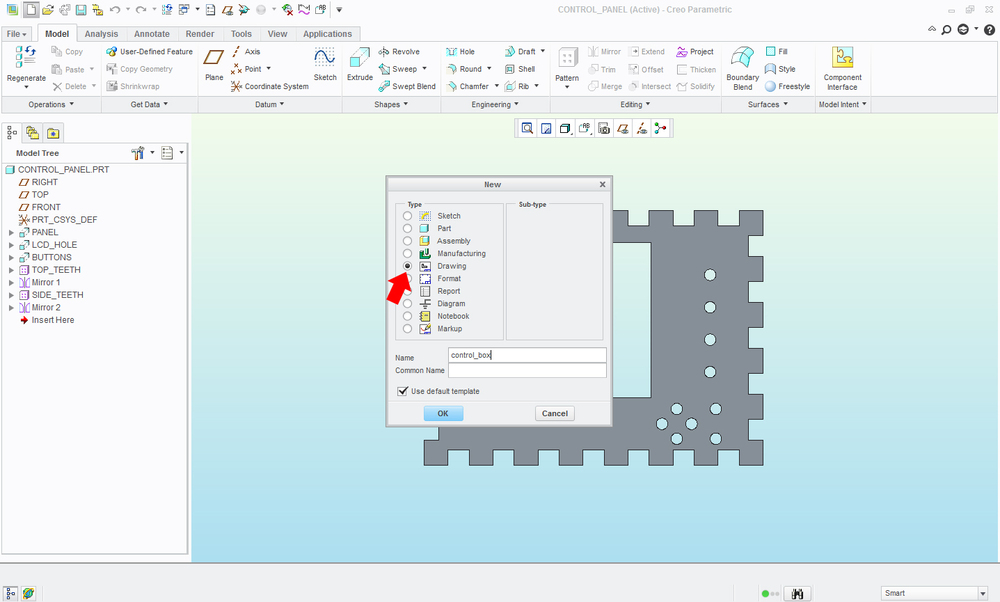
(7) Now that I box is designed, assembled, and inspected, we can get the files ready to cut out on the CNC router. In Creo, we want to create a new Drawing.
(8) Since we only care about the 2D feature of each part at this point, the parts can lay flat on the screen.
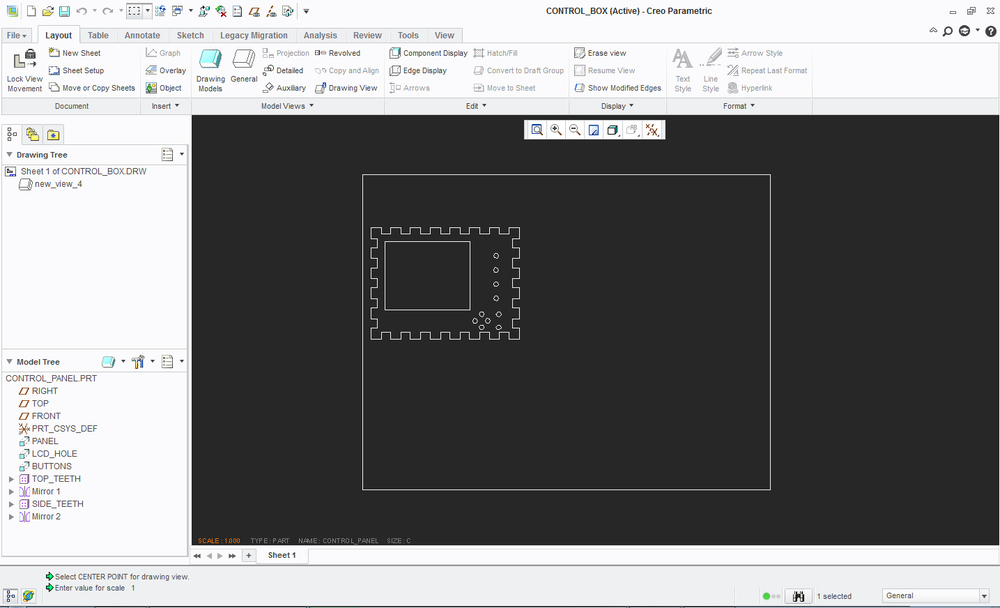
(9) After adding all views we have the entire box laid out in front of us.
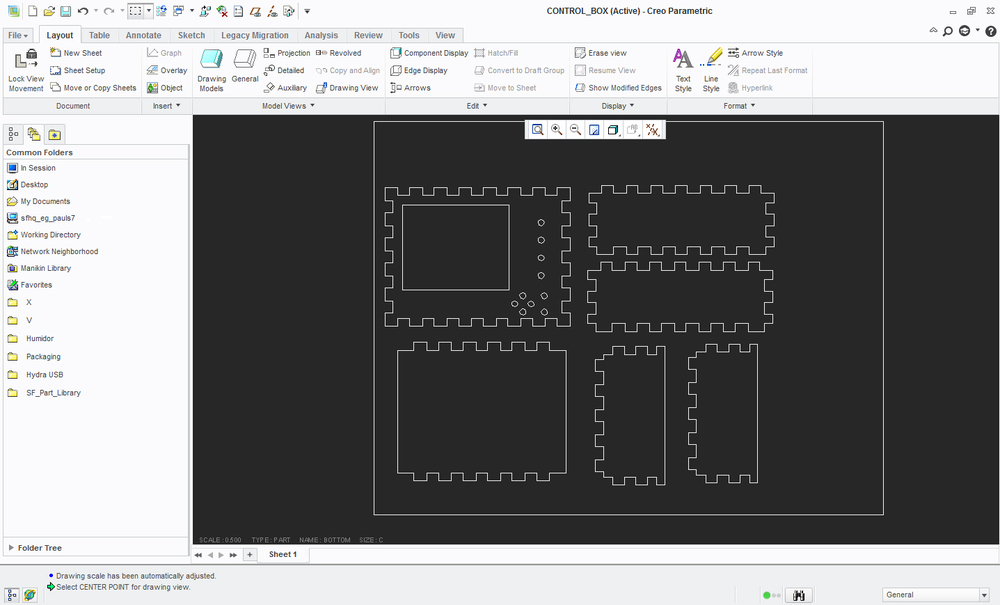
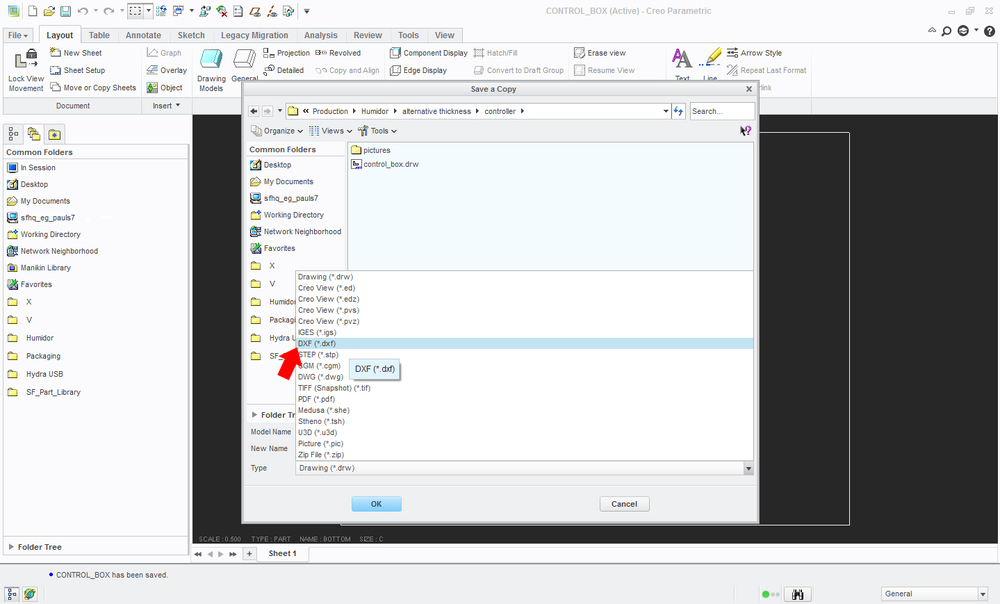
(10) Lastly, we want to export this drawing as a .dxf file. This type of file is supported in many, many different types of programs so it is a good choice to use.