Computer Vision and Projection Mapping in Python
Install the Project Dependencies
For this project we’re going to be using two computer vision libraries. We’ll start with openCV. From their website, here’s what OpenCV is:
OpenCV (Open Source Computer Vision Library) is released under a BSD license and hence it’s free for both academic and commercial use. It has C++, Python and Java interfaces and supports Windows, Linux, Mac OS, iOS and Android. OpenCV was designed for computational efficiency and with a strong focus on real-time applications. Written in optimized C/C++, the library can take advantage of multi-core processing. Enabled with OpenCL, it can take advantage of the hardware acceleration of the underlying heterogeneous compute platform.
We’ll only be scratching the surface of what openCV can do, so it’s worth looking through the documentation and tutorials on their website.
The next library we’ll be using is dlib. From their website:
Dlib is a modern C++ toolkit containing machine learning algorithms and tools for creating complex software in C++ to solve real world problems. It is used in both industry and academia in a wide range of domains including robotics, embedded devices, mobile phones, and large high performance computing environments. Dlib's open source licensing allows you to use it in any application, free of charge.
You’ll start to notice a pattern here. Computer vision takes a lot of math... and I’m a big fan of using the right tool for the job. Looking at the computer vision libraries that we’ll be using, you can see that both are written in a compiled language (C++ in this case). So you may ask, "Why?” Or even, “How are we using these if they’re not written in Python?” The key points to take away are, while these libraries are written in a different language, they have Python bindings, which allow us to take full advantage of the speed that C++ offers us!
Python Virtual Environments
When I do my development work, I’m a big fan of Python virtual environments to keep my project dependencies separate. While this adds a little bit of complexity, avoiding dependency conflicts can save huge amounts of time troubleshooting. Here’s a blurb from their documentation:
The basic problem being addressed is one of dependencies and versions, and indirectly permissions. Imagine you have an application that needs version 1 of LibFoo, but another application requires version 2. How can you use both these applications? If you install everything into /usr/lib/python2.7/site-packages (or whatever your platform’s standard location is), it’s easy to end up in a situation where you unintentionally upgrade an application that shouldn’t be upgraded.
I’d highly recommend looking deeper into virtual environments if you haven’t started using them already.
Using a virtual environment is not at all a dependency of this project. You will be able to follow along with this tutorial without installing or using a virtualenv. The only difference is that your project dependencies will be installed globally on the Raspberry Pi. If you go the global route, you can skip over the section that details the installation and use of the virtual environment.
If you're curious and need installation instructions, check out their documentation here.
We can now create a new virtual environment for our project using the following command:
language:python
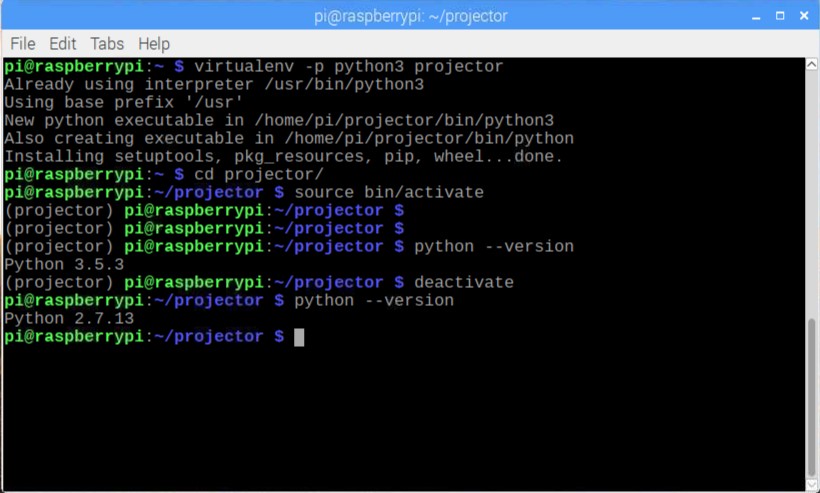
> virtualenv -p python3 projector
You can see in the command that we are specifying that when we run the python command while inside our new space, we want to run Python 3, and not what ever the system default is set to. We have also named our project projector because why not?
In case you’re new to virtualenv, once we’ve created our new environment we need to effectively “step inside,” or enter our new space. If you look at the directory structure created by the virtualenv command, you’ll notice a bin/ directory. This is where our Python executable lives, along with the file that tells our system to use this version of Python instead of our global system version. So in order to make this transition, we need to execute the following command
language:python
> source projector/bin/activate
Or, if you’d like to skip typing projector all the time:
language:python
> cd projector
> source bin/activate
You should see your prompt change once you’ve entered the environment.
language:python
(projector) pi@raspberry:~/projector $
The very next thing you should know is how to leave your development space. Once you’re finished and want to return to your normal, global python space, enter the following command:
language:python
> deactivate
That’s it! You’ve now created your protected development space that won’t change other things on your system, and won’t be changed by installing new packages, or running updates!
A note of clarification. This virtual environment is only for Python packages installed via pip, not apt-get. Packages installed with apt-get, even with the virtual environment activated, will be installed globally.
Continuing with our project, we will need to activate our development environment again.
language:python
> source bin/activate
We will need to add some dependencies. While putting together this tutorial, I found that there were some global dependencies that we need:
language:python
> sudo apt-get install libcblas.so.3
> sudo apt-get install libatlas3-base
> sudo apt-get install libjasper-dev
Now to install OpenCV for our project, along with a library for the Pi Camera, and some image utilities.
language:python
> pip install opencv-contrib-python
> pip install "picamera[array]"
> pip install imutils
We’re installing pre-built binaries for OpenCV here. These libraries are unofficial, but it’s not something to worry about, it just means they are not endorsed or supported directly by the folks at OpenCV.org. The alternative is to compile OpenCV from source, which is a topic for another tutorial.
We can install dlib in the same way. This also has a pre-built binary available for the Raspberry Pi, which again saves us hours of time.
language:python
> pip install dlib