Capacitive Touch Slider (CAP1203) Hookup Guide
Example Code
Please use the following links and the Internet for a better understanding of I2C and how it works in the Arduino IDE:
- A tutorial on I2C.
- An in-depth overview of the Wire (I2C) library.
Example 1: Basic Reading
The Example01_BasicReading.ino sketch works with the basic functionality of the Capacitive Touch Slider and streams which pad detects a touch. Open up the example to follow along. First, we include the CAP1203 library and initialize an instance of the sensor. Then, in the set-up function, we check to make sure the sensor is correctly connected. Now that the sensor is set-up, we can start checking which pads have been touched in the main loop using the .isLeftTouched(), .isMiddleTouched(), and .isRightTouched() functions. Once you have uploaded the code, you can open your serial terminal to see when a pad has been touched. Make sure the baud rate in your serial terminal is set to 9600 baud, otherwise you won't see the correct output.
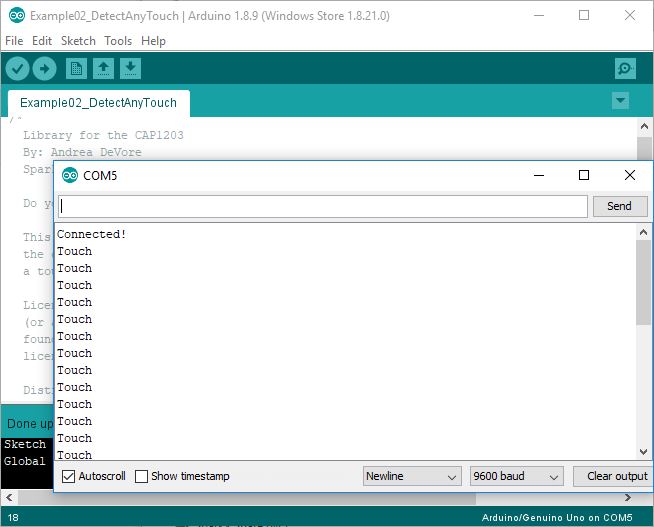
Example 2: Detect Any Touch
The setup for Example02_DetectAnyTouch.ino sketch is similar to Example 1, except it streams when any pad detects a touch using the .isTouched() function.
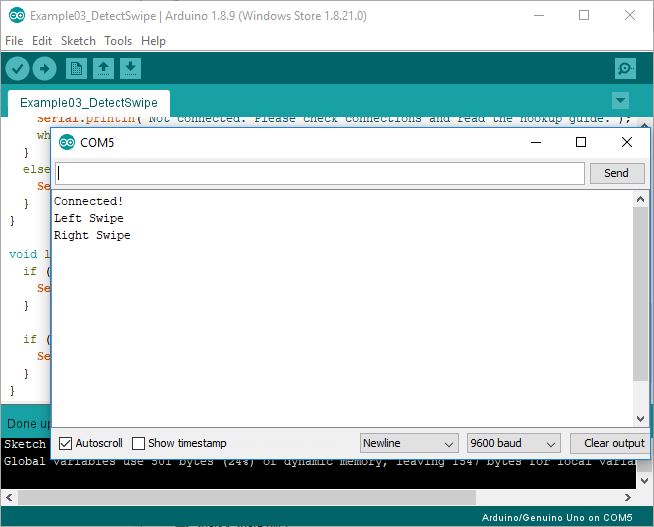
Example 3: Detect Swipe
The setup for Example03_DetectSwipe.ino sketch is similar to Example 1, except it streams when the board detects a swipe using the .isRightSwipePulled() and .isLeftSwipePulled() functions. The direction of the swipe is relative to the arrow on the board pointing in the right direction. Note, these functions pull most available resources. For best swipe recognition, we highly recommend not implementing other functionalities when using these two functions.
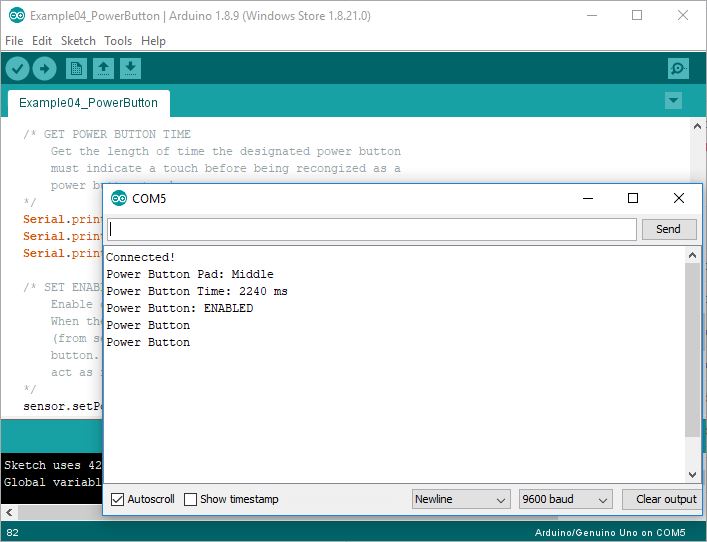
Example 4: Power Button
The Example04_PowerButton.ino sketch allows you enable or disable the power button feature on a specific pad. The power button requires a longer touch before registering a touch has been detected on the designated pad. Note, when the power button is enabled, the designated pad will only act as the power button. Configuring and enabling the power button feature requires some additional set-up.
In the sketch, we use the .setPowerButtonPad() and .setPowerButtonTime() functions to set which pad will act as the power button and the length of time the designated pad must indicate a touch. We also implement the .getPowerButtonPad() and .getPowerButtonTime() functions to check which pad and time we set with the previous two functions. Then, we enable the power button using the .setPowerButtonEnabled() function, and we check that the power button has been properly enabled using the .isPowerButtonEnabled() function. Finally, we check when the designated power button pad has been held for the allotted time using the .isPowerButtonTouched() function. The serial port prints Power Button when it registers a power button touch.
Example 5: Detect Current Touch
The Example05_DetectCurrentTouch.ino sketch uses the same functions and set-up as Example 1. However, Example 5 only notifies you about the current touch as opposed to a constant stream of touch data in Example 1. In order to do so, we added a while loop inside of each conditional statement. For example: while (sensor.isLeftTouched() == true).

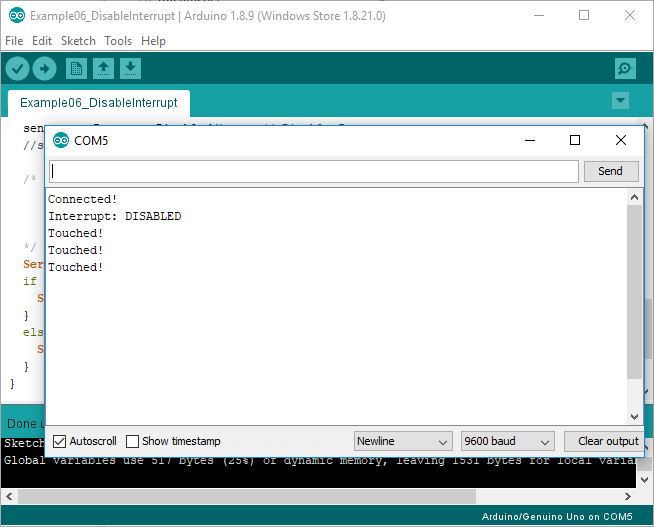
Example 6: Disable Interrupt
The Example06_DisableInterrupt.ino sketch allows you to programmatically adjust the interrupt settings. When disabled, the green interrupt LED will no longer turn on when a pad is touched. We use the .setInterruptDisabled() function to disable to interrupt and the .isInterruptEnabled() function to check the current interrupt settings. In the main loop, we then implement the .isTouched() function as in Example 2 to check that our board still registers a touch even though the interrupt LED no longer turns on.
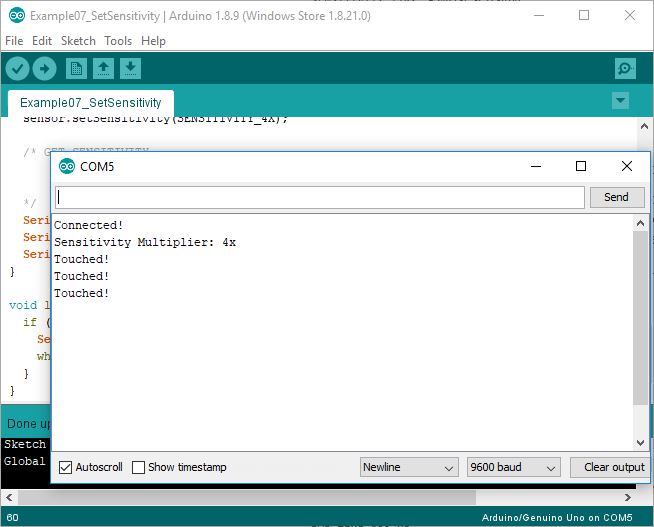
Example 7: Set Sensitivity
The Example07_SetSensitivity.ino sketch allows you to programmatically adjust the sensitivity settings for your capacitive touch pads. Note, we only recommend changing the sensitivity settings if you are breaking out your own touch pads. The current sensitivity settings are calibrated for the SparkFun Capacitive Touch Slider on board pads. In our example, we use the .setSensitivity() function to change the sensitivity and the .getSensitivity() to check our current sensitivity settings. In the main loop, we then implement the .isTouched() function as in Example 2 to check when the sensor has been touched with the new sensitivity settings.