Contributors:
andreadevo
Introduction
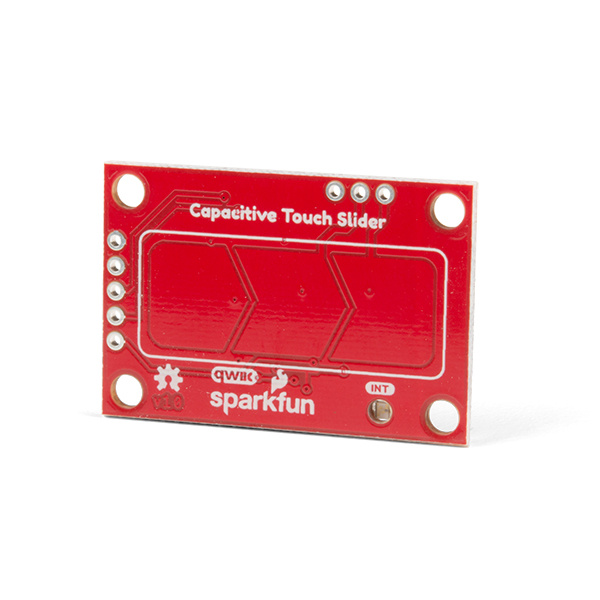
Do you want to replace a slider or a button on your art project or science experiment with a more interesting interface? The SparkFun Capacitive Touch Slider - CAP1203 (Qwiic) is a Qwiic and easy way to add capacitive touch to your next project. With the board's built in touch pads, you can immediately start playing with the touch capabilities as three unique touch inputs or as a slider. You can also enable a touch input to act as a power button, customize the sensitivity for your own touch pads, and play with the interrupt alert LED. Since the sensor supports I2C, we've added a Qwiic connector for easy integration into the Qwiic environment. We've also added breakout pins for the capacitive touch inputs, so you can connect to your own touch pads.
SEN-15344
Add capacitive touch to your next project with Qwiic so you can start playing with the touch capabilities as three unique tou…
Required Materials
To follow along with the example code used in this tutorial, you will also need the following materials. You may not need everything though depending on what you have. Add it to your cart, read through the guide, and adjust the cart as necessary.
DEV-15123
The SparkFun RedBoard Qwiic is an Arduino-compatible development board with a built in Qwiic connector, eliminating the need …
CAB-10215
USB 2.0 type A to Micro-B 5-pin. This is a new, smaller connector for USB devices. Micro-B connectors are about half the heig…
PRT-14426
This is a 50mm long 4-conductor cable with 1mm JST termination. It’s designed to connect Qwiic enabled components together …
Retired
Heads up! If you are using the
RedBoard without a Qwiic connector, we recommend getting the Qwiic Shield for Arduino.
DEV-14352
The SparkFun Qwiic Shield is an easy-to-assemble board that provides a simple way to incorporate the Qwiic Connect System wit…
If you need different sizes of Qwiic cables, we offer a kit that contains many sizes but we also carry them individually.
KIT-15081
To make it even easier to get started, we've assembled this Qwiic Cable Kit with a variety of Qwiic cables from 50mm to 500mm…
PRT-14427
This is a 100mm long 4-conductor cable with 1mm JST termination. It’s designed to connect Qwiic enabled components together…
Retired
PRT-14425
This is a jumper adapter cable that comes pre-terminated with a female Qwiic JST connector on one end and a breadboard hookup…
Retired
PRT-14429
This is a 500mm long 4-conductor cable with 1mm JST termination. It’s designed to connect Qwiic enabled components together…
Retired
Suggested Reading
If you aren't familiar with the Qwiic system, we recommend reading here for an overview.
We would also recommend taking a look at the following tutorials if you aren't familiar with them.
Button and Switch Basics
A tutorial on electronics' most overlooked and underappreciated component: the switch! Here we explain the difference between momentary and maintained switches and what all those acronyms (NO, NC, SPDT, SPST, ...) stand for.
Capacitors
Learn about all things capacitors. How they're made. How they work. How they look. Types of capacitors. Series/parallel capacitors. Capacitor applications.
I2C
An introduction to I2C, one of the main embedded communications protocols in use today.
How to Work with Jumper Pads and PCB Traces
Handling PCB jumper pads and traces is an essential skill. Learn how to cut a PCB trace, add a solder jumper between pads to reroute connections, and repair a trace with the green wire method if a trace is damaged.
RedBoard Qwiic Hookup Guide
This tutorial covers the basic functionality of the RedBoard Qwiic. This tutorial also covers how to get started blinking an LED and using the Qwiic system.


