Blynk Board Arduino Development Guide
 jimblom
Install the Blynk Board Arduino Addon
Download, Install Arduino
If you've never used an Arduino Board, or the Arduino IDE before, we apologize in advanced for potentially feeding a new addiction. Arduino is an open-source development environment for embedded microcontrollers. But, beyond that, it's a simplified programming language, standardized hardware layout, and a helpful community.Head over to Arduino.cc to download the software. It'll run on Windows, Mac, Linux – almost anything you can throw at it!
To use the Blynk Board in Arduino, you'll need to install a few additional files on top of the core Arduino program. Fortunately for us, Arduino's new Board Manager feature makes that just a few copy/pastes and button-clicks away!
Install the Blynk Board Addon
We'll use the Arduino Board Manager feature to help set the IDE up for the Blynk Board. Follow the steps below to instill the IDE with Blynk Board compatibility.
Step 1: Give Arduino the Link
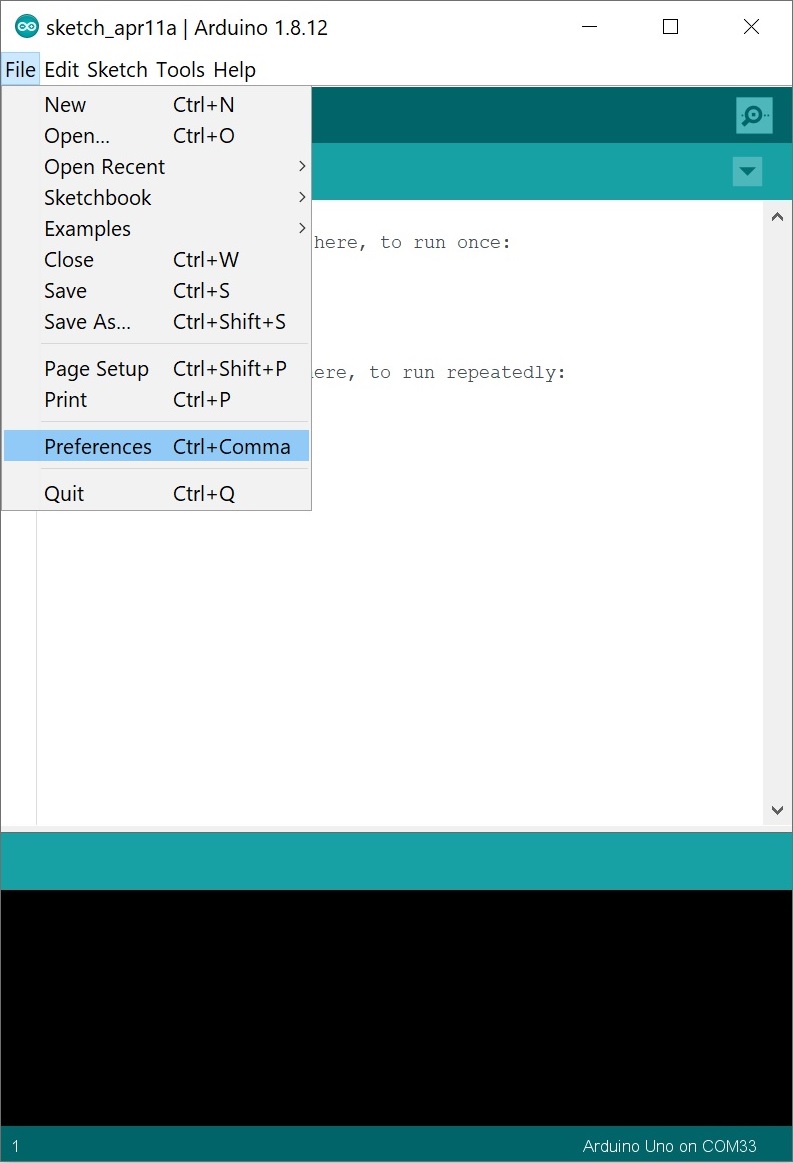
To tell Arduino where to get the board definitions from, open the Arduino preferences, which you'll find under the File > Preferences menu.
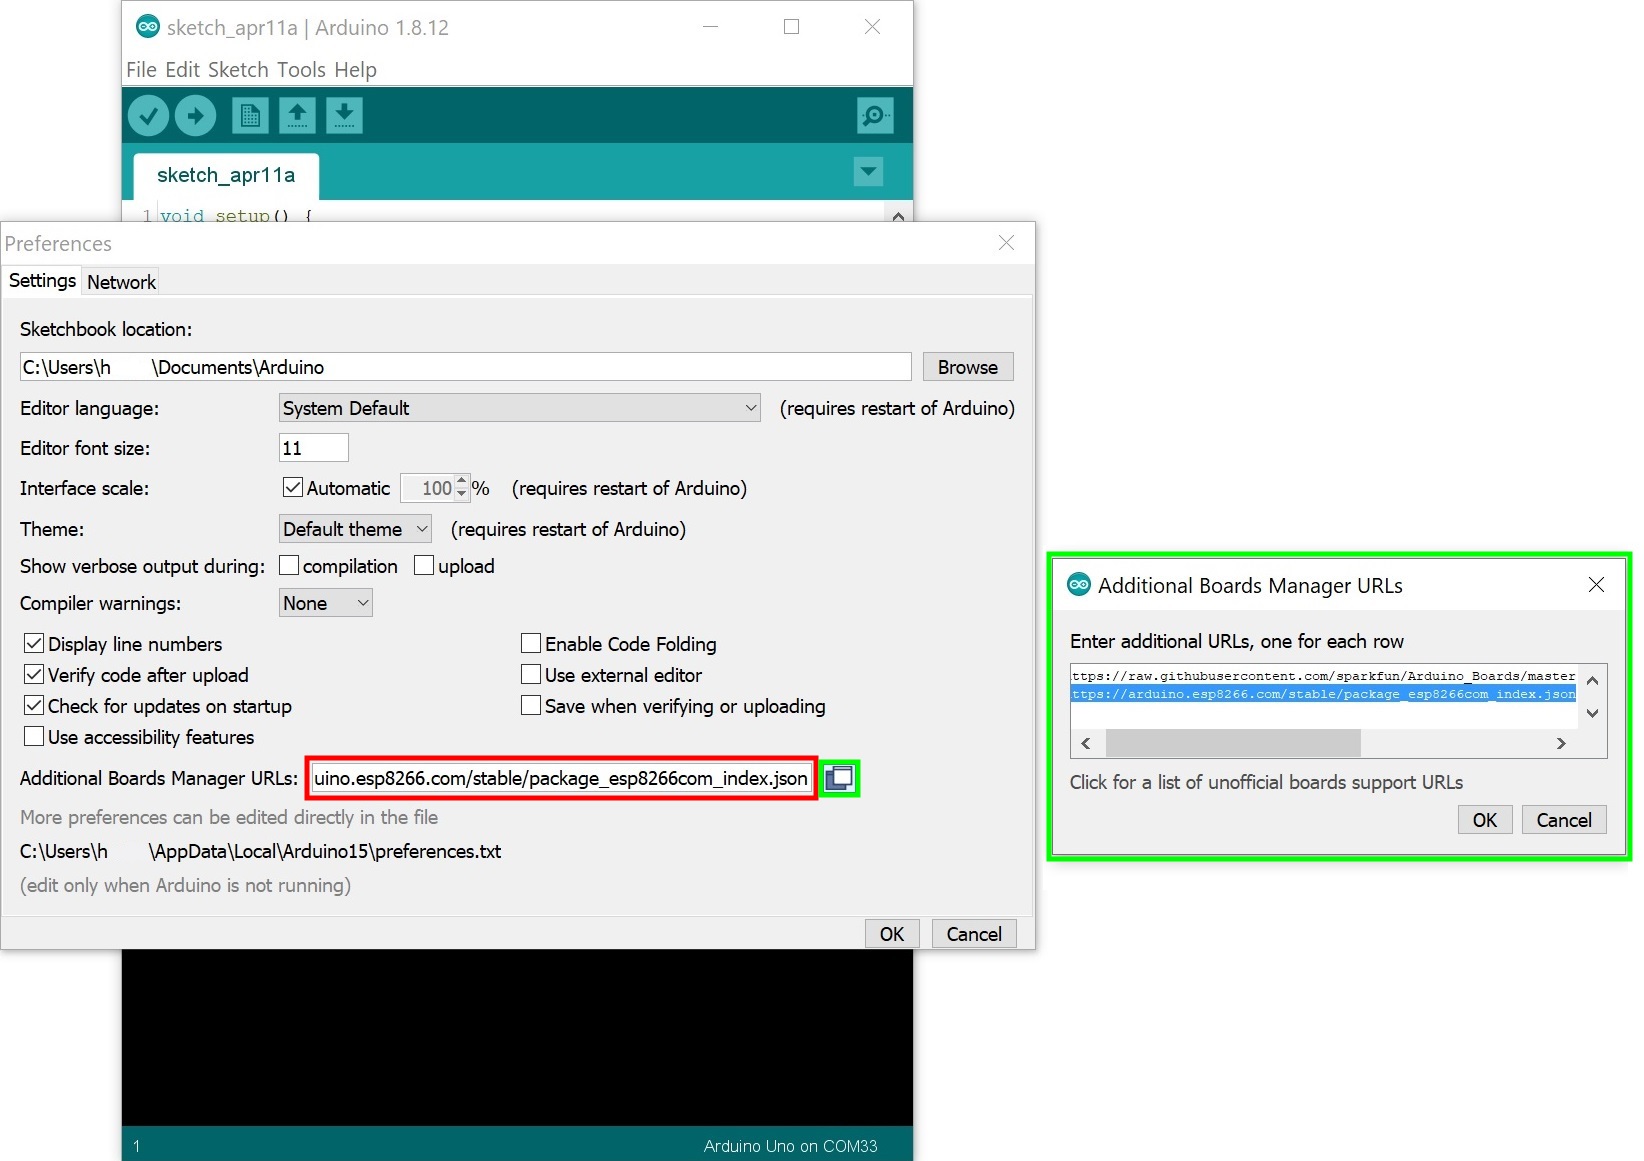
Then copy this URL:
http://arduino.esp8266.com/stable/package_esp8266com_index.json
And, paste it into the "Additional Board Manager URLs" text box (as shown in red in the image below). If you have more than one board add on, you can click on the button to the right of the text box (as shown in the smaller green box). This will open another window (as shown in the bigger green box) and pasting the URL under a new line.
Step 2: Install the Definitions
With the link pasted, hit OK in the preferences box. Then navigate to Tools > Board > Boards Manager....
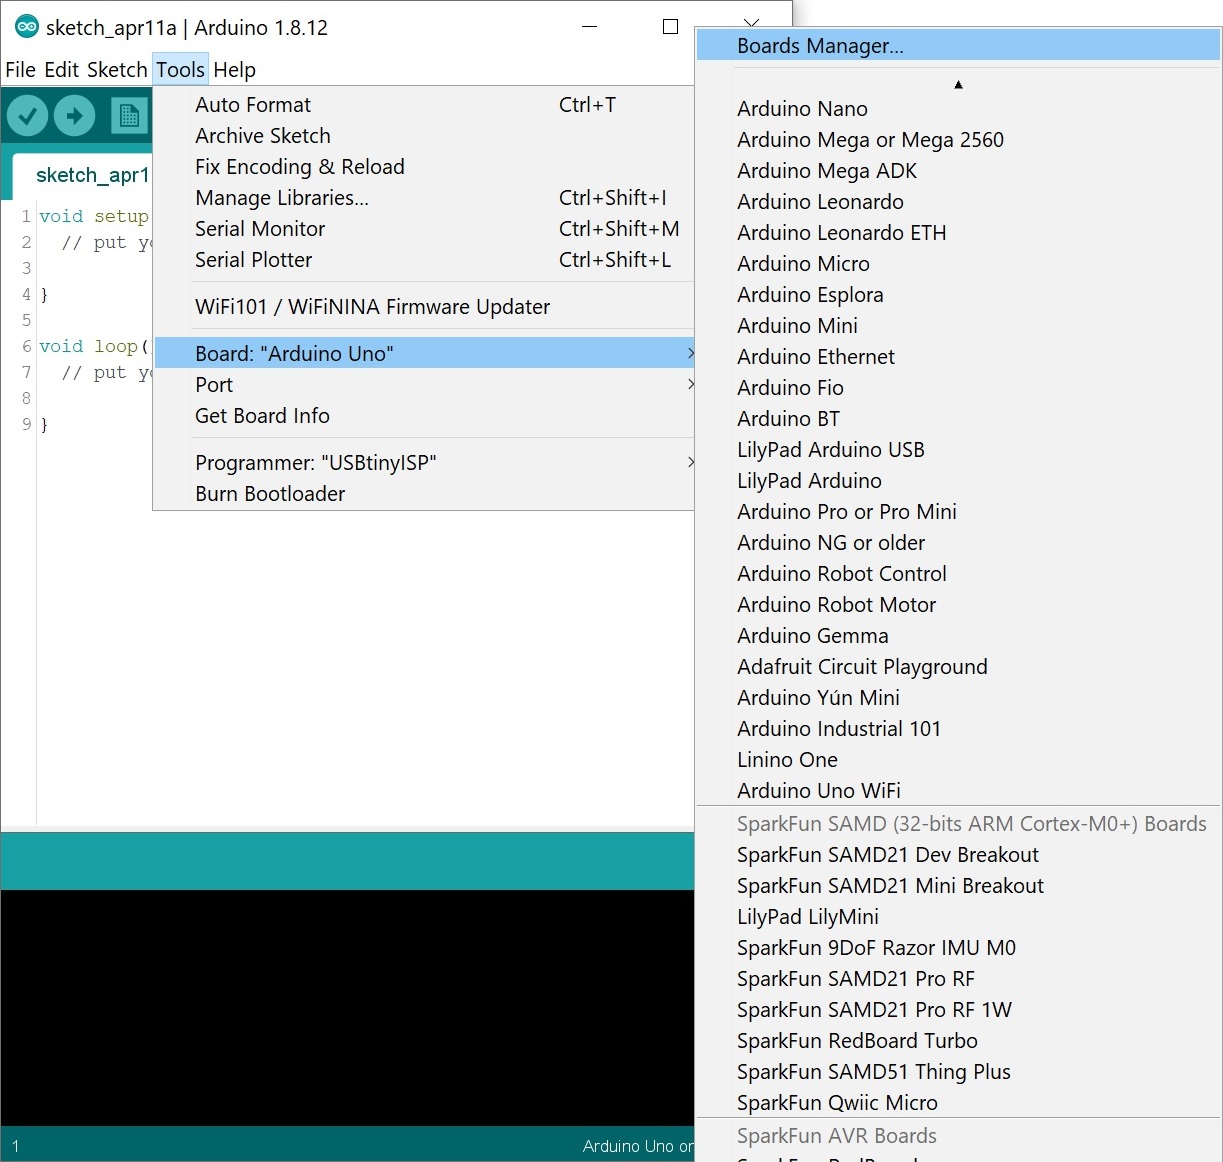
In the window that pops open next, search for "esp8266". The "esp8266 by ESP8266 Community" menu entry should be the only survivor.

Select that, and click Install. The process may take a couple minutes to download, as the tools are about 100MB.
Without going into too much detail, if you have both board definitions installed and get an error when trying to upload, this might be your issue. If you decide to use the depreciated SparkFun board definitions, you can uninstall both board definitions and re-install only the SparkFun ESP8266 folder. Check out the detailed instructions with screenshots in the following .pdf file using a Mac (the instructions are the same for a Windows computer) if you decide to use the older board files.
* Although unlikely, if your file systems are corrupted, you may need to go in and delete the associated esp8266 folders from the User and/or AppData folder (Look up how to do this first. Avoid if you are not sure what you are doing, you could do more damage and make it harder to fix.).
Step 3: Select the Blynk Board
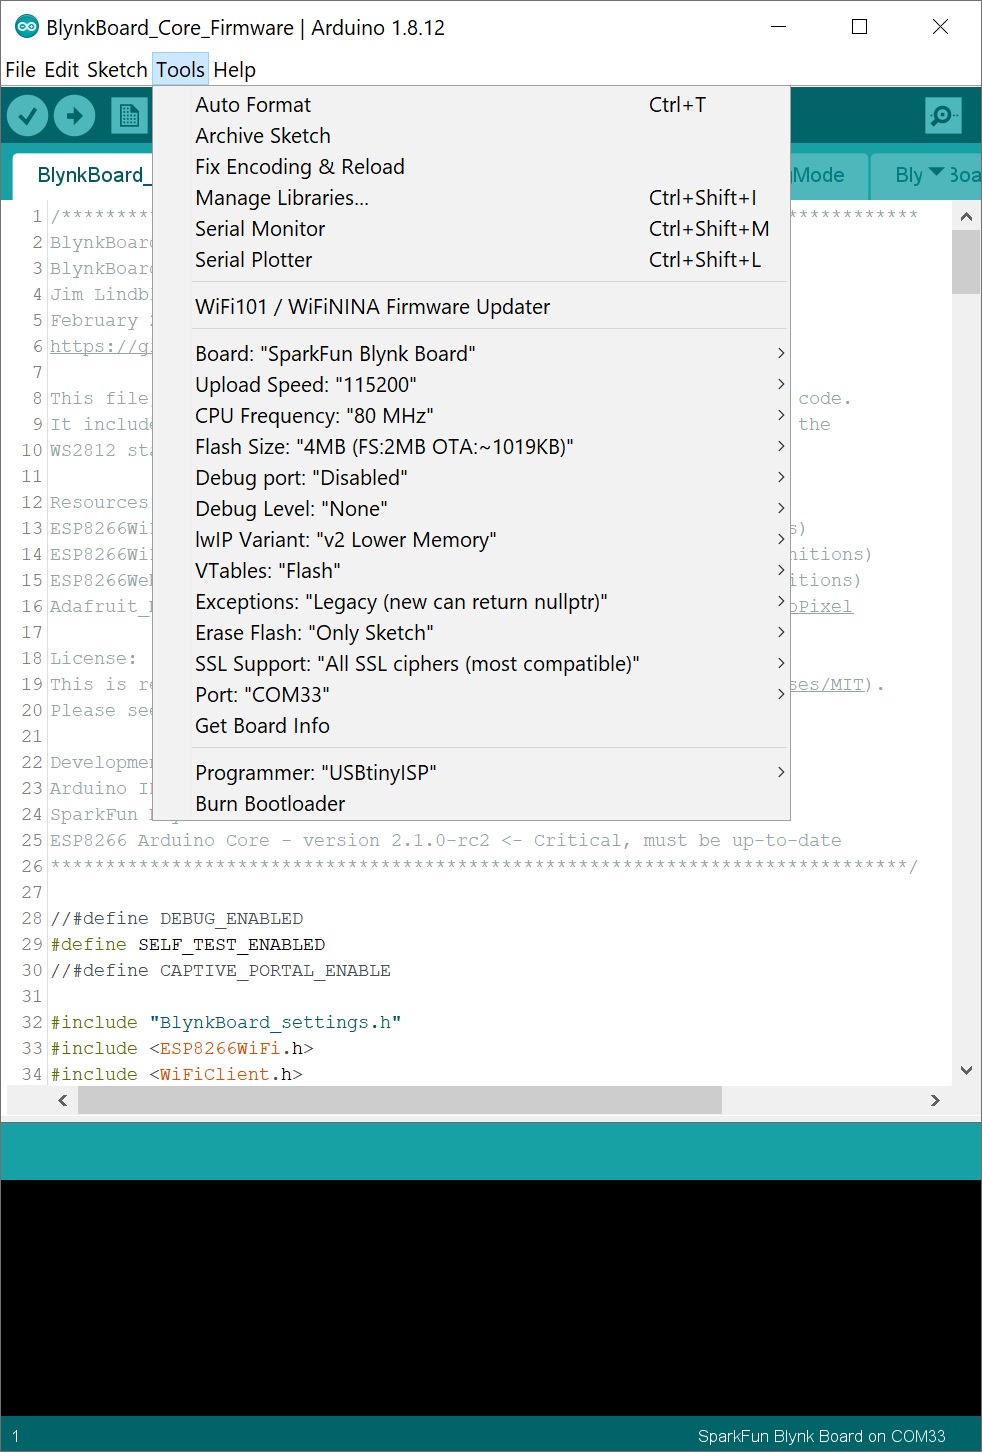
After the board manager successfully grabs the Blynk Board definitions, look under the Tools > Board menu again -- you should see a menu entry for SparkFun Blynk Board.
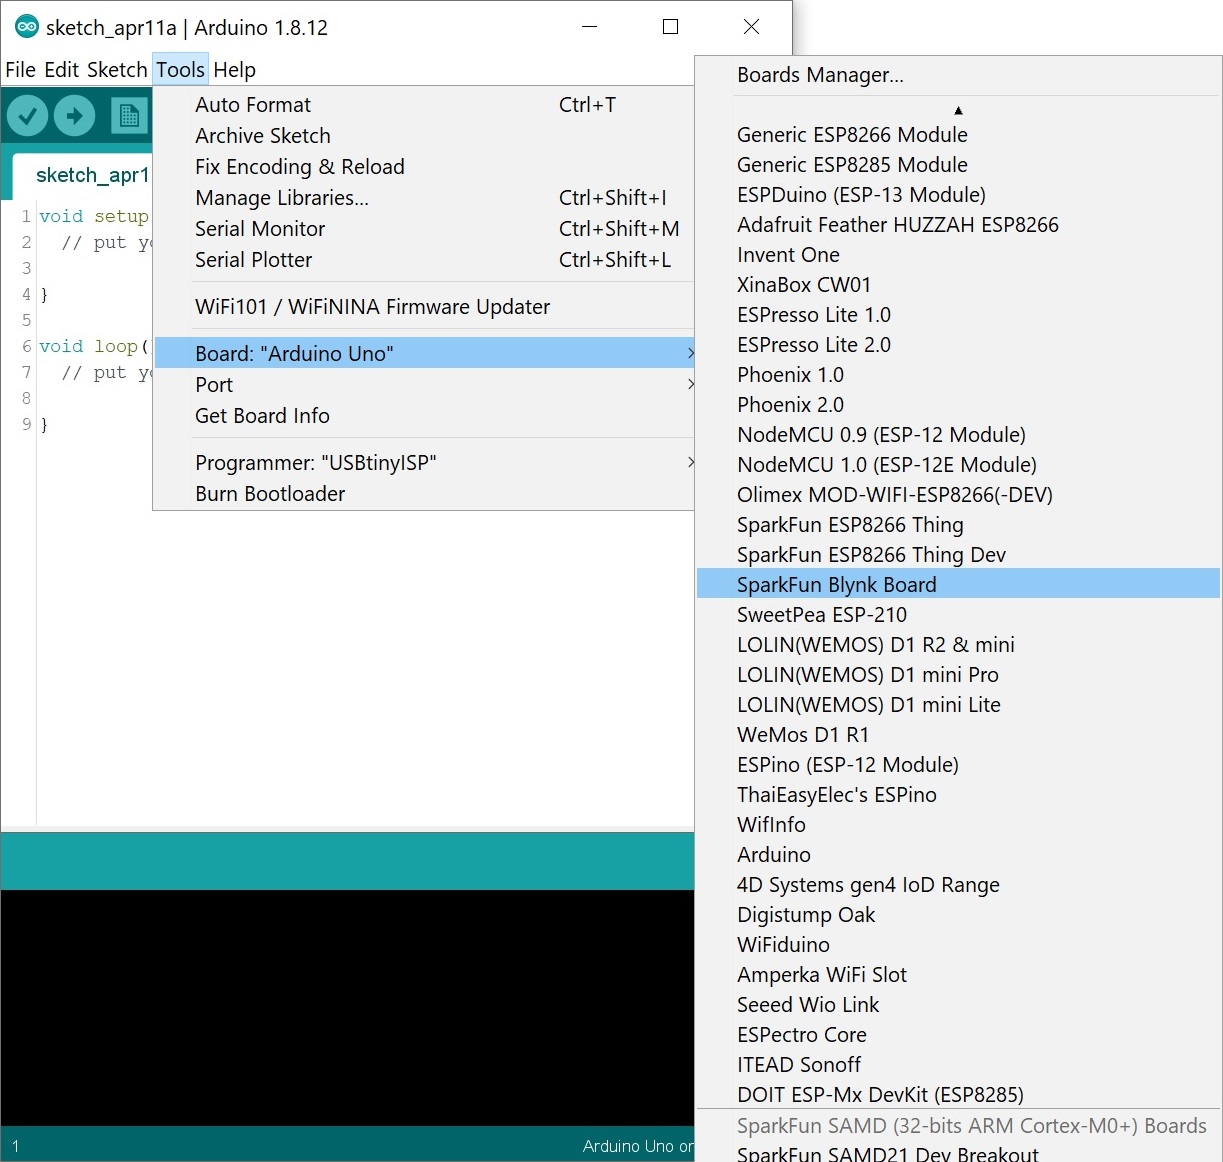
Select that, and you're just about there. If you reopen the window, you'll notice a few options for the SparkFun Blynk Board's ESP8266. Besides adjusting the upload speed to 921600, we recommend leaving the other options as their default configuration. Head to the Tools > Port and select the COM port that the FTDI enumerated to. In this case, it was COM33 but it will be different on your computer.
Time to load some Blynk code!