Assembly Guide for SparkFun JetBot AI Kit
This Tutorial is Retired!
While the hardware assambly instructions for the original (beta) version of the Jetbot are still valid; the software instructions are not. Please refer to our latest tutorial, linked below:
View the updated tutorial: Assembly Guide for SparkFun JetBot AI Kit V2.0
 Evan_Double_U
2. Camera Assembly & Installation
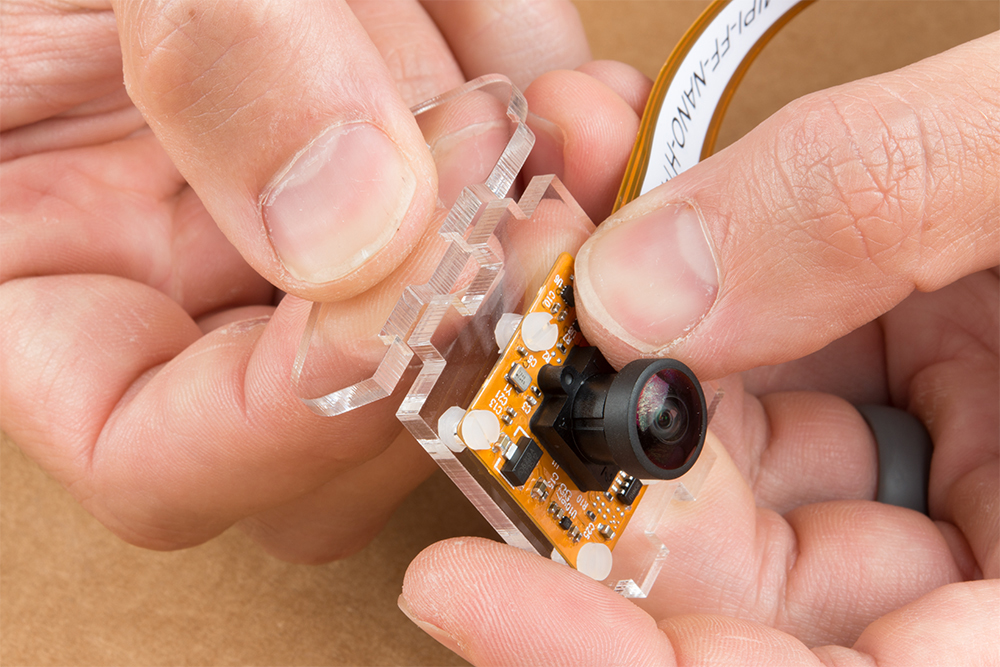
Unpackage the Leopard Imaging camera & align the four holes in the acrylic mounting plate with those on the camera.
Note: ensure that the ribbon cable is extending over the acrylic plate on the edge that does not have mounting holes near the edge; as shown below.
Place all four nylon flathead screws through the camera & acrylic mounting plate prior to fully tightening the nylon nuts. This will ensure equal alignment across all four screws. Tighten the screws while holding the nuts with finger pressure in a rotating criss cross pattern; similar to how you tighten lug nuts on a car rim.

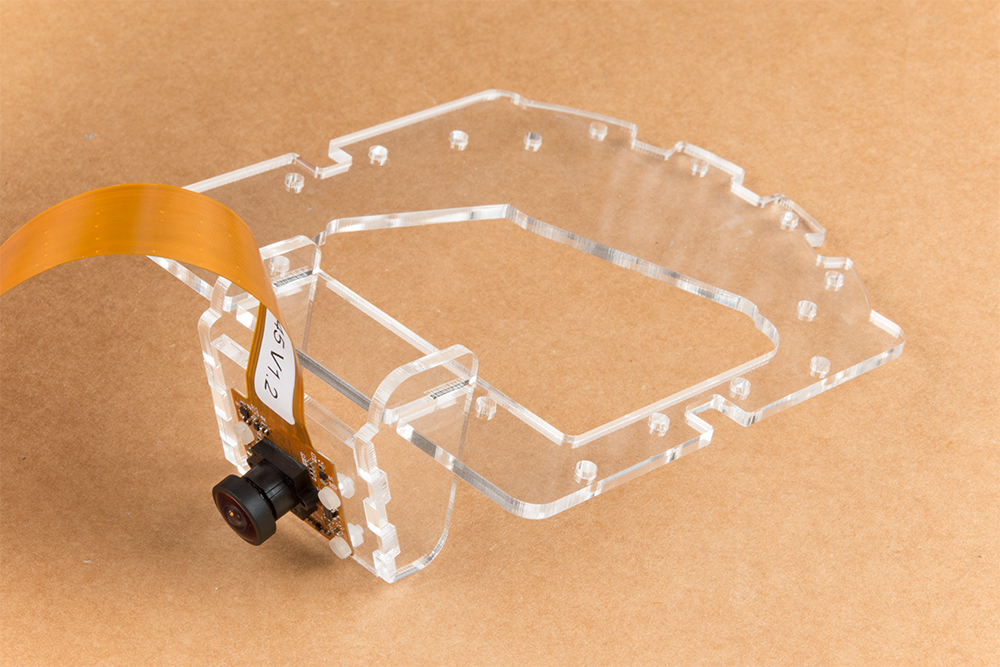
Align one acrylic sidewall with the camera mounting plate as shown below ensuring that the widest section of the sidewall is oriented to the top of the camera mount where the ribbon cable extends.
Apply even pressure on each piece until they fit together. Note: these pieces are designed to have an interference fit and will have a nice, satisfying "click" when they fit together.

Repeat this process on the other side to fully assemble the camera mount.

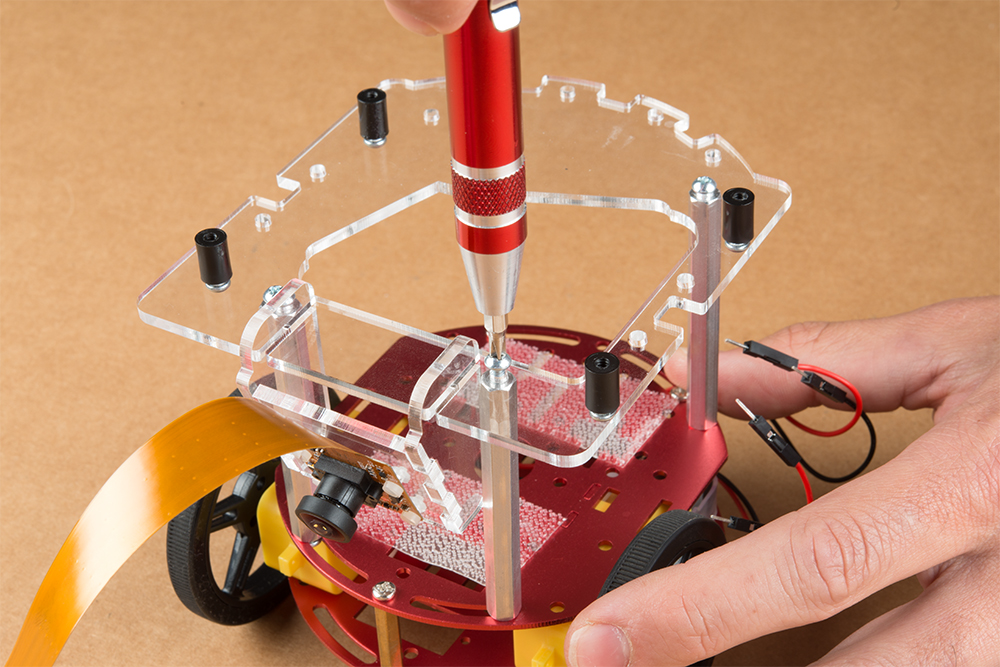
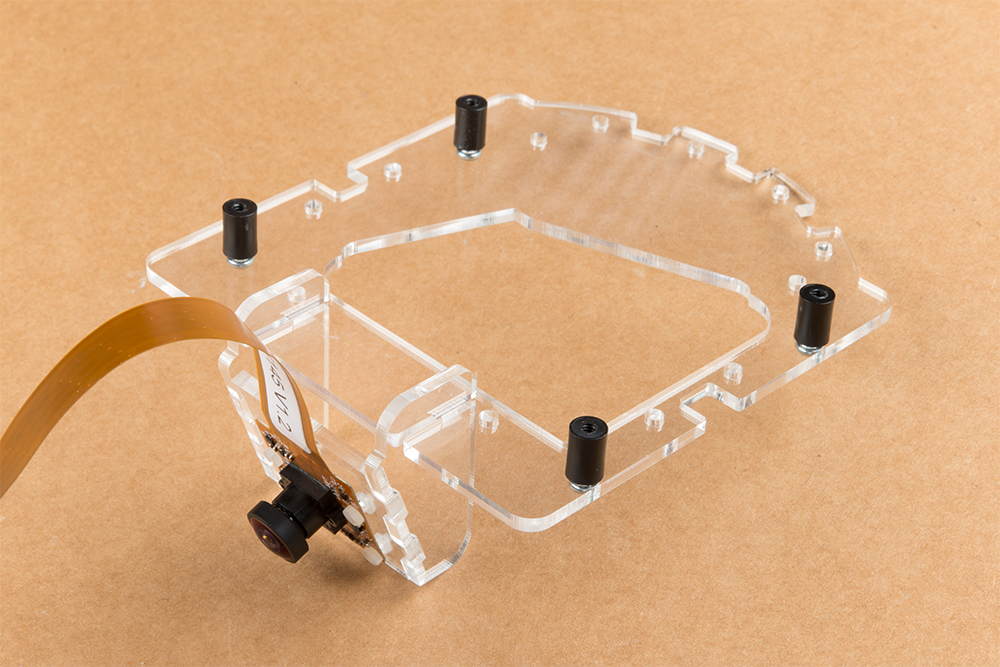
The camera mount should now be installed to the SparkFun Jetbot acrylic mounting plate using the overlapping groove joints. Ensure that the cut out on the acrylic mounting plate is facing towards the front/right of the Jetbot as shown. This will ensure that there is plenty of room for the camera ribbon cable to pass around the assembly and up to the Jetson nano camera connector.
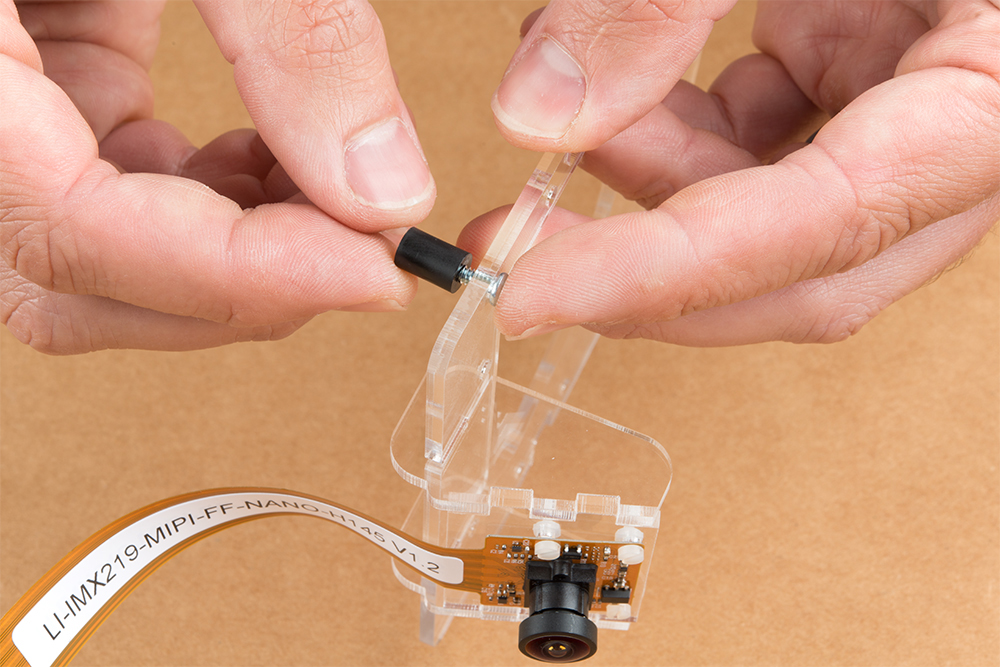
Install four of the nylon standoffs to the top of the SparkFun Jetbot acrylic mounting plate using four of the included 1/4 in 4-40 Phillips head screws as shown below.
Utilize three more of the 1/4 in 4-40 Phillips head screws to install the SparkFun Jetbot acrylic mounting plate to the aluminum standoffs extending from the Two-layer circular robotics chassis as shown below.