Assembly Guide for RedBot with Shadow Chassis
9. Batteries
The last step is to provide a power source for the RedBot. If you do not have the SIK for RedBot, you will need to provide your own AA batteries.
Locate the Following:
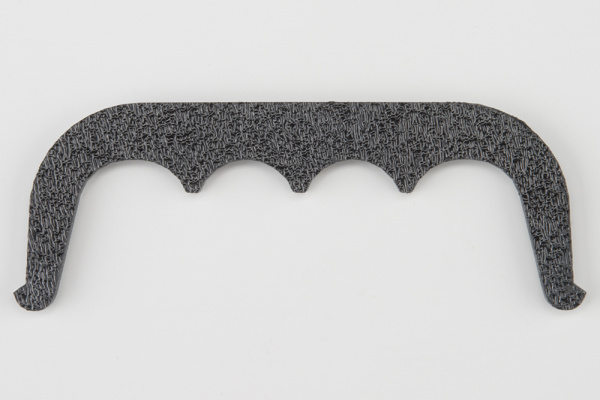
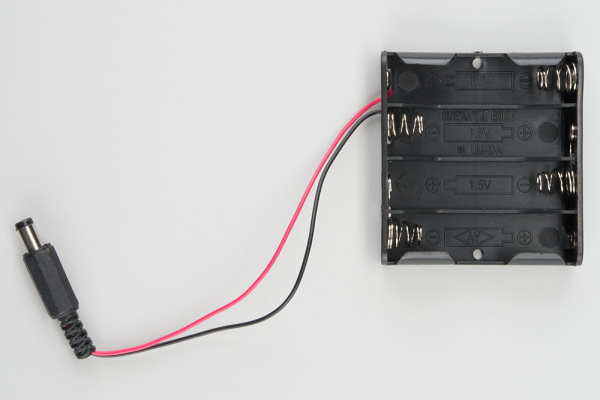
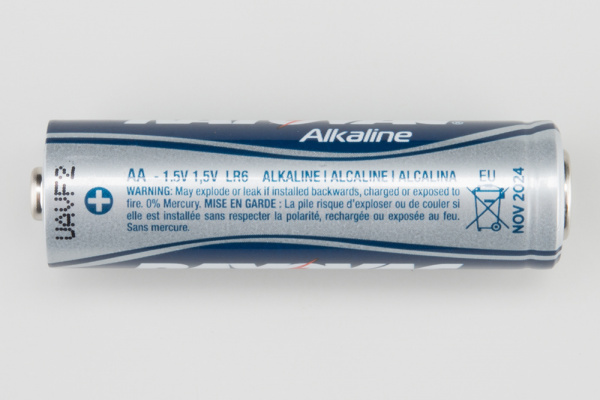
| 1x Battery Pack Clip (H) | 1x Battery Holder (Z) | 4x AA Batteries* (AA) |
 |
 |
 |
| * Provided in the SIK for RedBot | ||
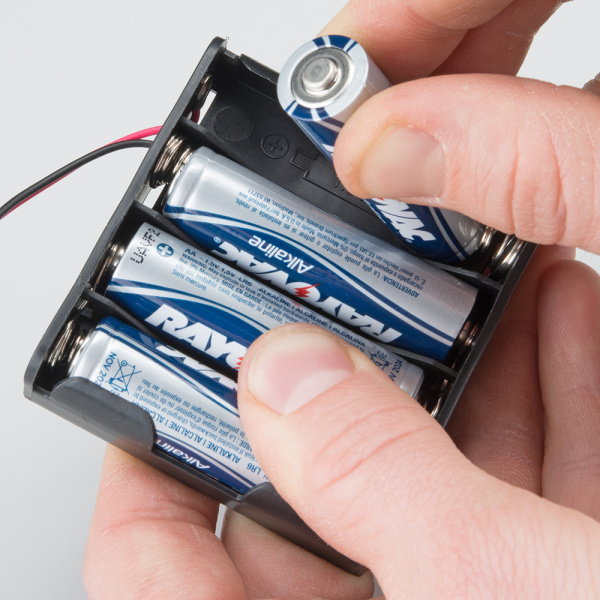
Insert Batteries
Insert the AA batteries into the Battery Holder (Z). Makes sure the batteries are facing the correct direction, as per the markings inside of the Battery Holder.
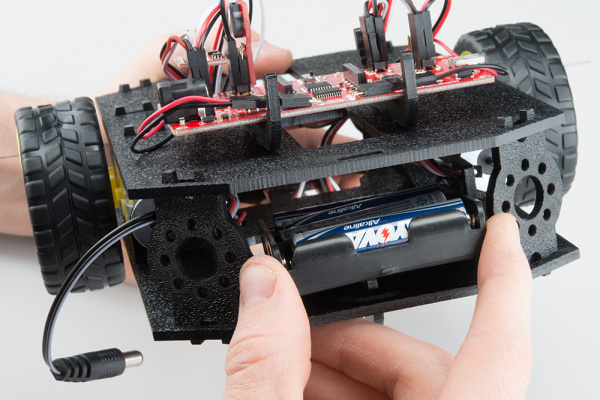
Attach Battery Pack
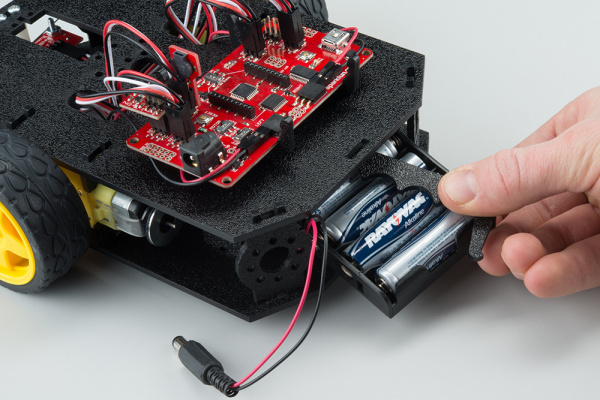
Insert the Battery Holder (Z) with batteries into the back cavity of the RedBot. Position the Battery Holder so that the barrel jack cable comes out on the left side of the robot.
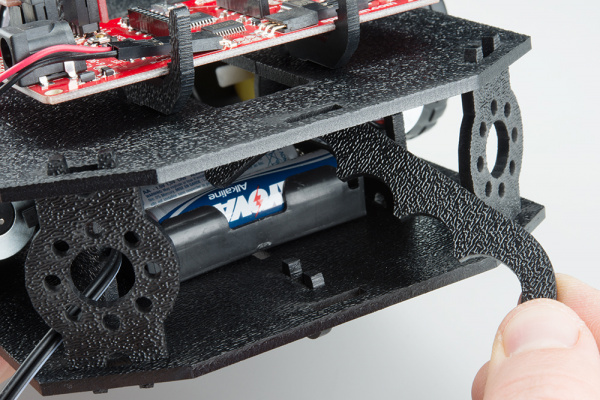
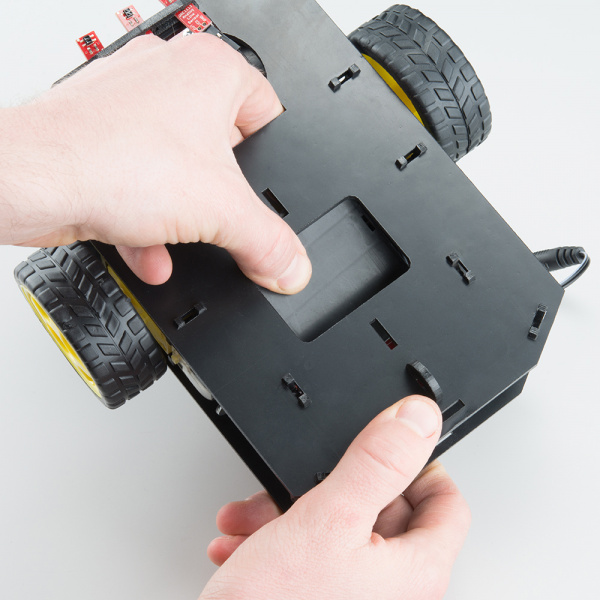
Insert the Battery Pack Clip (H) on top of the battery pack.
Twist and position the clip so that it rests on top of the battery pack.
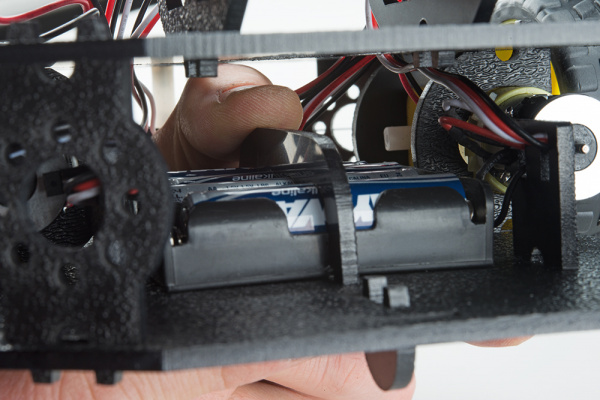
Push the clip down into the vertical slots in the Bottom Chassis Plate so it snaps in place.
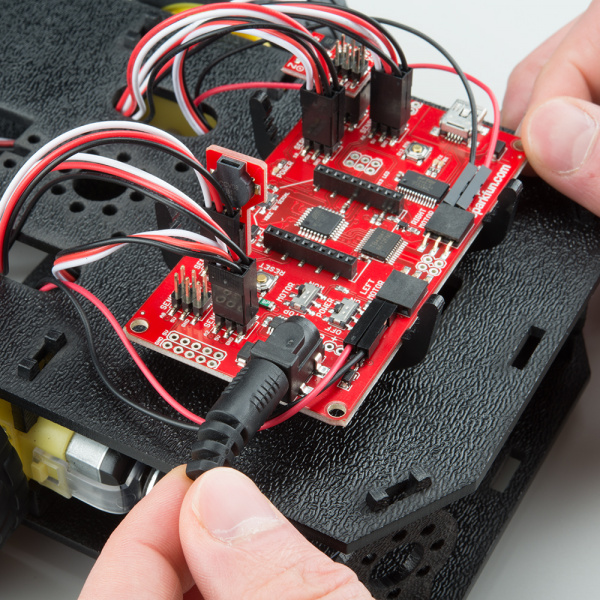
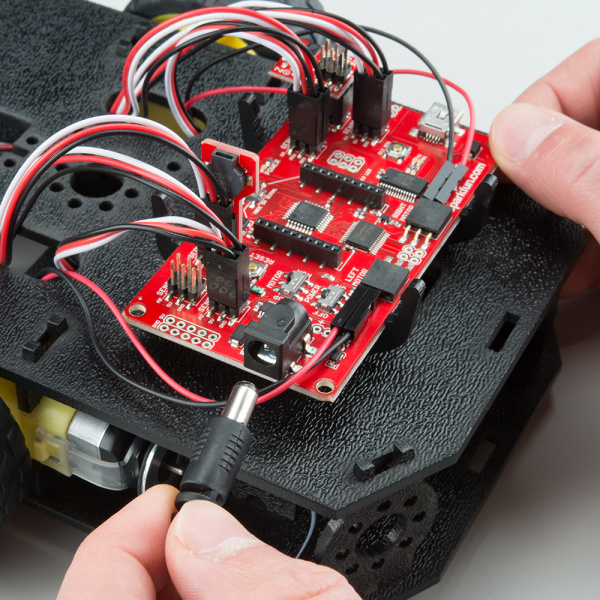
Route the barrel jack cable out of the left side of the RedBot and up to the Mainboard. If you have a motor encoder (SIK), make sure that the cable does not interfere with the magnet or the hall effect sensor.
Plug the barrel jack cable into the connector labeled V_IN.
Changing the Batteries
If you find that you need to replace the batteries in the RedBot, the process is simple. Unplug the battery pack from the Mainboard.
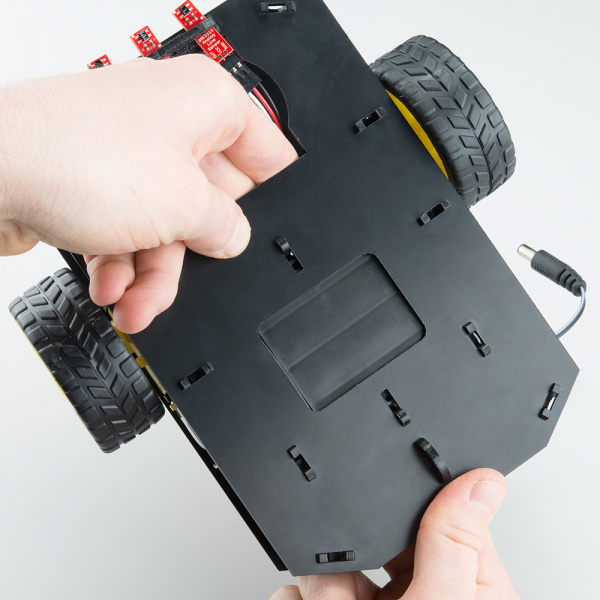
Turn the RedBot over and push on the Battery Holder through the hole in the Bottom Chassis Plate. This will cause the Battery Pack Clip to unsnap from the Bottom Chassis Plate.
Slide the Battery Pack and Clip out from the back of the RedBot.
Change the batteries, and follow the steps in Attach Battery Pack section above to put the Battery Pack back in the RedBot.
