Wireless RC Robot with Arduino and XBees
Coding Challenges
Broadcasting to an Army of Robots
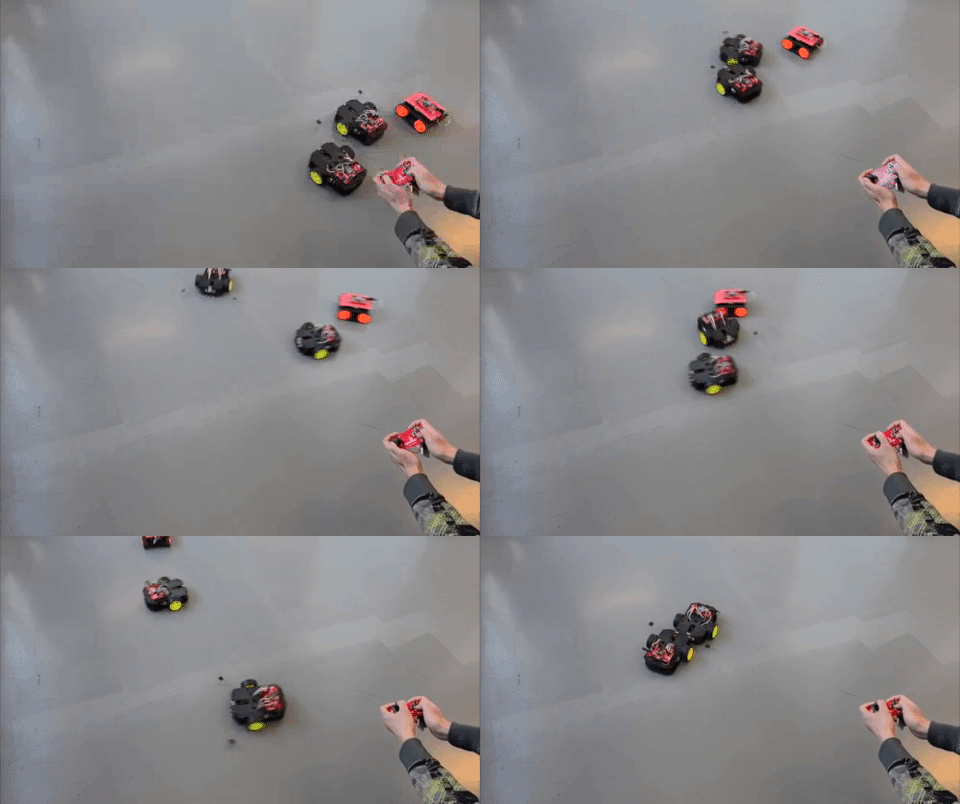
Remember the GIF shown at the beginning of the tutorial? They were used to stress test the XBee 3's and examples used in this tutorial. Instead of controlling one robot, try broadcasting the commands from one controller to several robots! Just make sure to configure your XBees with unique addresses and adjust the controller's configuration for broadcasting.
More with Buttons
The RedBot motor speed was set at one intensity. Instead of one set motor intensity for each character, try dividing the motor intensity for different characters by utilizing the other buttons. Or try adjusting the code to have the robot pivot left or right.
Methods of Transmitting Serial
Instead of sending one character to move, try adjusting the code to transmit different motor intensities and utilize the XBee's API packet structure. Or try sending serial through a mesh network configuration. You'll need to parse the data into an array and convert the string into numbers similar to the example code provided in the Remote Tank Steering Motor Controller. Instead of sending a character to a RedBot, the example had sent a string of characters to an Arduino with the Serial Controlled Motor Driver.
Controlling with Sensors
Instead of using buttons and a joystick, try using a motion sensor to control the RedBot based on movement like the RedBot''s accelerometer included in the kit.
Or make a glove to control the RedBot based on gestures.
Wireless Glove Controller
Wireless Gesture Controlled Robot
Hardware Upgrades
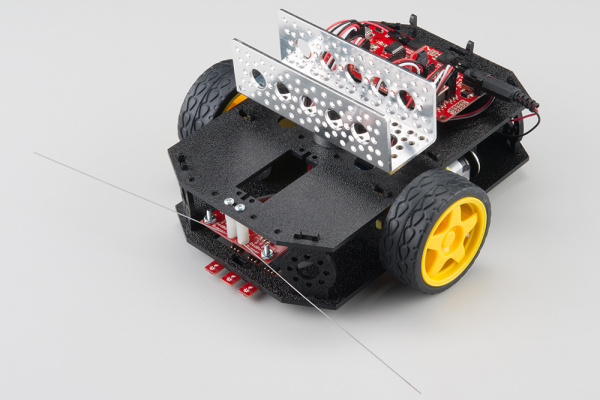
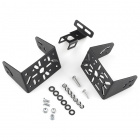
Remember, there are spots for additional Actobotics hardware cut into the Shadow Chassis!
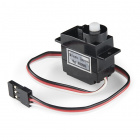
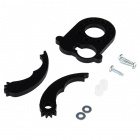
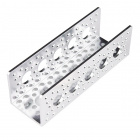
Try adding a servo claw to pick up a small object like a pen. Here are a servos and Actobotics parts from our catalog to check out.
Aluminum Channel - 4.50"
ROB-12122LiPo Battery Monitoring
If you looked through the guide for the wireless controller, you'll notice that there are examples to monitor your LiPo battery! Try to combine code to control the RedBot with the LiPo Battery Monitor and micro OLED display .
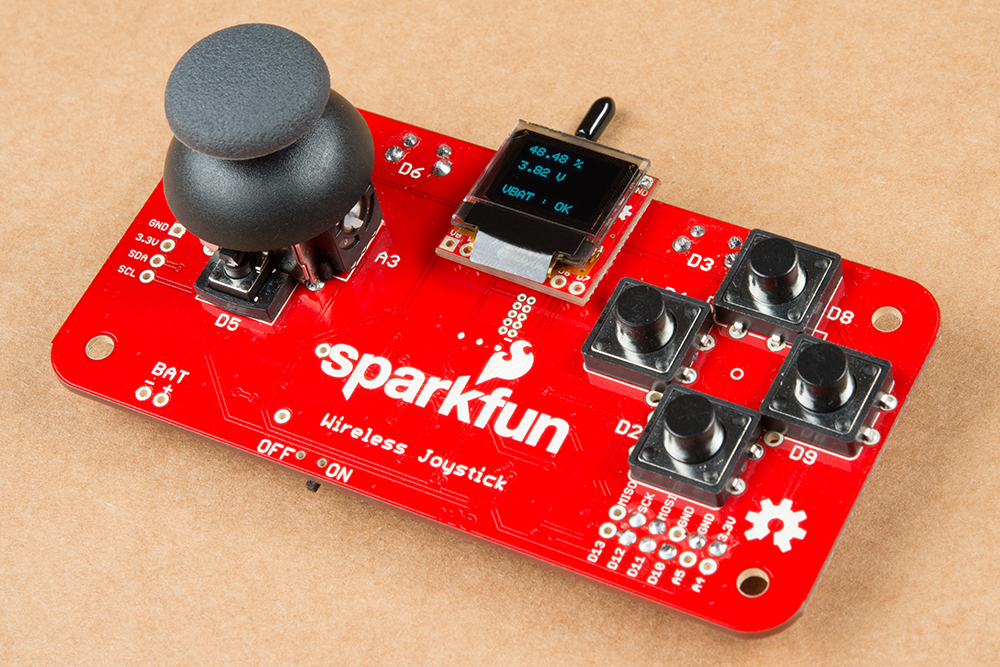 |
| LiPo Battery Monitoring with the micro OLED |
Sensing the Environment
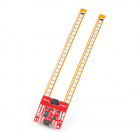
Try sending data back from the line following sensors or encoders used in the RedBot kit back to the controller. Better yet, add the air quality sensor or humidity & temperature sensor to monitor the environment at a distance like a planetary rover. You'll need either a serial monitor or micro OLED connected to be able to view the data.
SparkFun Air Quality Breakout - CCS811
SEN-14193Efficiently Sending Commands
Try modifying the code to be efficient and save power instead of constantly sending commands. Currently, the controller repeatedly sends a command to notify the RedBot to stop, even when we are not pressing any buttons.
