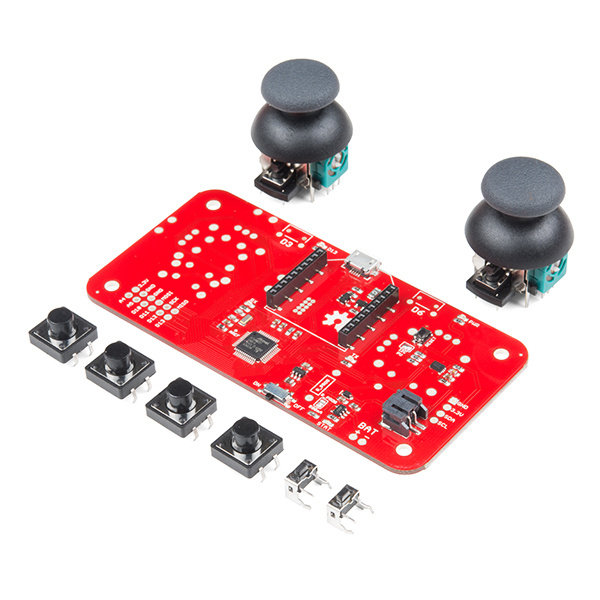
Wireless Joystick Hookup Guide
Contributors:
 Alex the Giant
Introduction
Heads up! Originally, this tutorial was written to configure an XBee Series 1 to communicate in transparency mode. However, this can apply to the XBee Series 3 module as long as you configure the firmware to the legacy 802.15.4 protocol. For more information, check out the Exploring XBees and XCTU tutorial.
The Wireless Joystick Kit provides an easy way to control your next XBee project. Before the Wireless Joystick, radio controlled projects used hobby RC transmitters, the same that are used for RC cars, boats, and planes. The problem with these transmitters is many aren't customizable, and the ones that are, tend to be too expensive for many of us. The Wireless Joystick aims to bring a custom wireless solution for those that want to control their project the way they want to, not the way they're forced to.
Suggested Reading
Before getting started, you may find the following links useful:
- Installing an Arduino Library
- SAMD21 Mini/Dev Breakout Hookup Guide
- XBee Buying Guide
- Exploring XBees and XCTU
- Serial Communication
- I2C Protocol
- LiPo Charging Guide
Serial Communication
Asynchronous serial communication concepts: packets, signal levels, baud rates, UARTs and more!
Installing an Arduino Library
How do I install a custom Arduino library? It's easy! This tutorial will go over how to install an Arduino library using the Arduino Library Manager. For libraries not linked with the Arduino IDE, we will also go over manually installing an Arduino library.
I2C
An introduction to I2C, one of the main embedded communications protocols in use today.
LiPo USB Charger Hookup Guide
How to charge your LiPo batteries with the USB LiPo charger. Plus how to modify your charger to set the charge current.
Exploring XBees and XCTU
How to set up an XBee using your computer, the X-CTU software, and an XBee Explorer interface board.
SAMD21 Mini/Dev Breakout Hookup Guide
An introduction to the Atmel ATSAMD21G18 microprocessor and our Mini and Pro R3 breakout boards. Level up your Arduino-skills with the powerful ARM Cortex M0+ processor.
