SAMD21 Mini/Dev Breakout Hookup Guide
 jimblom
 Introduction
If you're ready to step up your Arduino game from older 8-bit/16MHz microcontrollers, the ATSAMD21 is an awesome alternative. The ATSAMD21G18 is an ARM Cortex M0+, 32-bit microcontroller that can run at up to 48MHz, and it comes complete with 256KB of flash memory and 32KB of SRAM. Plus, best of all, it's fully supported in the Arduino IDE!
SparkFun has come up with two new breakout boards for the ATSAMD21G18, both coming in familiar shapes. There's the full-size, Arduino-shaped SAMD21 Dev Breakout. And the minuscule, Pro Mini-shaped SAMD21 Mini Breakout.
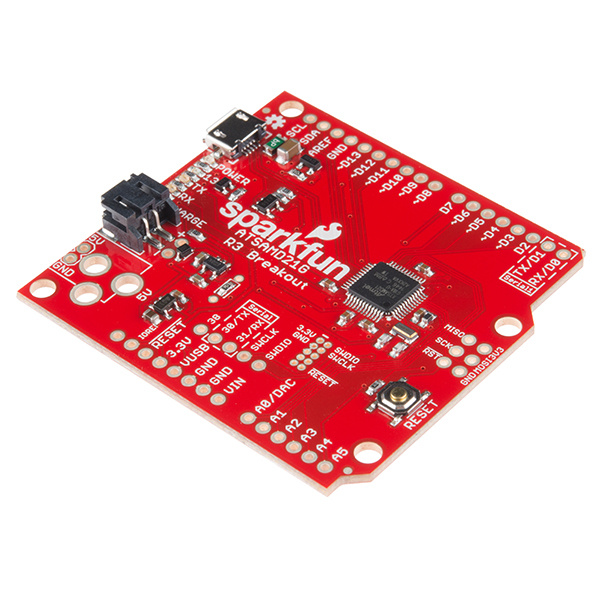
SparkFun SAMD21 Development Breakout
DEV-13672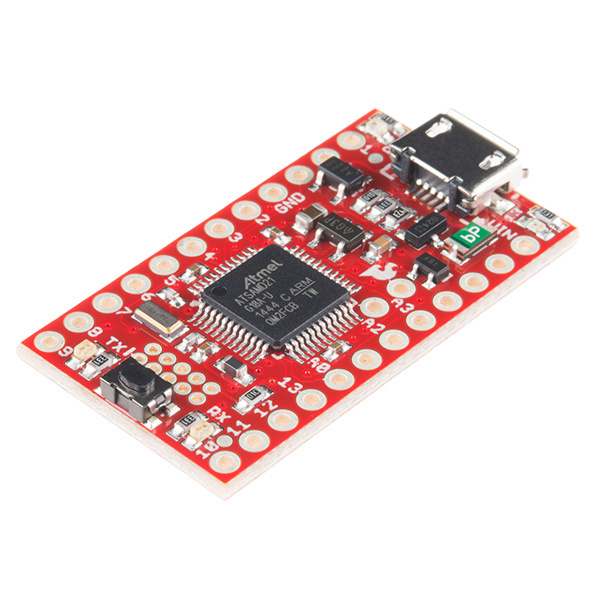
Both boards have similar feature sets -- they equip the ATSAMD21G18 with a USB interface for programming and power, then surround it with an RTC crystal, 600mA 3.3V regulator, and a variety of other components. The Dev Breakout's extra PCB real-estate leaves room for extra GPIO and an integrated LiPo charger.
Tutorial Scope
This tutorial covers, from the ground up, all things ATSAMD21 and the SparkFun Mini and Dev Breakout boards. It's split into a number of pages, including:
- SAMD21 Overview -- An introduction to the SAMD21 microprocessor. Highlights of some of the µC's most unique features.
- Board Overviews -- An overview of the hardware features of each breakout board:
- Hardware Setup -- How to power, assemble the SAMD21 boards. Plus driver installation for Windows users!
- Setting Up Arduino -- How to set up support for the SparkFun SAMD21 boards in the Arduino IDE.
- Example Sketches -- Simple Arduino sketches to help demonstrate some of the unique features of the SAMD21.
- Blink -- Blinking an LED is the classic starting point for learning how to program embedded electronics. It’s the “Hello, World!” of microcontrollers.
- Serial Ports -- Learn the difference between
Serial,Serial1, andSerialUSB. - Analog Input and Output -- Plotting the DAC output with an ADC input.
- Real-Time Clock (RTC) -- Using the RTC to create a serial-controlled alarm clock.
- Troubleshooting -- Tips for working around some of the SAMD21's quirks.
Materials
In addition to either of the SAMD21 Breakout Boards, you'll also need a Micro-B Cable (as if you don't already have dozens in your USB cable drawer!). That's all you'll need to get started. But...
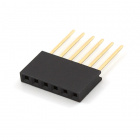
Eventually you'll want to solder something to the board. If you don't already have soldering tools, a soldering iron and some solder may also come in handy. You can choose your own adventure when it comes to soldering connectors into the boards. Any of these headers (or wire) may come in handy:


If you have a SAMD21 Dev Board, you can take advantage of its LiPo charger with a single-cell Lithium Polymer battery, and/or solder a PTH Barrel Jack in to power it with a 5V Wall Adapter.
Suggested Reading
Before continuing on with this tutorial, you may want to familiarize yourself with some of these topics if they’re unfamiliar to you: