Using the PSoC 6 Pioneer Board with the Pioneer IoT Add-on Shield
Introduction
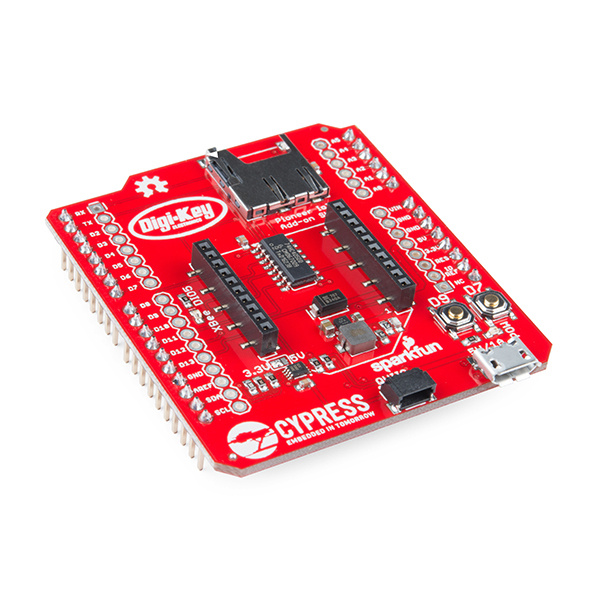
The PSoC 6 is the latest addition to Cypress's powerful PSoC series of processors. The PSoC 6 Pioneer IoT Add-On Shield is the development tool associated with this processor line, sporting an onboard debugger, Arduino compatible headers, CapSense widgets, and more, all tied to a PSoC 6 processor. The processor is a dual-core device, with a Cortex-M0+ low power processor and a Cortex-M4 high power processor tied together via shared peripherals and memory space.
Pioneer IoT Add-On Shield
DEV-14531This tutorial will show you how to get up and running with the Pioneer Board, using the Pioneer Add-on Shield to expand the capabilities of the PSoC 6 device. We'll show you how to communicate with a Raspberry Pi via BLE and WiFi (using an XBee WiFi module), as well as how to communicate between a PSoC 4 BLE Pioneer Board and the PSoC 6 Pioneer Board via BLE.
Suggested Reading
There are a couple of tutorials that might be helpful to read before setting off on this one.
Raspberry gPIo
Using Flask to Send Data to a Raspberry Pi
Required Materials
The examples in this tutorial are meant for use with the PSoC 6 Pioneer Kit. The examples in this tutorial are meant for use with the PSoC 6 Pioneer Kit, which can be purchased directly from Cypress.
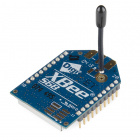
Obviously, you'll also need a Pioneer Add-on Shield. You'll also need an XBee WiFi Module. There are a few XBee WiFi options depending on your setup: Trace, RP-SMA Connector w/ external 2.4GHz antenna, or Wire . The easiest would be to get XBee with the wire antenna.
XBee WiFi Module - Wire Antenna
WRL-12571Pioneer IoT Add-On Shield
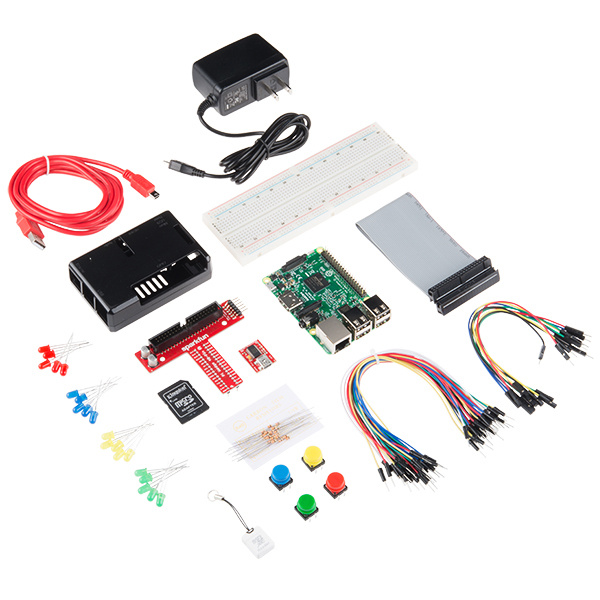
DEV-14531You'll also need the Raspberry Pi 3 Starter Kit. This will become your target for communication from the PSoC6 Pioneer Board. You can, of course, just purchase the Pi 3 separately along with a breadboard, jumper wires, resistors and LEDs, but we think the starter kit is an exceptional deal and is well worth getting.


