Contributors:
 jimblom
 Introduction
Heads up! This tutorial was written originally written for the Arduino Pro Mini 3.3V/8MHz. However, you can still use this as a guide to upload code for Arduino Pro Mini 5V/16MHz. To upload adjust the Processor in the Arduino IDE when uploading code to the 5V version board.
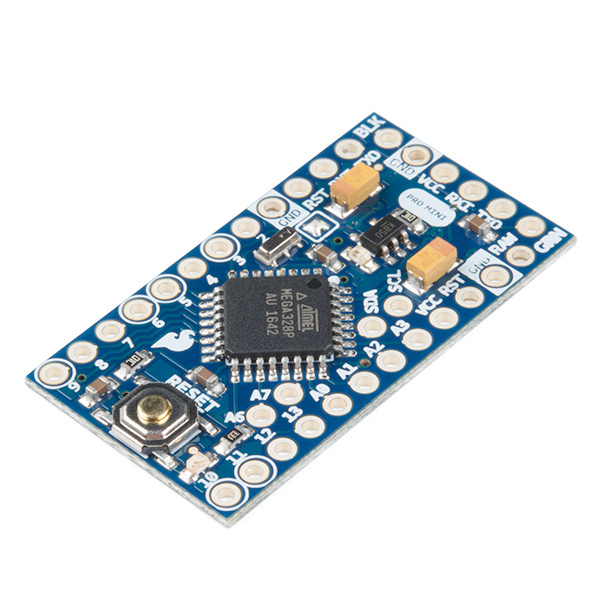
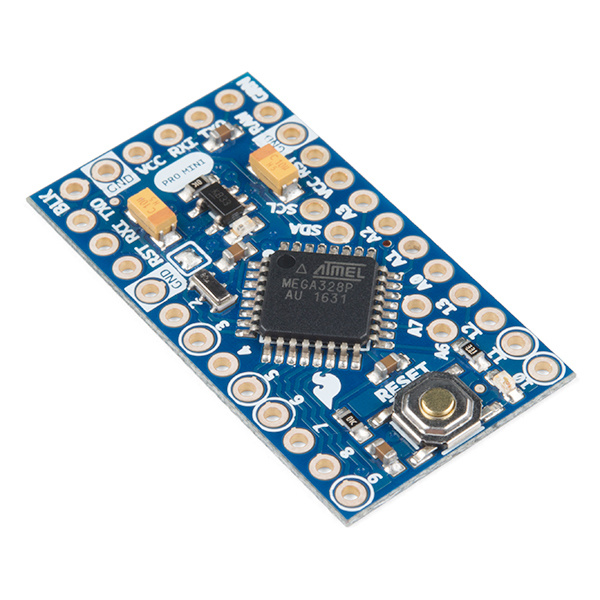
The original, true-blue Arduino is open-source hardware, which means anyone is free to download the design files and spin their own version of the popular development board. SparkFun has jumped on this opportunity and created all sorts of Arduino variants, each with their own unique features, dimensions, and applications. Now one of those variants has landed in your hands; congratulations! It's a wild world out there in microcontroller-land, and you're about to take your first step away from the wonderful -- though sometimes stifling -- simplicity of the Arduino Pro Mini. There are two variants, the 5V/16MHz and the 3.3V/8MHz.
DEV-11113
SparkFun's minimal design approach to Arduino. This is a 5V Arduino running the 16MHz bootloader.
DEV-11114
SparkFun's minimal design approach to Arduino. This is a 3.3V Arduino running the 8MHz bootloader.
For the scope of this tutorial, we'll go over how to set up and use the 3.3V Arduino Pro Mini, everything from assembling the tiny Arduino to programming it.
Required Materials
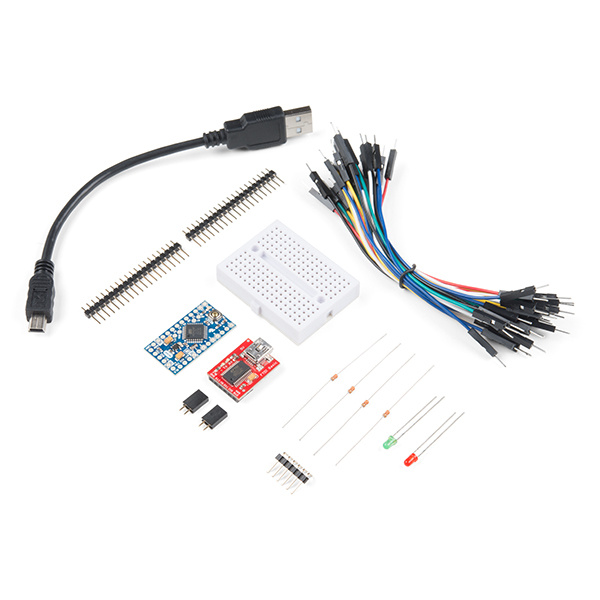
To follow along, you'll need a few extra items. You may not need everything though depending on what you have. Add it to your cart, read through the guide, and adjust the cart as necessary. At a minimum you will need, some headers, USB cable, and FTDI. The FTDI Basic will be used to program (and power) the Pro Mini. The headers are optional, but they're our preferred way to interface other devices to the Pro Mini.
Starter Kits: If you are looking for additional components to prototype, check out some of the related starter kits.
KIT-15254
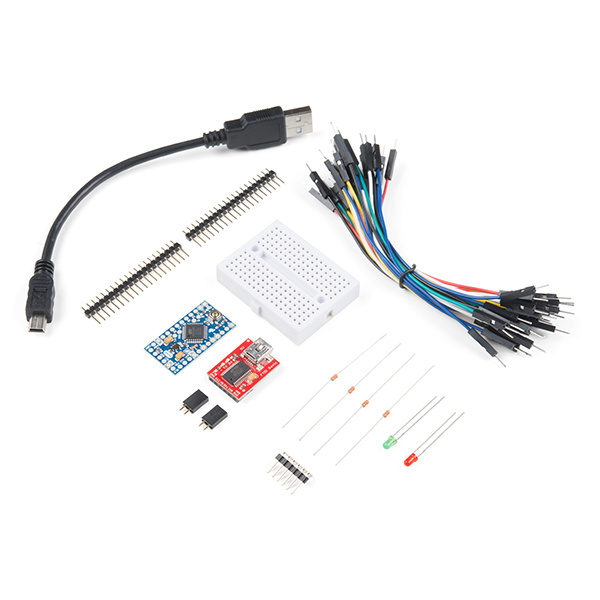
What's blue, thin, and comes with everything you need to get started? The Pro Mini 5V Starter Kit!
Retired
KIT-15257
What's blue, thin, and comes with everything you need to get started? The Pro Mini 3.3V Starter Kit!
Retired
Tools
Assembly of the Pro Mini also requires soldering. This is a great place to start soldering, if you've never done it before! The joints are all easy, through-hole jobs. So grab a soldering iron, some solder and general soldering accessories.
TOL-14456
This adjustable-temperature soldering iron is a great tool for when you don't want to break the bank but need a reliable iron…
TOL-09163
This is your basic tube of unleaded (Pb-free) solder with a no clean, water soluble resin core. 0.031" gauge and 15 grams
Suggested Reading
This project tutorial builds on a few more conceptual tutorials. If you're not familiar with the subjects below, consider reading through their respective tutorials first:
Serial Communication
Asynchronous serial communication concepts: packets, signal levels, baud rates, UARTs and more!
What is an Arduino?
What is this 'Arduino' thing anyway? This tutorials dives into what an Arduino is and along with Arduino projects and widgets.
Logic Levels
Learn the difference between 3.3V and 5V devices and logic levels.
How to Work with Jumper Pads and PCB Traces
Handling PCB jumper pads and traces is an essential skill. Learn how to cut a PCB trace, add a solder jumper between pads to reroute connections, and repair a trace with the green wire method if a trace is damaged.
Note: Besides the FTDI that is used in this tutorial, there are other USB-to-serial converters (e.g.
CH340, CP210X, CY7C65213, etc.) that can be used to upload code to the Arduino Pro Mini. Make sure to check out the board and install the respective driver for your USB-to-serial converter.


