Using the Arduino Pro Mini 3.3V
 jimblom
Powering
The most important factor in any project is what's going to power it. The Pro Mini doesn't have a barrel jack, or any other obvious way to connect a power supply, so how do you power the thing?
Pick a power source that suits your project. If you want something that matches the compactness of the Pro Mini, a battery -- LiPo, alkaline, coin cell, etc. -- may be a good choice. Or you could use a wall power supply along with a barrel jack adapter.
If you have a supply that's greater than 3.3V (but less than 12V), you'll want to connect that to the RAW pin on the Mini. This pin is akin to the VIN pin, or even the barrel jack, on the Arduino Uno. The voltage applied here is regulated to 3.3V before it gets to the processor.
If you already have a regulated 3.3V source from somewhere else in your project, you can connect that directly to the VCC pin. This will bypass the regulator and directly power the ATmega328. Don't forget to connect the grounds (GND) too!
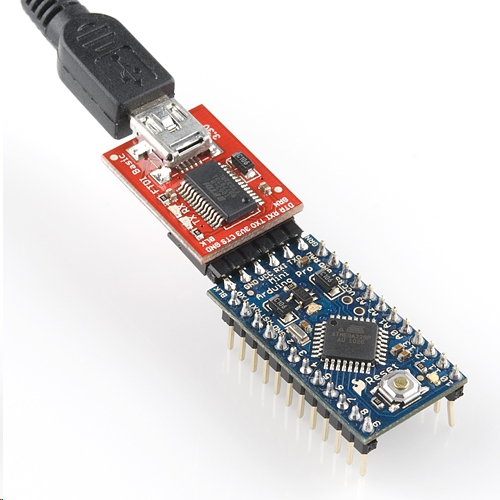
There is a third power option that's only usually available while you're programming the Pro Mini. The FTDI Basic Breakout can be used to power the Mini via your computer's USB port. Keep in mind that this option may not be available when your project has entered the wild, absent from any computers or USB supplies.
That leads us to the next section...programming the Arduino Pro Mini.