Using Flask to Send Data to a Raspberry Pi
 SFUptownMaker
 Introduction
In this tutorial, we'll show you how to send data from cheap WiFi nodes to a Raspberry Pi over an internal WiFi network. It relies on the Flask framework for Python, which is a relatively simple-to-use method of creating a web application that can execute Python scripts.
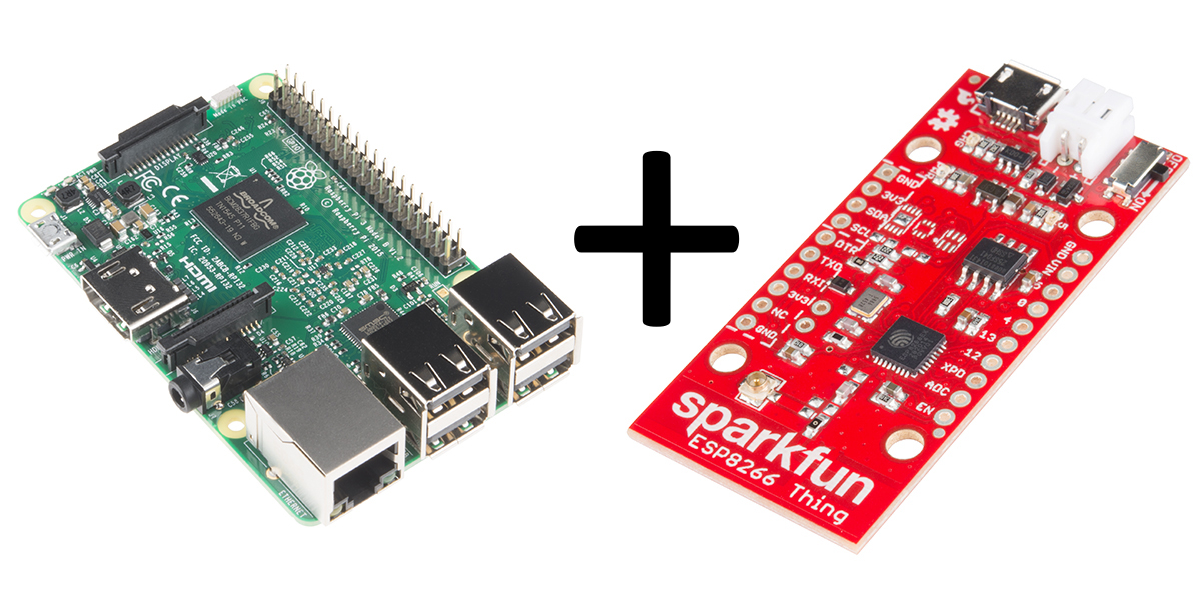
We'll use a Raspberry Pi 3 and SparkFun ESP8266 Thing to demonstrate. We're going to send a very simple signal from the Thing board to the RasPi - just a signal to turn an attached LED on or off. Hopefully, it'll be obvious from the example how to send more complex signals and run more complex scripts upon receipt.
Suggested Reading
Before you tackle this project, there are a few other tutorials you may want to check out.
How to Solder: Through-Hole Soldering
ESP8266 Thing Hookup Guide
Raspberry gPIo
Raspberry Pi 3 Starter Kit Hookup Guide
Required Materials
You'll need the items on this wishlist to complete this tutorial. Substitutions can be made; a Raspberry Pi Zero W can be substituted for the Pi 3, for instance, and individual components can be sourced instead of the full starter kit.
Required Tools
No special tools are required to follow this tutorial. You will need a soldering iron, solder, and general soldering accessories.

