Transparent Graphical OLED Breakout Hookup Guide
Introduction
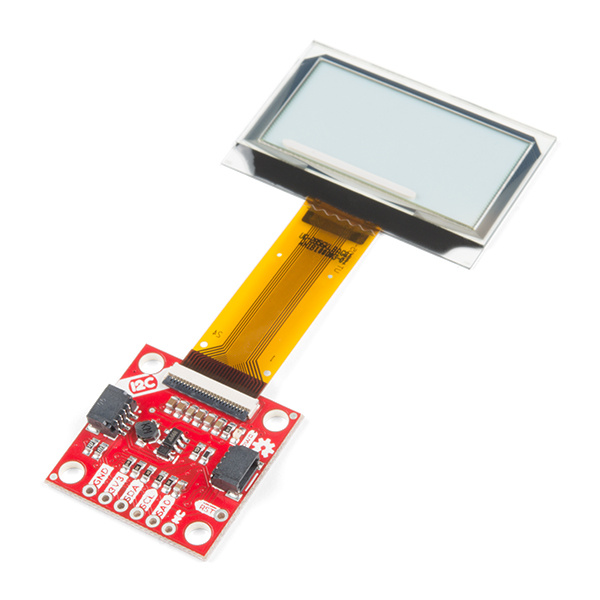
The future is here! You asked and we delivered - our Qwiic Transparent Graphical OLED Breakout allows you to display custom images on a transparent screen using either I2C or SPI connections.
With Qwiic connectors it's quick (ha ha) and easy to get started with your own images. However, we still have broken out 0.1"-spaced pins in case you prefer to use a breadboard. Brilliantly lit in the dark and still visible by daylight, this OLED sports a display area of 128x64 pixels, 128x56 of which are completely transparent. Control of the OLED is based on our new HyperDisplay library.
The Arduino sketch required to drive this display requires quite a bit of dynamic memory, meaning that it is not going to fit on a smaller controller like an ATmega328. Any controller with larger RAM should have no problem. In this tutorial, we're using the ESP32 Thing Plus.
Required Materials
To follow along with this tutorial, you will need the following materials. You may not need everything, depending on what you have. Add it to your cart, read through the guide, and adjust the cart as necessary.
Tools
If you want to use the broken out GPIO pins along the bottom of the board, you'll need to solder some headers to them so you'll need a soldering iron, solder, and general soldering accessories.
Weller WLC100 Soldering Station
TOL-14228Suggested Reading
If you aren't familiar with the Qwiic system, we recommend reading here for an overview.
| Qwiic Connect System |
We would also recommend taking a look at the following tutorials if you aren't familiar with them.


