SparkFun MicroMod Input and Display Carrier Board Hookup Guide
 Alex the Giant, Ell C
Example Code
The HyperDisplay library for the Input and Display Carrier Board is named after the LCD module that it uses - the 4DLCD-320240. If you've properly installed the required libraries, you'll notice a number of examples in File->Examples->SparkFun HyperDisplay 4DLCD-320240. If you haven't already, make sure you've got the following three libraries installed:
- SparkFun HyperDisplay Arduino Library
- SparkFun HyperDisplay ILI9341 Arduino Library
- SparkFun HyperDisplay 4DLCD-320240 Arduino Library
For this particular tutorial, we are using the MicroMod ESP32 Processor Board. Board definitions for this processor board can be found in the Software Setup and Programming section of the MicroMod ESP32 Processor Board Hookup Guide.
All of the following examples are explained in depth in the Everything You Should Know About HyperDisplay Tutorial. We'll show you a quick overview of each example here, but if you want more information on how these examples and their code work, head on over to the HyperDisplay Tutorial.
Everything You Should Know About HyperDisplay
Example 1: Display Test
Example one verifies that your display is working, and gives you some basic code to draw lines and shapes. To start, go to File->Examples->SparkFun HyperDisplay 4DLCD-320240 and load Example1_DisplayTest. In windows, it will look like this:
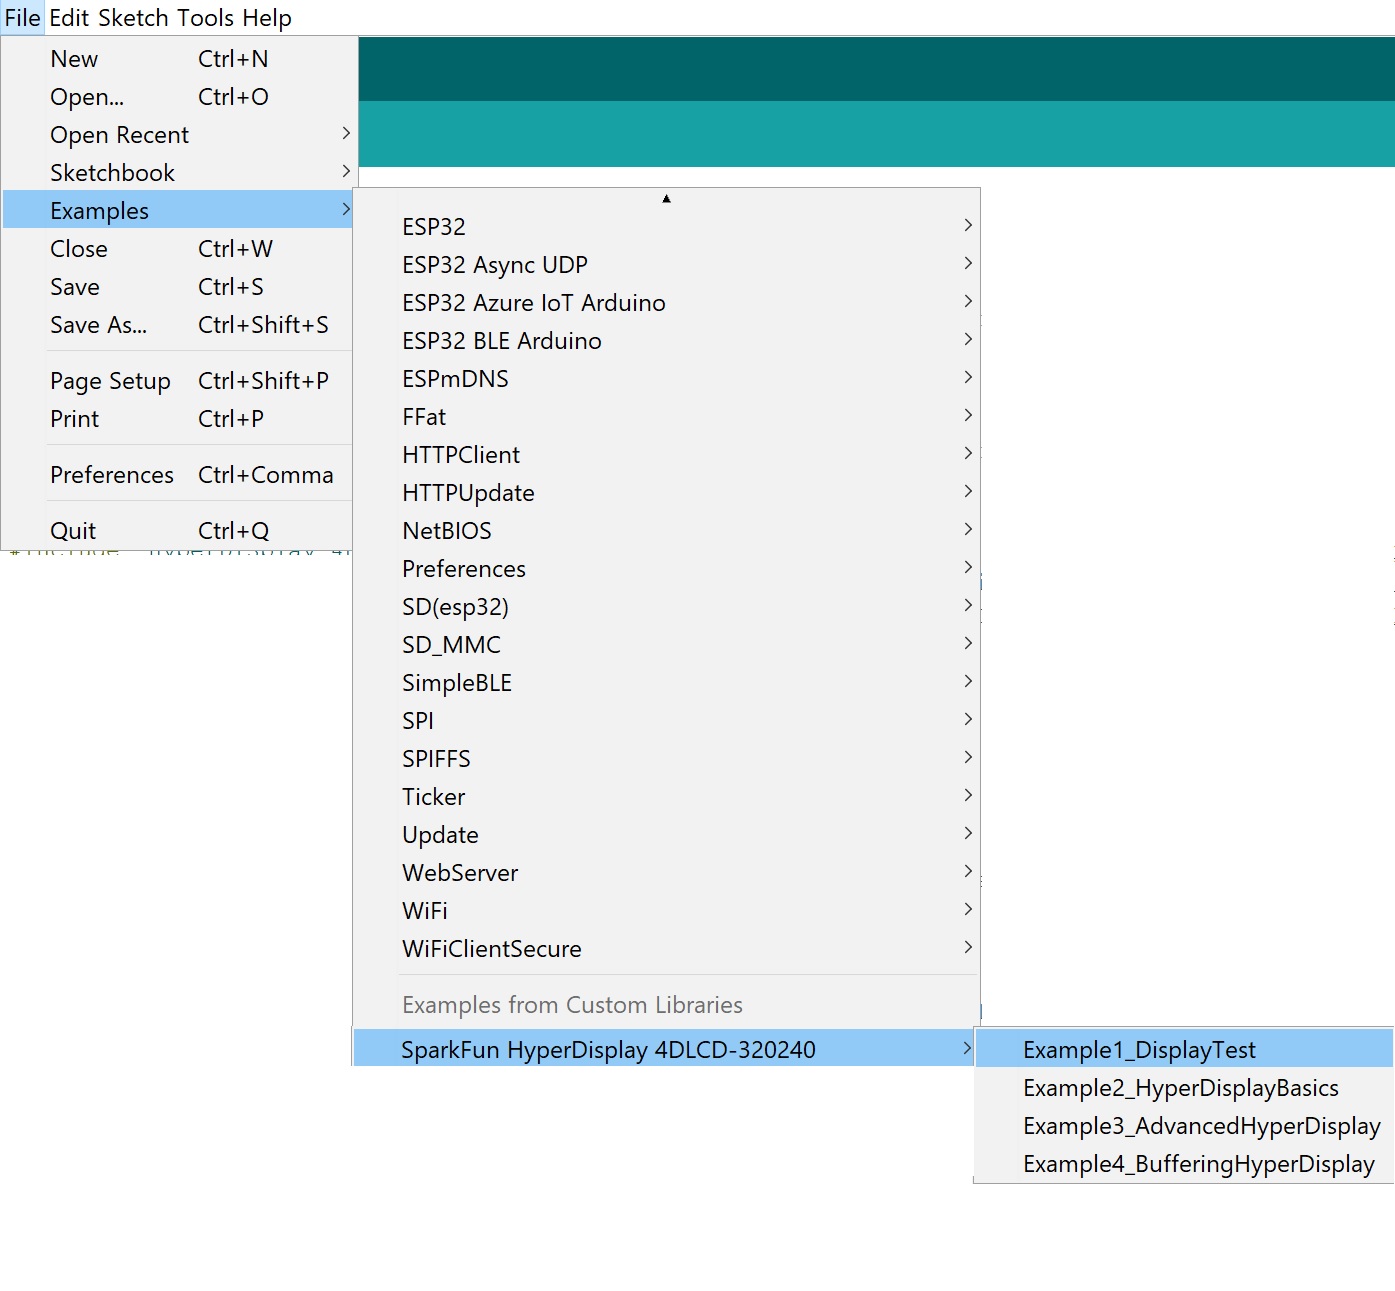
Make sure you have the correct board selected, as well as the correct COM port. Your processor board of choice will dictate which board definition you need to load.
Example 2: HyperDisplay Basics
This code walks you through the simplest uses of HyperDisplay so that you can start to write your own code. To start, go to File->Examples->SparkFun HyperDisplay 4DLCD-320240 and load Example2_HyperDisplayBasics.

As with Example 1, please make sure you have the correct board selected, as well as the correct COM port. Go ahead and upload your code, and you should see something like the following (note that the gif is sped up):
Example 3: Advanced HyperDisplay
Example 3 goes over Color Cycles and the drawing functions currently available in the HyperDisplay drawing functions. For a more in-depth look at the functions available in this example, refer to the Advanced Drawing Functions section of the Everything You Should Know About HyperDisplay tutorial.
To start, go to File->Examples->SparkFun HyperDisplay 4DLCD-320240 and load Example3_AdvancedHyperDisplay.
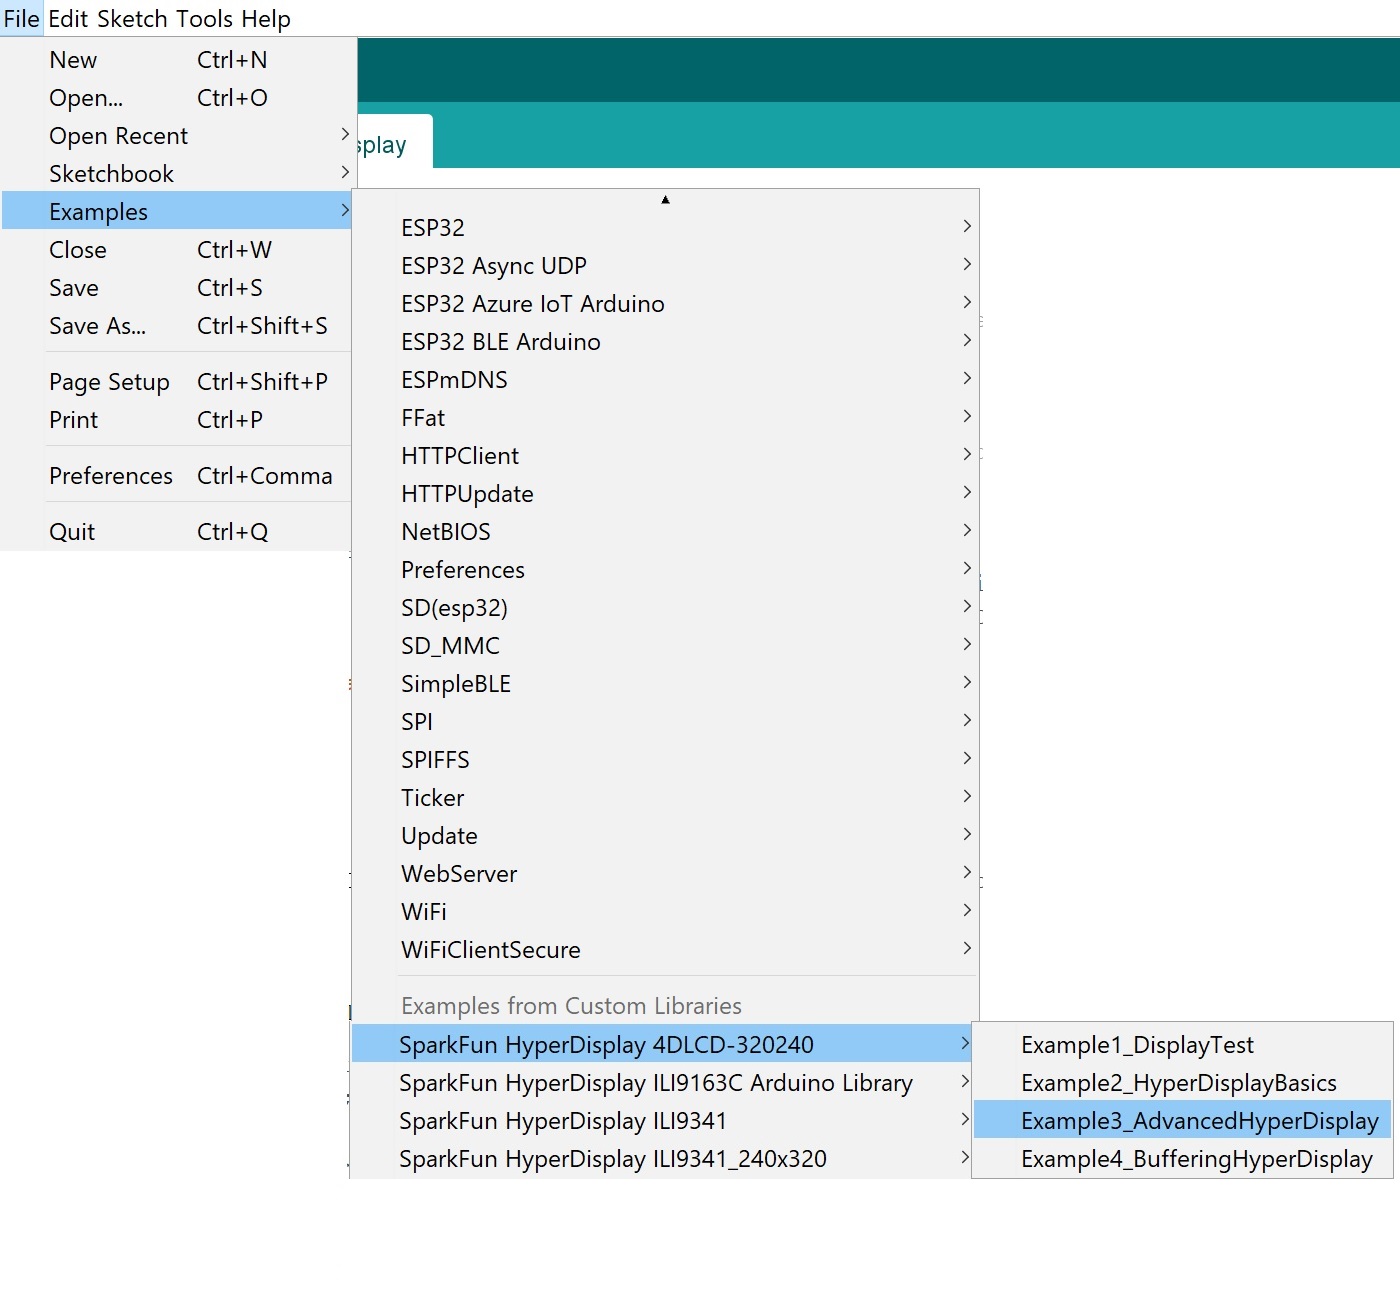
As above, please make sure you have the correct board selected, as well as the correct COM port. Go ahead and upload your code. You should see something like the following (note that the gif is sped up):
Example 4: Buffering HyperDisplay
This last example shows you the basics of how to use the buffering abilities of HyperDisplay. You can get more in-depth discussion of this by referring to the Buffering section of the Everything You Should Know About HyperDisplay tutorial.
To start, go to File->Examples->SparkFun HyperDisplay 4DLCD-320240 and load Example4_BufferingHyperDisplay.
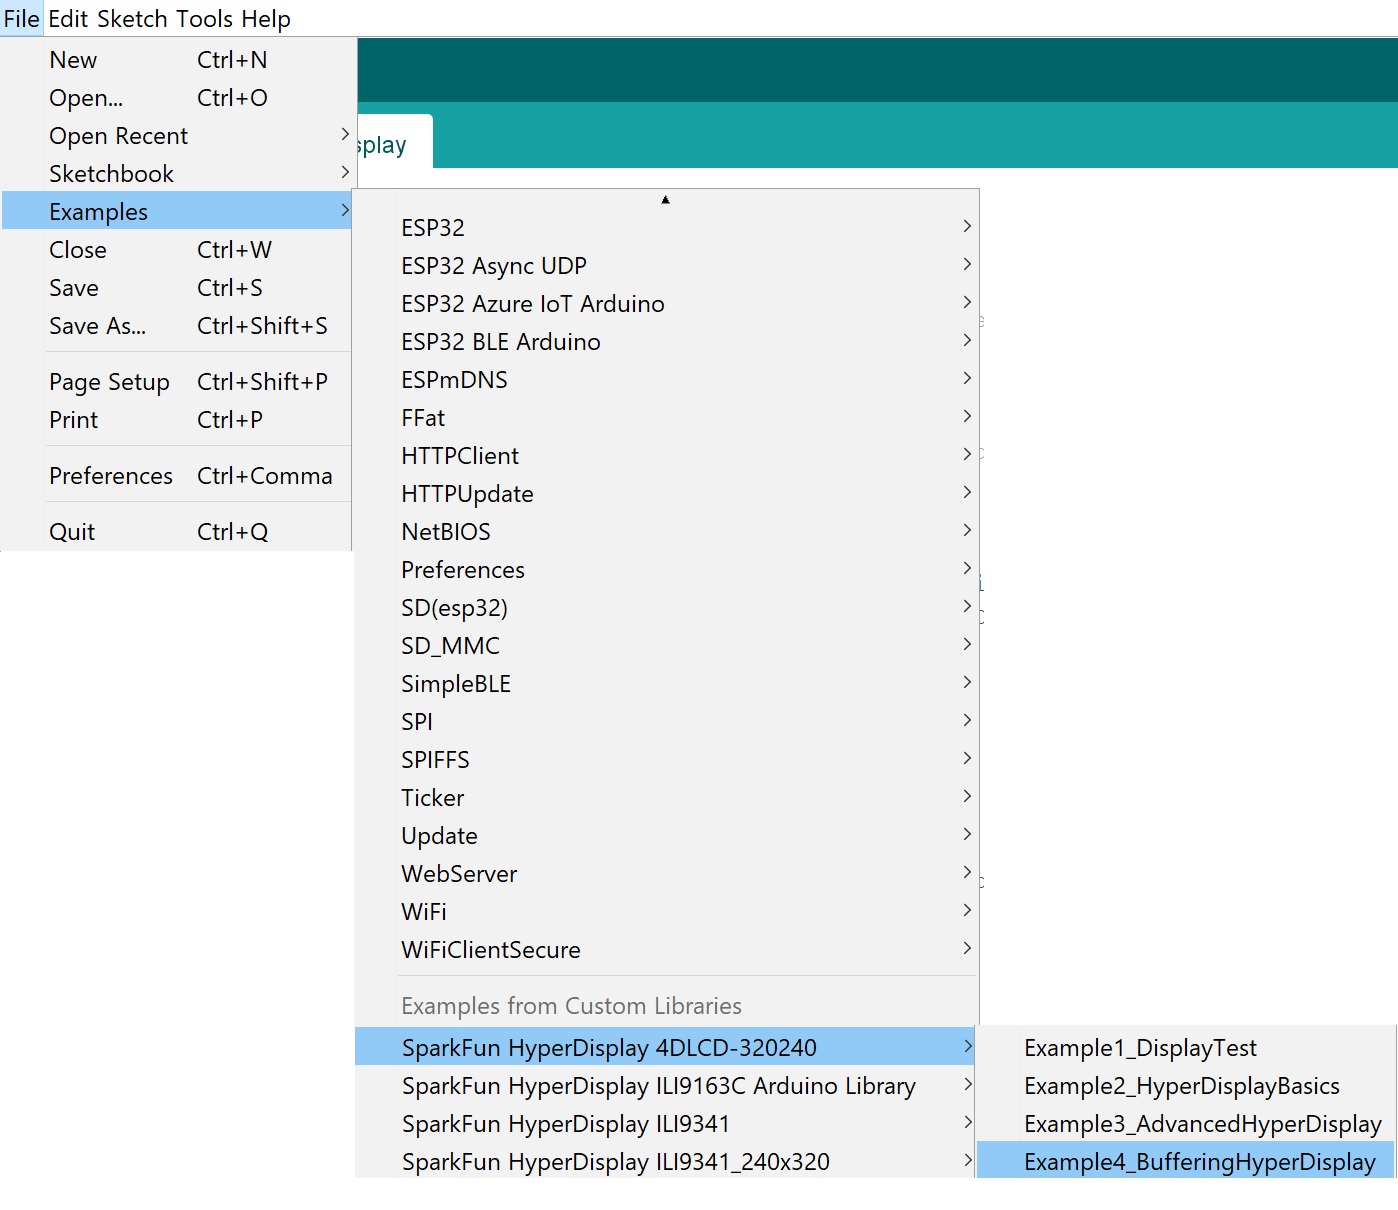
As above, please make sure you have the correct board selected, as well as the correct COM port. Go ahead and upload your code. You should see something along the lines of the following (note that the gif is sped up):
