SparkFun gator:soil Hookup Guide
 Englandsaurus
 Introduction
Do you have a science experiment involving plant growth?
The gator:soil is the perfect tool to monitor the moisture content of the soil of your test subjects. This tutorial will show you how to get started using this soil moisture sensor with the gator:bit (v2) in the micro:bit development environment.
Required Materials
To get started, you'll need a micro:bit to control everything. Each of the products below includes a micro:bit, but the kit and bundle also include some additional accessories that you may want as well.

micro:bit Board
DEV-14208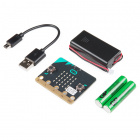
micro:bit Go Bundle
DEV-14336
SparkFun Inventor's Kit for micro:bit
KIT-15228To easily use the gator board ecosystem, a gator:bit (v2) will help breakout the necessary pins and you will also need alligator and/or banana cables to connect the gator:bit to the gator:soil.
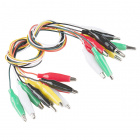


Banana to Banana Cable - Right Angle
CAB-15368(*These banana cables have a special diameter on the attachment points designed specifically for use with the micro:bit ecosystem. They may or may not be compatible with the banana cables used on your test equipment.)
You may already have some of these materials, so feel free to modify your cart as necessary.
Suggested Reading
There isn't much learning required to use the gator:soil (moisture sensor). However, you may find the following concepts useful along the way.
Voltage, Current, Resistance, and Ohm's Law
Analog to Digital Conversion
Soil Moisture Sensor Hookup Guide
micro:climate Kit Experiment Guide
If you aren't familiar with the micro:bit, we recommend reading here for an overview.
We would also recommend taking a look at the following tutorials if you aren't familiar with them.
Getting Started with the micro:bit
Getting Started with MicroPython and the SparkFun Inventor's Kit for micro:bit
How to Load MicroPython on a Microcontroller Board
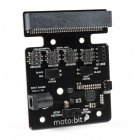
SparkFun gator:bit v2 Hookup Guide
Hardware Overview
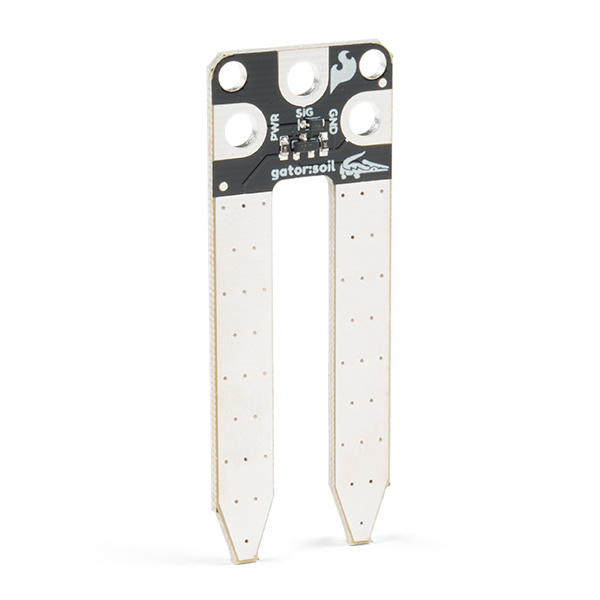
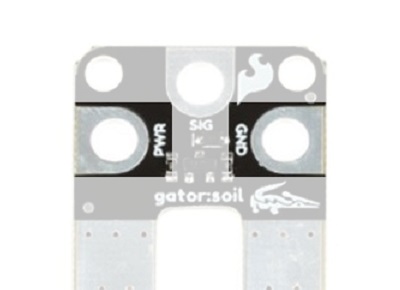
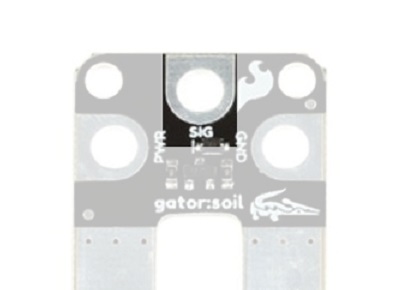
The gator:soil consists of two probes and three pads (PWR, GND, and SIG).
| Contacts | Description |
|---|---|
| PWR | INPUT: Power to the sensor (3.3V - 5V). |
| SIG | OUTPUT: Analog voltage representing the conductivity between the probes. |
| GND | REFERENCE: Ground reference (0V). |
| Probes | Used to sample soil moisture content for sensor. |
Power
We recommend powering the gator:soil with between 3.3V - 5V. Please note that the analog value returned will vary depending on what voltage is provided for the sensor.
For use with the gator:bit (v2) and micro:bit, you should provide 3.3V through the PWR and GND pads. We recommend not powering the sensor constantly to reduce corrosion of the probes; this can be controlled through one of the digital pins of the gator:bit (v2).
Output Signal
The two probes are used to measure the conductivity of the soil. SIG provides an analog voltage out that can be attached to an ADC pad on the gator:bit (v2).
The value read on SIG is dependent several variables such as soil composition, contact on the probes, soil compaction, amongst other factors. For example, if you have a high alkaline content in your soil, it will be more conducive and give you a high baseline reading. In most cases, you will probably need to calibrate your sensor reading for each soil sample and sensor. Once calibrated, for a fixed sensor, the primary variables to the measure conductivity in the soil will be the power input and moisture content of the soil.
Hardware Assembly
Connecting your gator:soil to the gator:bit (v2) is simple. Connect GND to GND, SIG to an analog pin (P0-P2)1, and PWR to either 3.3V OUT or to a digital pin that is not in use (P0-P2, P8, P16, or P5). This can easily be done with alligator cables or these special banana cables.

Example of connections used in example. Click to enlarge.

Example of gator:soil in use application. Click to enlarge.
| gator:soil | gator:bit (v2) |
|---|---|
| PWR |
3.3V OUT or Digital Pin: P0 - P2, P8, P16, or P5 |
| SIG | Analog Pin: P0 - P2 |
| GND | GND |
Adding the MakeCode Extension
- If you have not previously used MakeCode, please check out the Quick Start Guide fro micro:bit.
- If this is your first time using a micro:bit, please review our Getting Started with the micro:bit guide.
- If this is your first time using the gato:bit (v2), please review our SparkFun gator:bit v2 Hookup Guide.
The easiest way to get started using the gator:soil is to use Microsoft MakeCode, a web-based block editor. This tutorial assumes you are familiar with the with MakeCode, the gato:bit (v2), and the micro:bit development board. If this is your first time check out this guides linked in the suggested reading section (above).
Installing Extensions
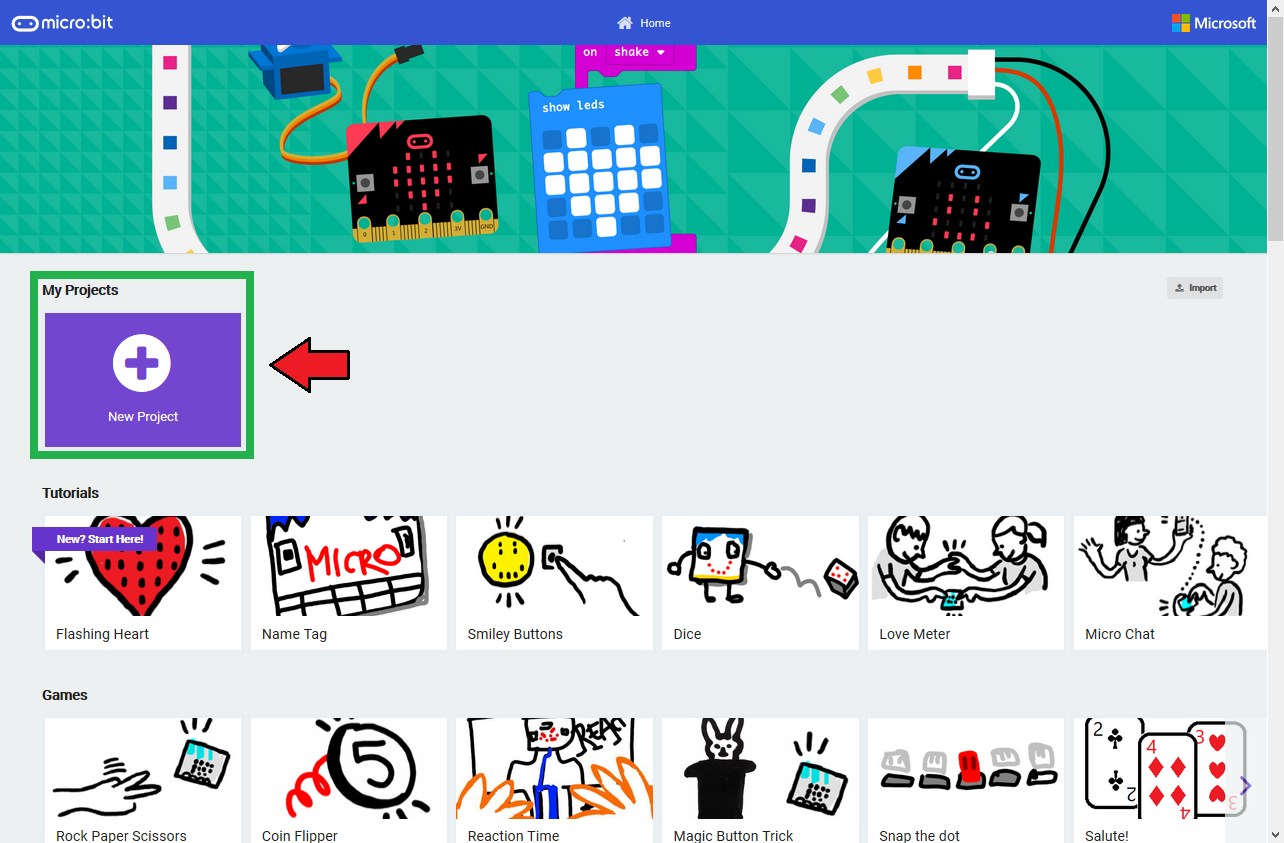
To get started with using MakeCode with the miccro:bit, head over to the MakeCode for micro:bit website by Microsoft. Then, click the New Project button to start a new project and open the Editor. (*Yes, all you only need to get start coding is a computer with internet access, an up-to-date web browser, and an available USB port!)
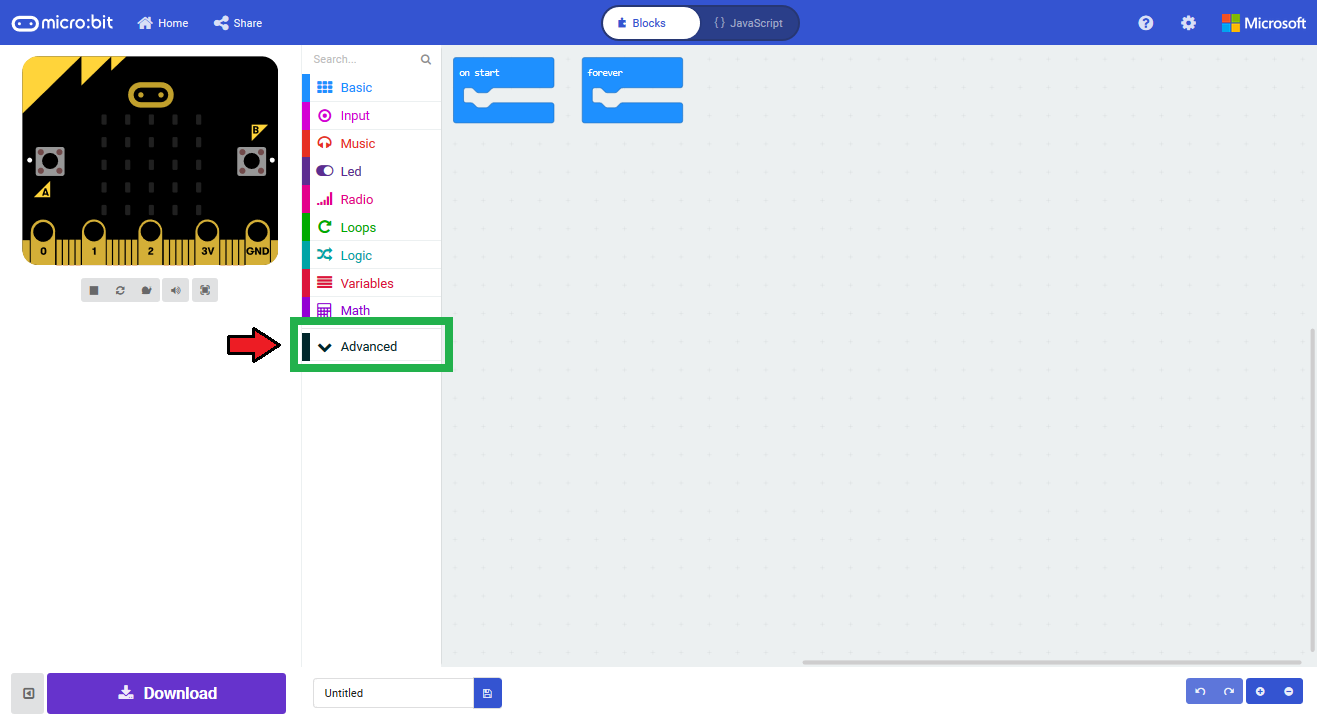
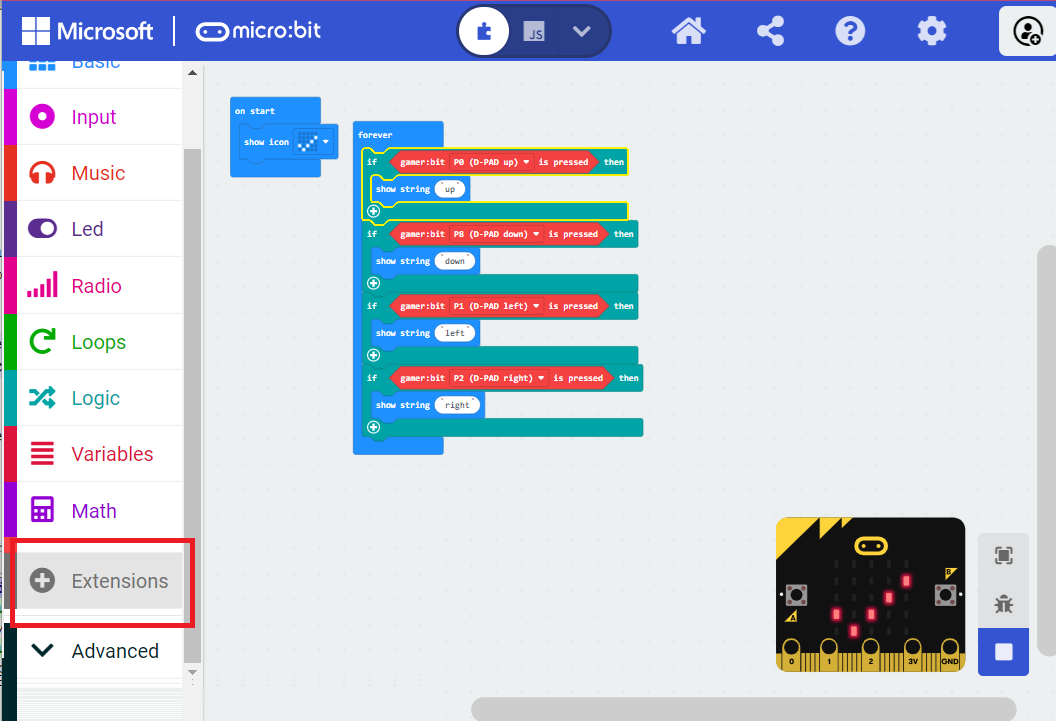
Once you have the editor up, click on the the Advanced block in the block library to reveal the drop down menu.
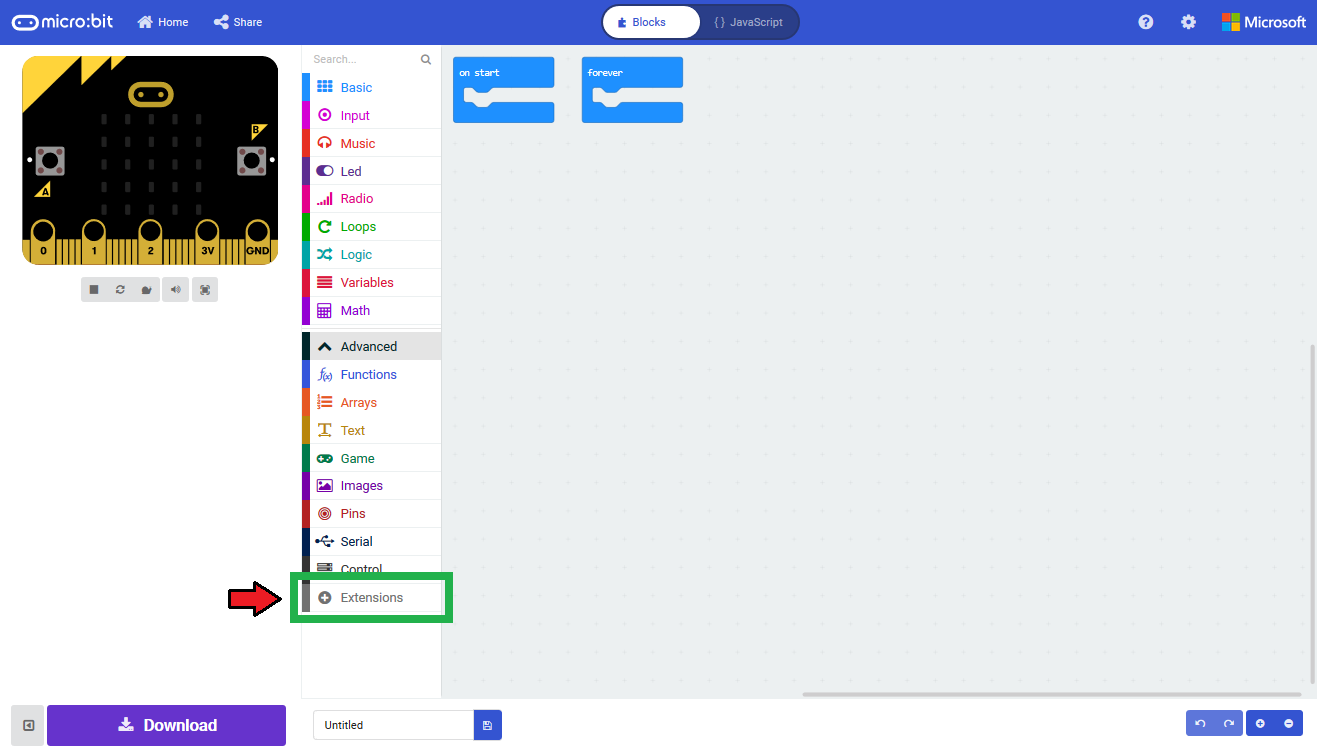
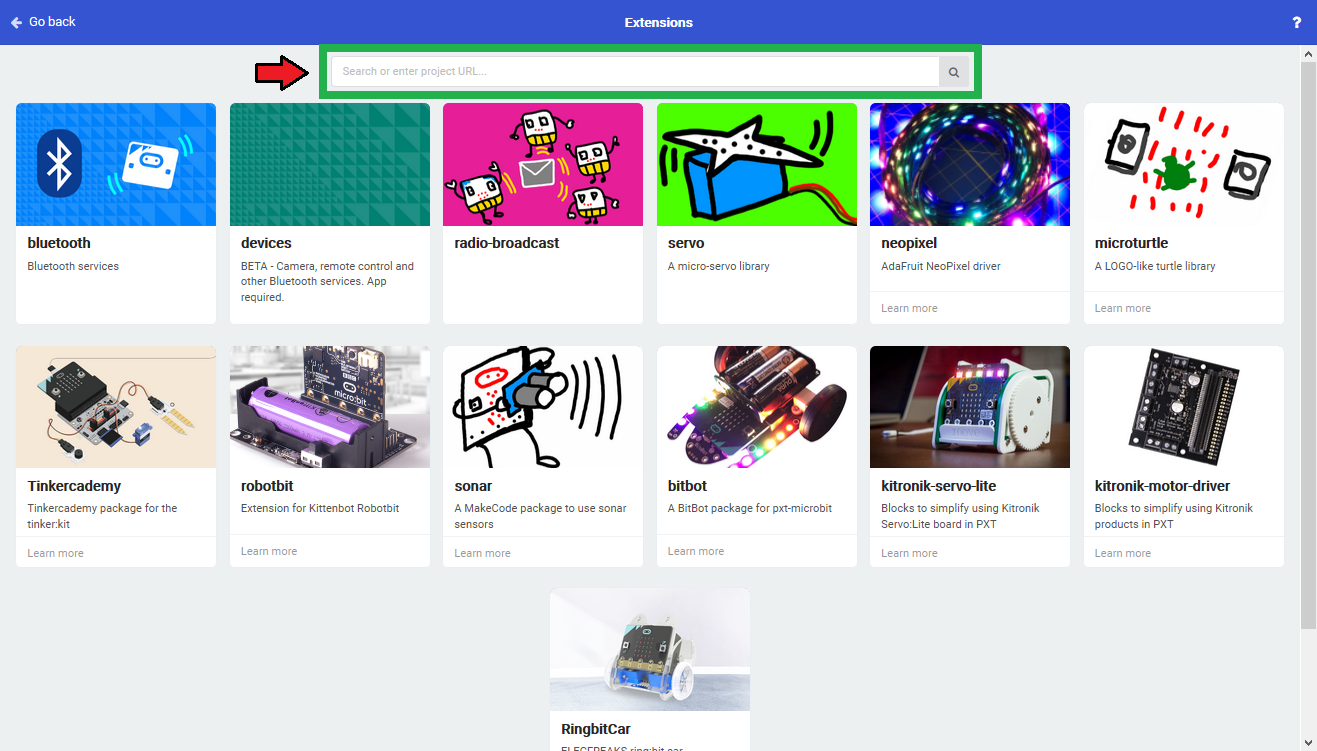
Finally, click on the Extensions block. This should bring up the extensions page. (*Alternatively, you could also click on the extensions link from the settings menu.)
There are two methods for finding the gator:soil extension:
- Search for the name used on the extension2.
- Use the link to the GitHub repository for the pxt-package as the search term.
Search for the PXT-Package
Search for the gator:soil extension using the GitHub repository link to the pxt-package:
https://github.com/sparkfun/pxt-gator-soil
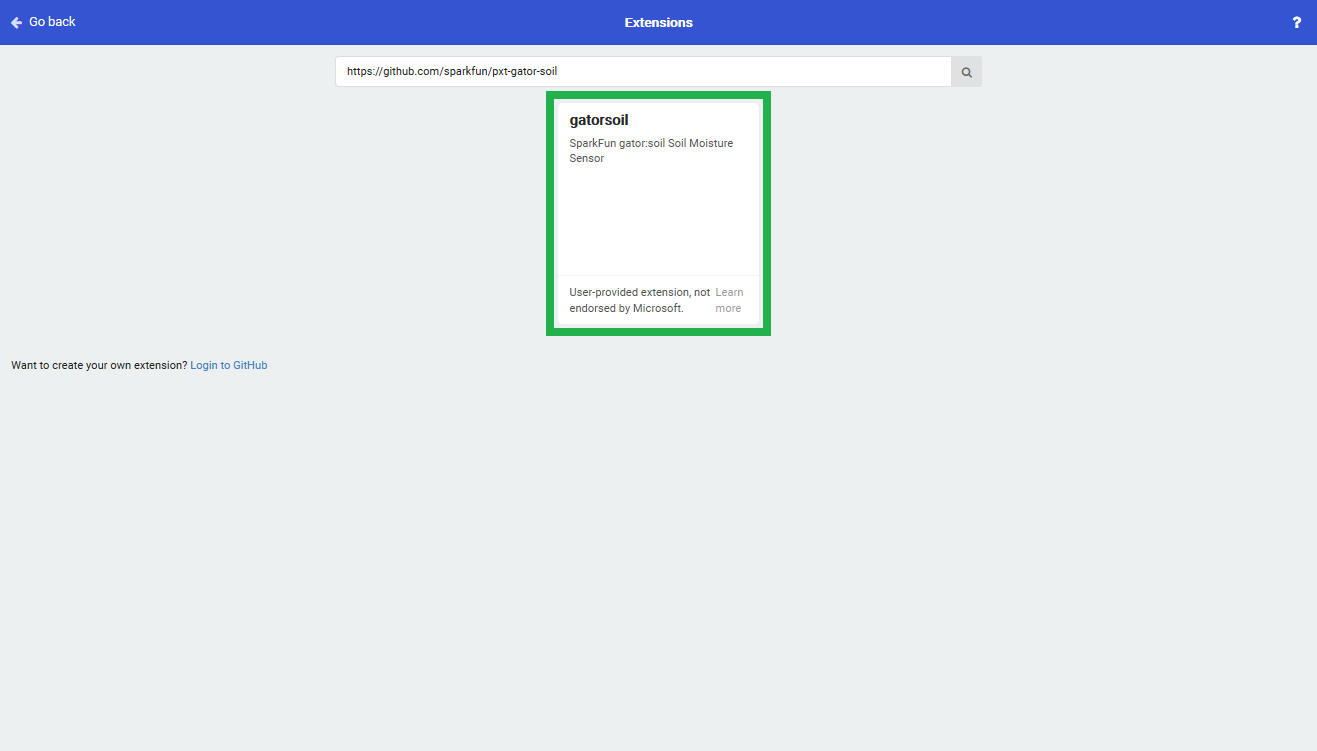
Then, click on the box for the extension to add it to the block library. The gator:soil extension should now appear in the block library.
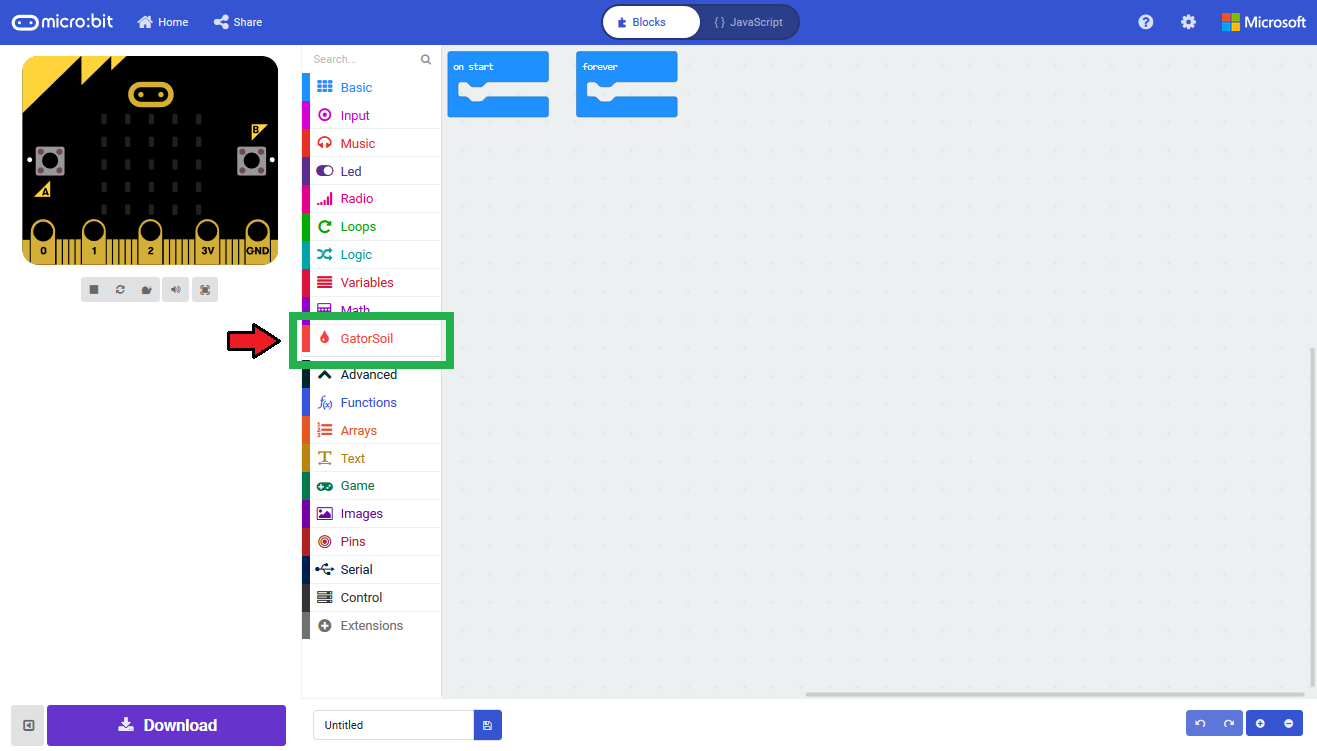
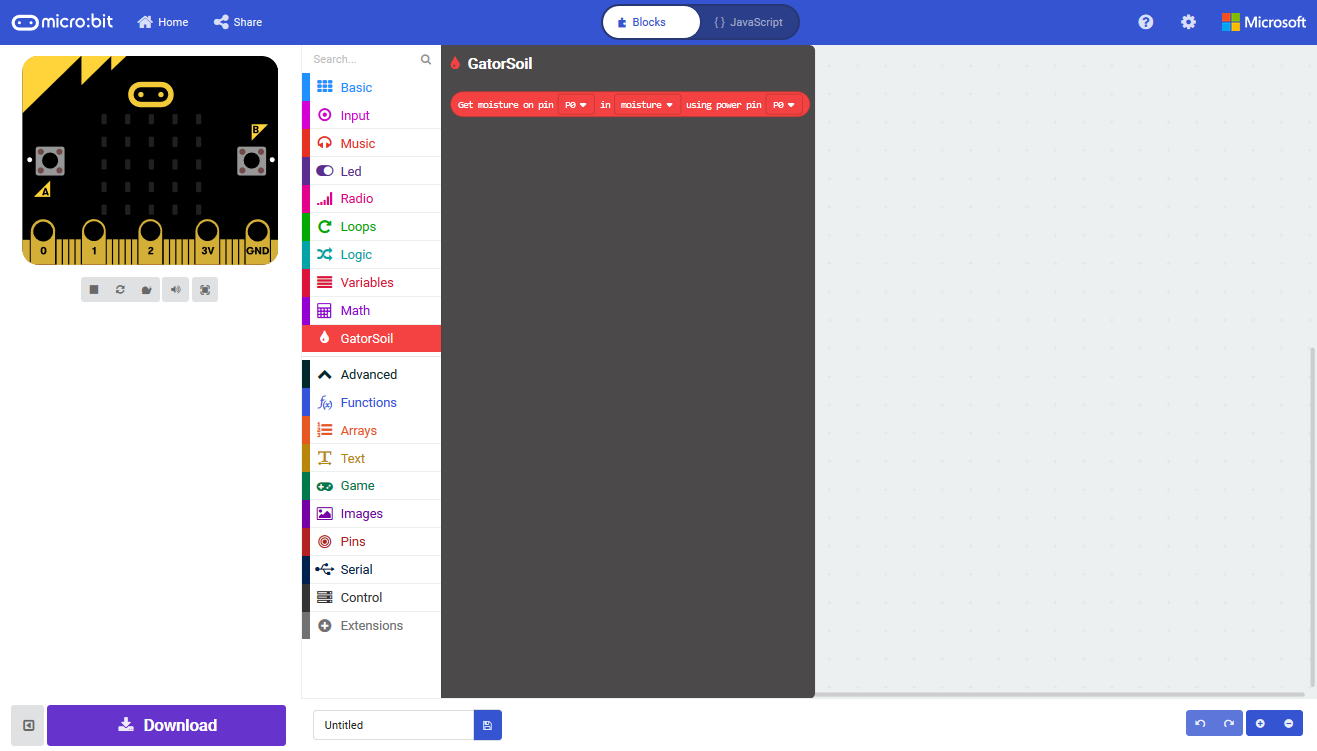
To verify that you have added the extension, click on the gator:soil block to make sure that your drop down menu options match the image below.
MakeCode Example
Now that you have added the gator:soil extension to the Editor, lets start with some example code. Plug the micro:bit into your computer using an USB micro-B cable after you have assembled your hardware with the instructions from the previous section. The micro:bit should appear on your computer as a removable storage device.

To upload new code, this is where you will be copying the downloaded .hex file to later.
Block Function
Get moisture on pin _____ in _____ using power pin _____
This is a value block as indicated by the block's shape. There are three drop down menus with selectable options for how the sensor is wired and the output value of the block. Below is a description of the available menu options (from left to right):
- ADC or SIG Read Pin- This pin is used to read the
SIGoutput of the sensor. The pin options are as follows:P0toP20P5toP9&P11toP20: Digital pins that can't be used as indicated with(write only).- Pins
P0toP4andP10: Analog pins that can be used, but the only pins that are available on the gator:bit (v2) areP0,P1, andP2.
- Measurement Value
This designates the output value that is read. There are two options:moisture- A value ranging between 0 and 1.adcvalue- A 10-bit integer value from micro:bit ADC ranging between 0 and 1023.
- Power Control Pin
This pin is used to control when the sensor input power (PWR). The pin options are as follows:P0toP20- Only pins
P0-P2,P5,P8,P11,P13-P16, andP19-P20are available on the gator:bit (v2).
- Only pins
forever loop, reducing the life span of the probes.System Calibration
To get any sort of useful data out of your Soil Moisture Sensor, it is advised that you calibrate it to whatever soil you plan to monitor. Different types of soil can affect the sensor, and you may get different readings from one composition to the next. Before you start storing moisture data or triggering events based on that value, you should see what values you are actually getting from your sensor.
Once you have an idea what values your sensor is outputting in completely dry and completely wet situations, it's time to calibrate your sensor for the specific soil you want to monitor. Test your soil when it is as dry as possible, then measure it when the soil is completely saturated with moisture. Getting these values and comparing them to the ones from the previous calibration will give you the best insight into what values mean for your specific plant and soil. This test may take some trial and error and patience. Be careful not to splash water onto the sensor or over-water/under-water your plants during these tests.
Once you have a good handle on the values you can expect, you can map function under the Pins library block to adjust your results.
Basic Read
Below, is a simple example of how to take simple measurements from the sensor. The example uses a extremely short 10 second delay between measurements, primarily for demonstration purposes. To use this example, there are multiple options for accessing the .hex file:
- Replicate the block functions from the display below to copy the example project. Then download the
.hexfile. - Expand the display widow to pull up the example project. Then download the
.hexfile. - Use this link to pull up the example project. Then download the
.hexfile. Download the
.hexfile from the button below or the link on the bottom of the display.
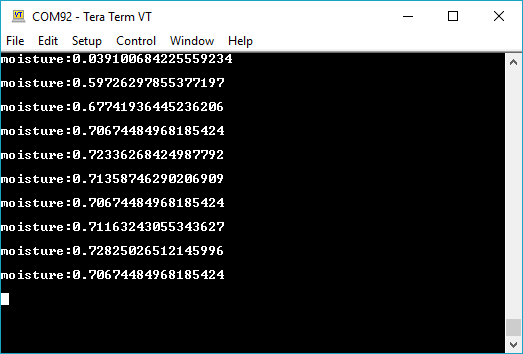
The output is redirected over the serial port to avoid conflicts on pins P0 and P1, which are also used for serial communication. To read the sensor values, pull up your favorite serial terminal emulator. Then, connect to the serial port that the micro:bit is on; the default baud rate is 115200 bps. Below, is an example of the sensor output for the example code.
Troubleshooting the Extension
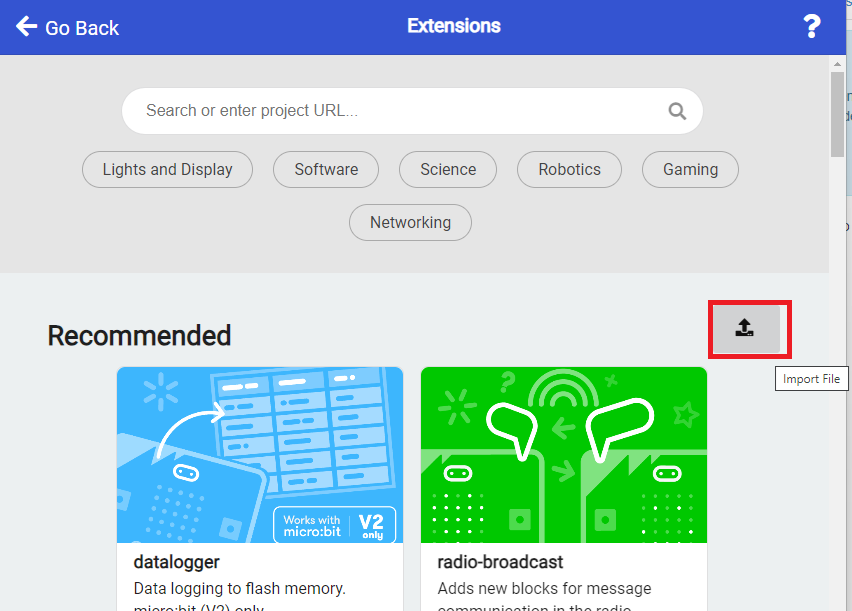
This product's extension has a dependency on Microsoft's build process. If the usual method of installing the MakeCode extension gives an error, you will need to manually install the MakeCode extension. We have provided a local build of this extension that can be uploaded to MakeCode:
To manually install this extension in makecode, go to the "Extensions" tab on the left side of the makecode site:
In the location you'd normally search for an extension, you'll notice an upload button on the right:
Click on this, and you'll get a window allowing you to upload your own built extension. Navigate to where you saved the above extension hex, and upload it to your project.
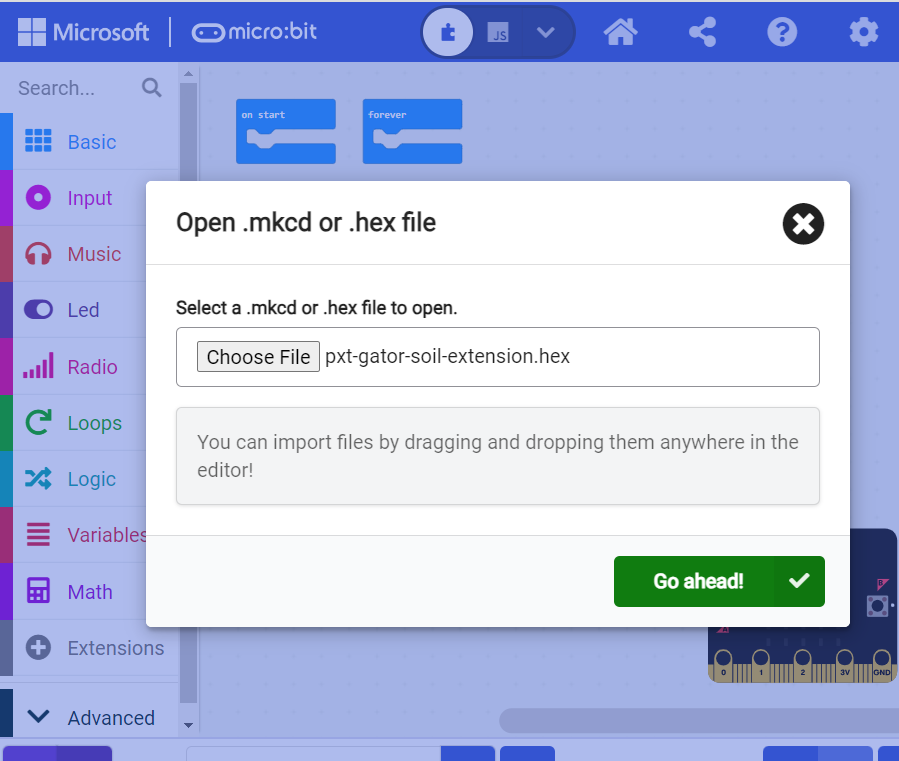
You should be able to see the extension and its functions now. In addition, you'll be able to build and download your project to your variant of micro:bit.

Other Troubleshooting Tips
Here are a few tips for troubleshooting this device.
Sensor Corrosion
A commonly known issue with soil moisture senors is their short lifespan due to corrosion of the electrodes from electrolysis. To combat this, we've had the PCB coated in Gold Finishing (Electroless Nickel Immersion Gold), which has a high decomposition potential. However, the life span of the sensor is limited. Applying a higher input voltage, taking frequent readings, and/or leaving the sensor on for extended periods of time will decrease the lifespan.
A simple way to extend the lifespan of your sensor is to only power it for the short period of a reading.
Waterproofing
A commonly known issue with soil moisture senor is that it may be exposed to water when you water your plants. Unfortunately, water and electronics do not mix. To prevent shorting out your board and sensor, you should always disconnect your cables when watering your plant. (*You can remove the sensor, but then you will need to recalibrate the sensor every time and this will affect the consistency of your readings.)
Calibration
To get any sort of useful data out of your sensor, it is advised that you calibrate it to whatever soil you plan to monitor. Different types of soil have various affects on the sensor; you may get different readings from one soil sample to the next. Before you start storing moisture data or triggering events based on that value, you should see what values you are actually getting from your sensor.
If you still have questions or issues with this product, please create a post on our forum under the Gator Products topic.
Additionally, if you are an educator and you have class or application based questions, please create a post on our forum under the Educational Products topic.
Resources and Going Further
For more product information, check out the resources below:
- Schematic (PDF)
- Eagle Files (ZIP)
- gator:soil PXT Package
- GitHub Product Repo
- micro:bit Landing Page
- SFE Product Showcase
Interested in the micro:bit? Check out some of these other micro:bit products:
Need some inspiration for your next project? Check out some of these other micro:bit product tutorials: