SparkFun expLoRaBLE Hookup Guide
 QCPete, santaimpersonator
Peer-to-Peer Example
Note: This section has been updated to no longer use the modified RadioLib library. As mentioned in the pull request for our changes, users only need to delcare that the SPI1 bus is used.
Important: Users should also use the example codes that we provide with the download buttons below. There seem to be several users, trying to use the built-in examples and running into issues, even though we provide example codes below. The example codes below have been written and tested for users to be able to upload directly to their expLoRaBLE and execute without any issues. (Obviously because we are based in th US, the example code has been written for use at 915MHz (the reserved frequency band for our region). Users outside the US and using a different frequency band, will need to reference the library and modify the code on their own.)
In this example, the RadioLib library utilizes the frequency shift keying (FSK) capabilities of the SX1262 transceiver. For this example, users will need two expLoRaBLEs; one to transmit data and the other to receive that data. For more information on this library, check out the GitHub repository Wiki. User simply need to download and upload the code below to separate expLoRaBLEs:
Once the example codes has been uploaded to their respective boards, users should see the data transmissions in the Serial Monitor:
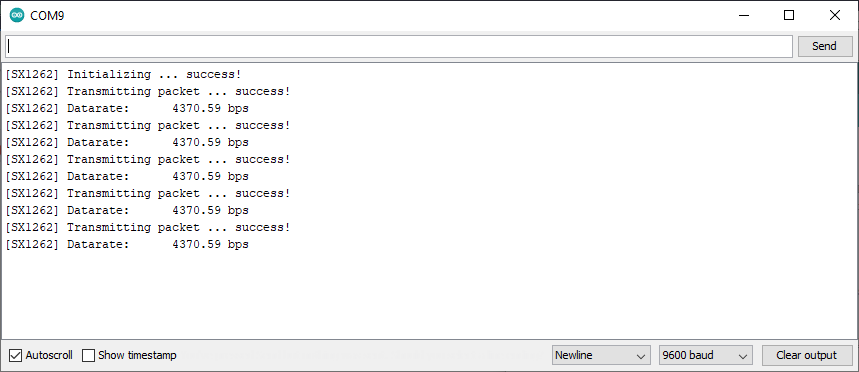
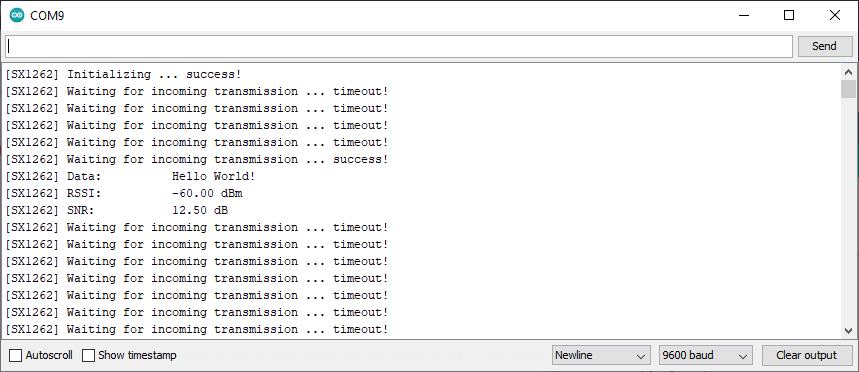
Hello World! transmissions will begin to appear.