SparkFun Blocks for Intel® Edison - Battery Block
Introduction
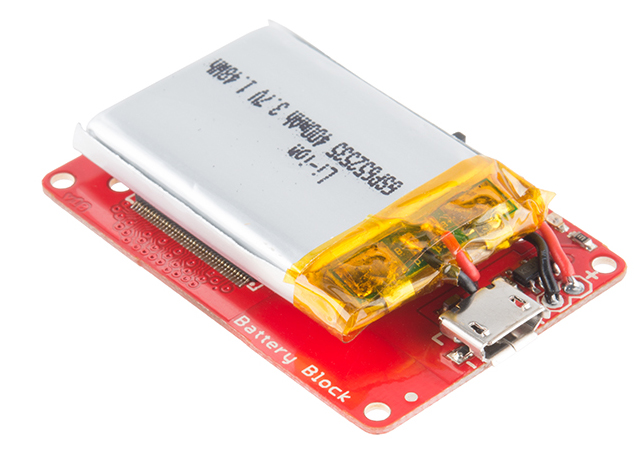
The Battery Block is a simple way to power an Intel Edison stack. With a 400mah Lithium Polymer battery we have seen run rates of over an hour. Depending on your configuration you may see more or less run time. The Battery Block also provides a Micro USB port that can power the stack while re-charging the battery. If you need more battery life, it is possible to gently peel the battery off, de-solder the wires, and replace it with a larger cell. If you remove the battery, it is also possible to expose the expansion header to continue stacking blocks. It may be necessary to find an alternative mounting point for your battery in this case.
Suggested Reading
If you are unfamiliar with Blocks, take a look at the General Guide to Sparkfun Blocks for Intel Edison.
Other tutorials that may help you on your Edison adventure include:
Board Overview
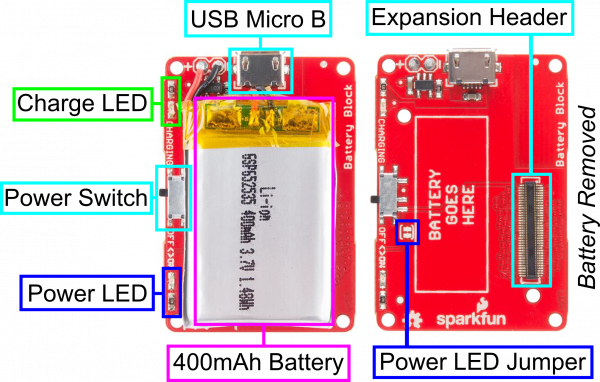
USB Micro B - Provides power to the stack and the ability to recharge the battery
Power Switch - Removes all power from the stack other power supplies may still power the stack
Power LED - Illuminated when power is available on VSYS line; This may illuminate if another block supplies power
Power LED Jumper - If power consumption is an issue, cut the jumper to disable LED
Charge LED - LED is illuminated while charging; LED is off if no charge power is present or charge is complete
Expansion Header - The 70-pin Expansion header breaks out the functionality of the Intel Edison. This header also passes signals and power throughout the stack. These function much like an Arduino Shield.
Using the Battery Block
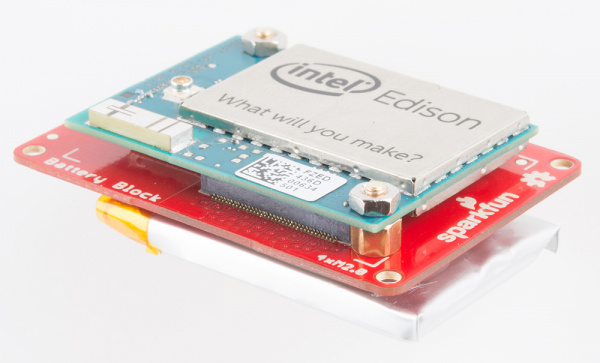
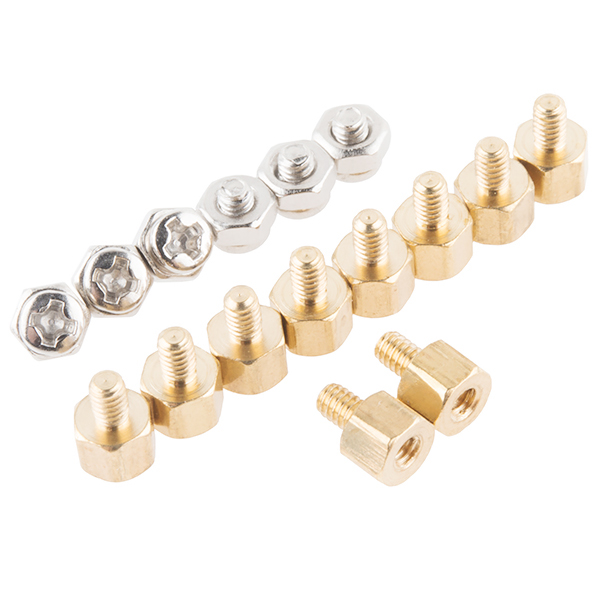
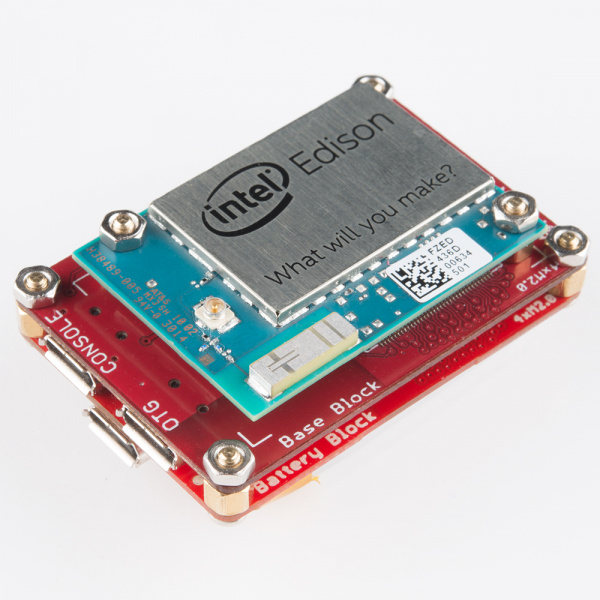
The Battery Block is very simple to use. You can mount the Edison module securely using our Hardware Pack. Note: It may be necessary to gently remove the battery to allow clearance for screws. It's only necessary to do this if the Battery Block is the only Block in a stack.
We have a nice Hardware Pack available that gives enough hardware to secure three blocks and an Edison.
The power switch connects power to the stack. When off, the battery is disconnected from the stack but is still capable of charging. You can charge the battery while the switch is on. Can't get much simpler than that!
Using the Battery Block with the Base Block
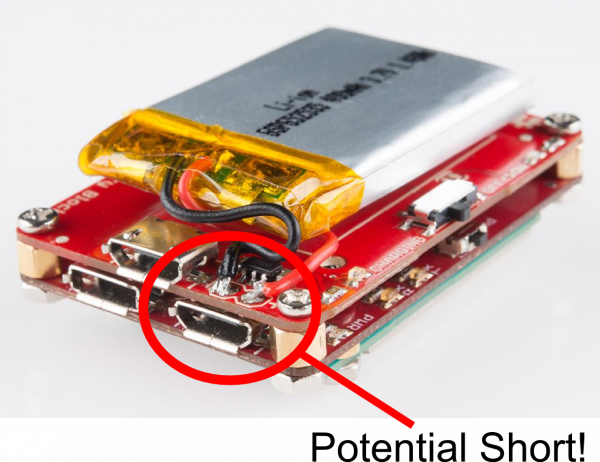
We tried to think of all the potential conflicts that can come from mixing and matching blocks. There was one we could not avoid. While stacking the Battery Block and the Base Block there is a potential short that can occur. The battery connections were made directly above where the Micro USB connector sits on the Base Block.
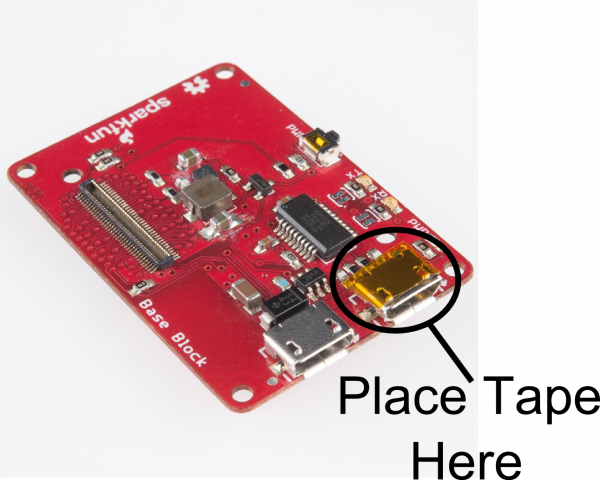
The simplest way to remedy this would be to re-order the stack of Blocks to put one more Block in between. If that's not possible, all is not lost. With a little electrical tape or Kapton tape, you can apply a small piece to the top of the USB connector. This will prevent the connector from coming in contact with the two battery connections. Kapton tape is the preferred method because of its higher temperature resistance and durability.
With that simple modification you are safe and ready to create the next great thing!
Resources and Going Further
Now that you have had a brief overview of the Battery Block, take a look at some of these other tutorials. These tutorials cover programming, Block stacking, and interfacing with the Intel Edison ecosystems.
Edison General Topics:
- General Guide to Sparkfun Blocks for Intel Edison
- Edison Getting Started Guide
- Loading Debian (Ubilinix) on the Edison
Block Specific Topics:
Check out these other Edison related tutorials from SparkFun:
