Sending Sensor Data over LoRa
Hardware Hookup
This project was put together to be as simple as possible and requires two separate hardware hookups; one being the transmitter and the other the receiver. There is no soldering needed since we are utilizing our Qwiic Connect System for the sensor and the OLED screen to output the data. In the photos below, we are using a USB-C connector for power but depending on your needs you can also connect a battery to the on-board JST-PH connector.
Hooking up the LoRa Transmitter
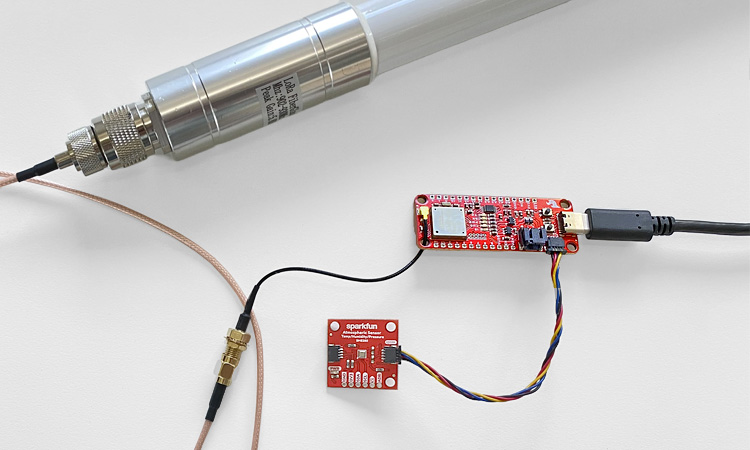
First thing to do here is to simply connect one end of your Qwiic cable to your transmitter expLoRaBLE board, and the other to the atmospheric sensor. For the antenna you’ll first need to attach the U.FL to SMA interface cables to your expLoRaBLE’s U.FL connection. This connection can be a bit tricky to hook up so if this is your first time using U.FL you may want to reference Three Quick Tips About Using U.FL. I highly recommend that you run this cable through the hole on the board (as shown below) if you aren’t using it for mounting. This will add a lot of stability to your connection to the antenna and greatly reduce the risk of damaging the U.FL connectors.

Very simple hardware hookup for the data transmitter.
Once you feel confident that your interface cable isn’t going anywhere, you’ll be able to screw on the second interface cable, which will then attach to the end of the fiberglass antenna.
Hooking up the LoRa Receiver
In a very similar fashion to the transmitter, you'll start by connecting one end of your Qwiic cable to your receiver expLoRaBLE board and the other end to the Micro OLED Breakout. The only difference of hooking up this antenna is that it attaches directly to the U.FL interface cable (as shown below).
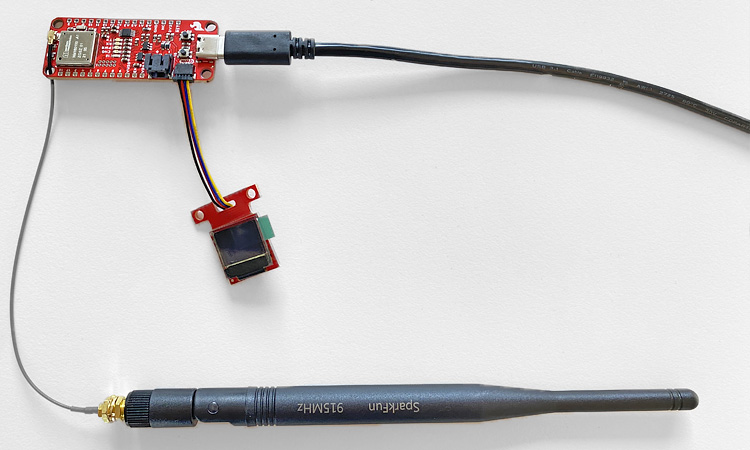
That's it! About as easy as it gets.