SD Cards and Writing Images
 M-Short
Resizing the partition
At this point you should have a working bootable SD card, feel free to stop here. Sometimes though you go grab that 16GB card you have lying around, burn a 1GB image and then think, well that's silly, I've lost 15GB of space! Now we are going to change partition sizes around so that the remainder of your card shows up as a separate partition that you can still use for storage. Before we start you may want to boot your card and take a look around, many distrobutions have a built in utility to do this. You can also use these programs to resize the partition if you'd rather.
Keep in mind that Windows can only read the first partition, so you will not be able to use this as general storage if you use a Windows device. But you can use it as storage on your Linux based Single Board Computer (SBC).
This is also a good way to get your SD card back to the original full sized partition if you no longer want to use it on your SBC. You wil need to delete all partitions, then make a new one and format it.
Most of these programs actually have very similar layout and directions, and there will be plenty of other options available online as well.
All Windows
- Newer versions of Windows have a partition manager built in (see below), but for older versions of Windows or a more full featured partion manager try EaseUS Partition Manager
- Download EaseUS Partition Manager
- Unzip, and run the program
- Select the Disk in the upper part of the window
- You should see a graphical representation of the partitions in the bottom half
- Depending on the image you installed, you may have various options. Any unallocated space can be turned into a new partition and formatted. You can also take the last partition and resize it so it takes up the rest of the card.
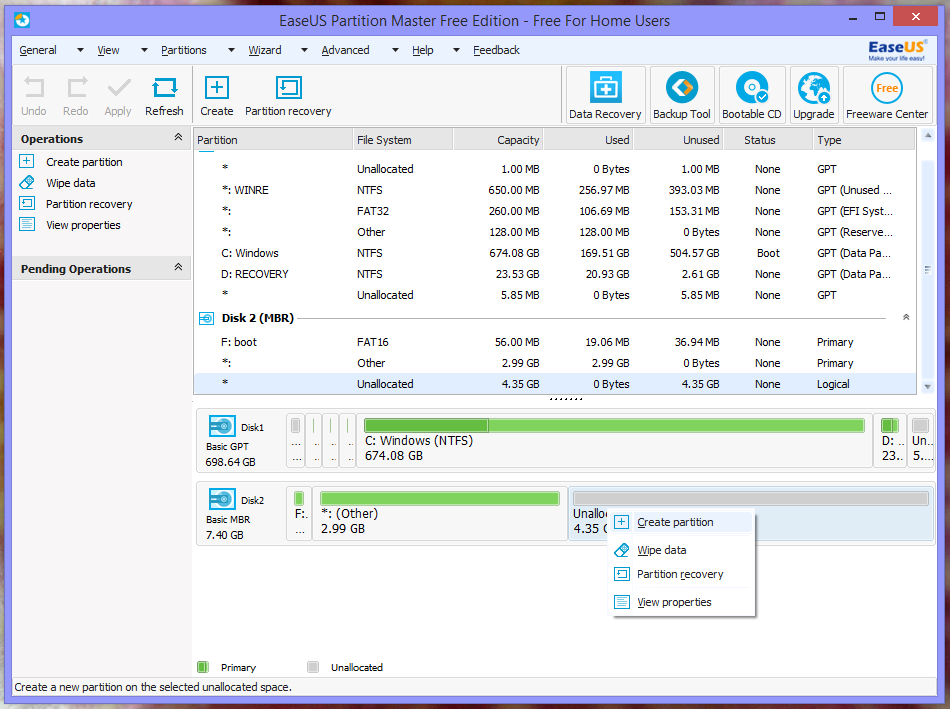
- Make sure you apply your changes (check mark in the toolbar on top). This applies all changes you make to the card.
Windows Vista,7,8
- Open Control Panel
- Type Partition into the search box
- Select the option "Create and format hard disk partitions"
- Select the Disk in the upper part of the window
- You should see a graphical representation of the partitions in the bottom half
- Depending on the image you installed, you may have various options. Any unallocated space can be turned into a new partition and formatted. You can also take the last partition and resize it so it takes up the rest of the card.
- Make sure you apply your changes (check mark in the toolbar on top), this applies all changes you make to the card
Mac
- Depending on whether your image uses a Windows based file system or not, this may or may not work. If you are having problems try these alternatives.
- Open the Disk Utility (Applications -> Utilities)
- Select the SD Card
- Select the "Partition" tab
- Click the "+" in the bottom left corner to add a partition
- Select the partition and drag the bottom right corner to resizse
- Click Apply
Linux
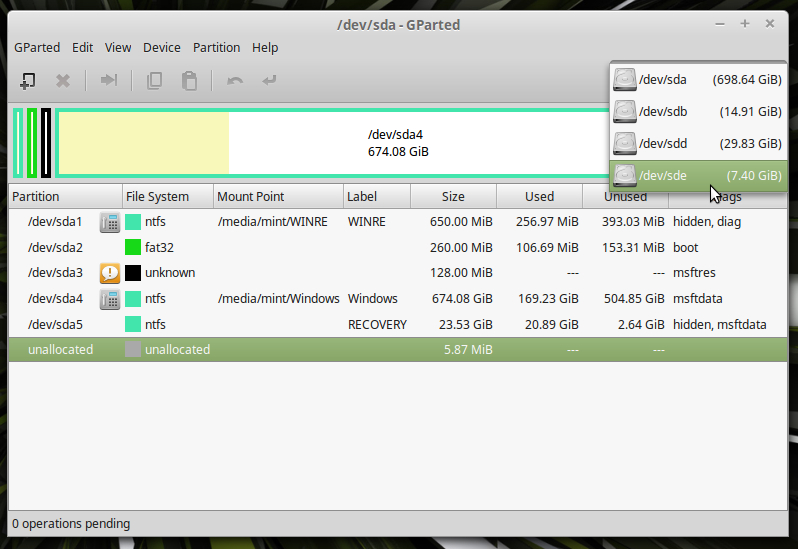
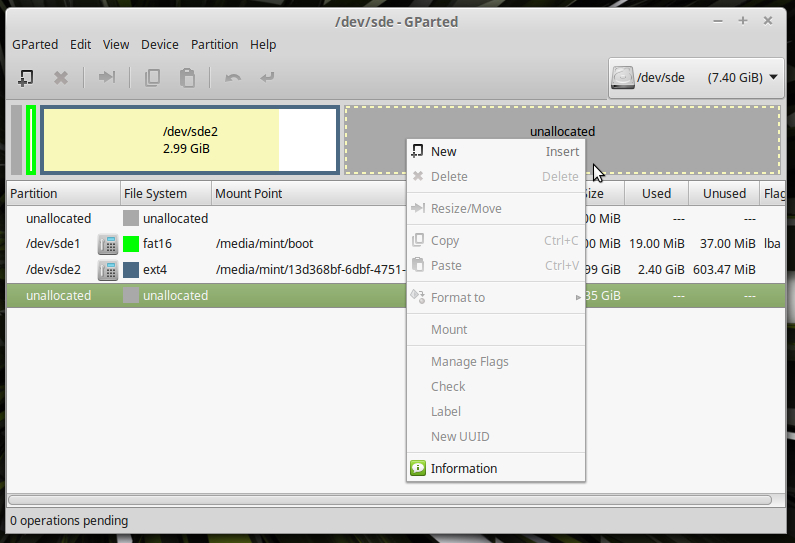
- Run Gparted (you may need to install it first using
sudo apt-get install gparted) - Select the correct device from the drop down menu on the top right
- Depending on the image you installed you may have various options. Any unallocated space can be turned into a new partition and formatted. You can also take the past partition and resize it so it takes up the rest of the card.
- Make sure you apply your changes. This applies all changes you make to the card.