SD Cards and Writing Images
Introduction
This tutorial is designed to give you a basic understanding of SD Cards and how to write different images to the SD card of your choice.
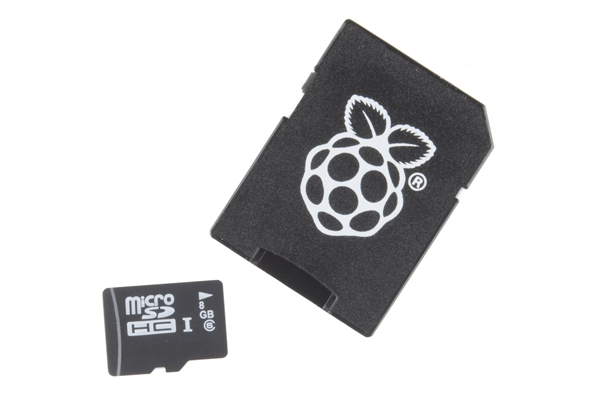
SD cards, short for Secure Digital, are everywhere you look now, from digital cameras, to phones and tablets, and even Single Board Computers (SBCs). In many cases your SBC won't come with Linux or any other operating system on it. It is up to you to provide the OS on an SD card. With the exception of Noobs for Raspberry Pi, this is usually not a drag and drop procedure.
In this tutorial, we are going to talk about different types of SD cards and readers, formatting your card to erase any data that may be lurking around, installing your image, and then how to use any left over space on the card.
Required Materials
To follow along with this tutorial, you will need an SD card, and a card reader (see related sections for more information on different types). The minimum card size depends on the Linux distribution. Make sure to check the image distribution that you are planning on using for your Single Board Computer before flashing. You will also need a computer and an Internet connection (if you don't have all the software and your image already on your computer). Last, you'll want your SBC or whatever device into which you are installing your card.
- microSD Card w/ Minimum Card Size
- microSD Card Reader
- Linux Image
- Single Board Computer (i.e. Raspberry Pi, NVIDIA Jetson Nano, etc.)
- Internet Connection
Recommended Reading
There is no one best place to start when it comes to single board computers. However, you may find these links useful in your SBC adventure.
