RP2040 mikroBUS™ Development Board Hookup Guide
This Tutorial is Retired!
This tutorial covers concepts or technologies that are no longer current. It's still here for you to read and enjoy, but may not be as useful as our newest tutorials.
Arduino Example
Note: The example for this tutorial assumes users have the latest version of the Arduino IDE installed. If this is your first time using Arduino, please review our tutorial on installing the Arduino IDE. If you have not previously installed an Arduino library, please check out our installation guide:
Installing an Arduino Library
For this example, users will need a USB-C cable, a RP2040 mikroBUS development board, a Weather Click, and access to a computer with the Arduino IDE installed.

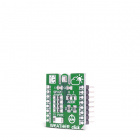
MIKROE Weather Click
SEN-18823Hardware assembly is straight forward, insert the Click board into the mikroBUS socket and then connect the RP2040 development board to the computer in BOOTSEL mode.
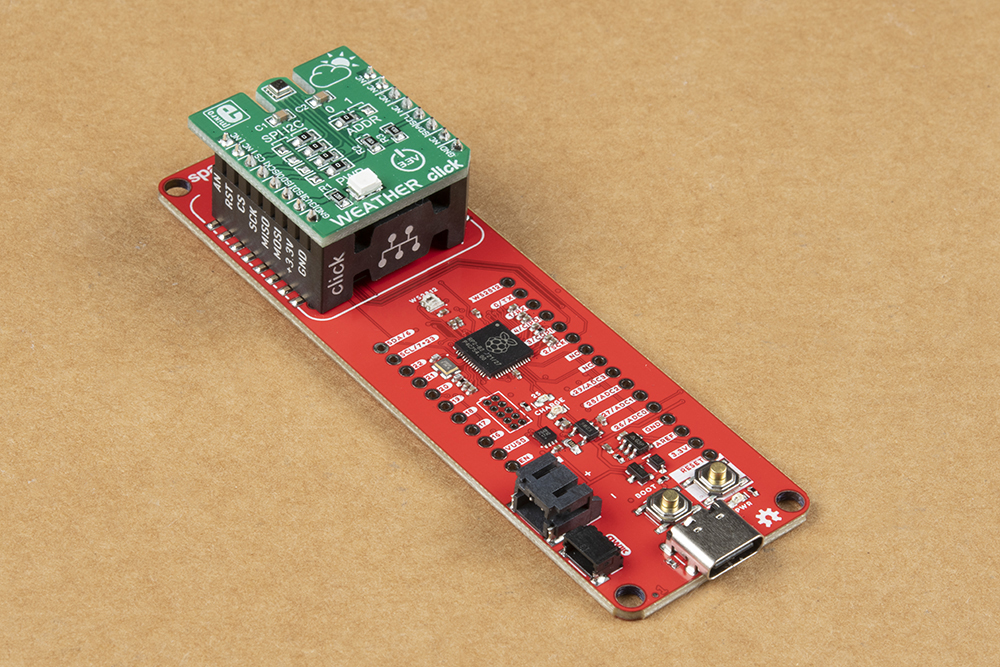
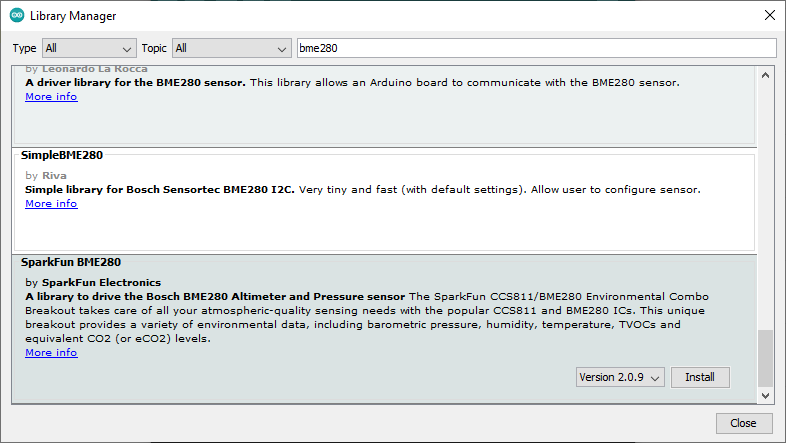
On the computer, users should have the MBed OS RP2040 Arduino core installed through the Board Manager. The Weather Click utilizes the BME280 PTH sensor; therefore, users will need to install a compatible Arduino library in the Arduino IDE. We recommend the SparkFun BME280 Arduino Library.
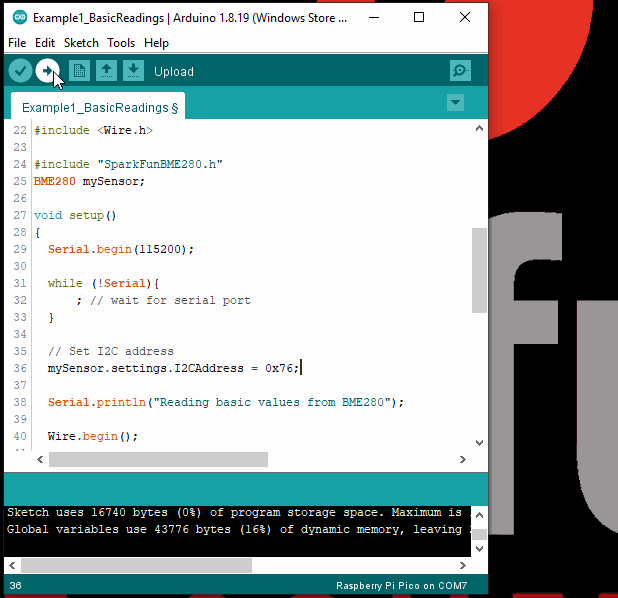
Once installed, users will have access to basic examples for the sensor. The examples can be found under the File > Examples > SparkFun BME280 menu options. We recommend trying the Example1_BasicReadings sketch first. Users will need to modify the sketch in the setup() loop for it to function properly:
language:c
Serial.begin(115200);


while (!Serial){
    ; // wait for serial port
}

// Set I2C address
mySensor.settings.I2CAddress = 0x76;


Serial.println("Reading basic values from BME280");
- The while statement allows the RP2040 to sync properly with a terminal emulator
- The default I2C address of the library is 0x77; however, it must be changed to the address configured on the Weather Click
Once these changes have been made, users can upload the program. After the upload process has completed, users can open the Serial Monitor to see the sensor data: