RP2040 mikroBUS™ Development Board Hookup Guide
This Tutorial is Retired!
This tutorial covers concepts or technologies that are no longer current. It's still here for you to read and enjoy, but may not be as useful as our newest tutorials.
UF2 Bootloader
The RP2040 mikroBUS™ Development Board is easy to program, thanks the UF2 bootloader. With the UF2 bootloader, the RP2040 Thing Plus shows up on your computer as a USB storage device without having to install drivers for Windows 10, Mac, and Linux!
What is UF2?
UF2 stands for USB Flashing Format, which was developed by Microsoft for PXT (now known as MakeCode) for flashing microcontrollers over the Mass Storage Class (MSC), just like a removable flash drive. The file format is unique, so unfortunately, you cannot simply drag and drop any compiled binary or hex file onto the board. Instead, the format of the file must have specific information to tell the processor where the data goes, in addition to the data itself. For more information about UF2, you can read more from the MakeCode blog, as well as the UF2 file format specifiation.
BOOTSEL Mode
Users can enter BOOTSEL mode by holding down the BOOT button, when the USB connection is made to a computer. The board will remain in this mode until it power cycles (happens automatically after uploading a .uf2 firmware file) or the RESET button is pressed. The board will appear as a USB mass storage device under the name RPI-RP2.
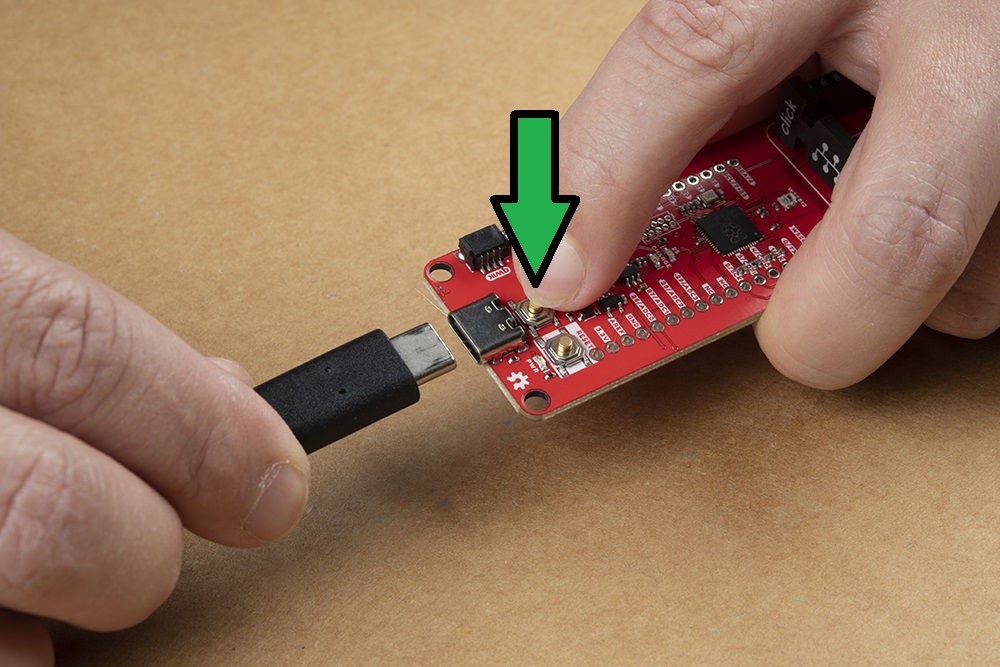
BOOT button to enter BOOTSEL mode. Note: As another option, with the USB-C cable already connected to the board and the computer, users can hold down the BOOT button and toggle the RESET button to enter BOOTSEL mode. However, this method does require a little bit of finger dexterity.