RGB Panel Jumbotron
Putting it All Together
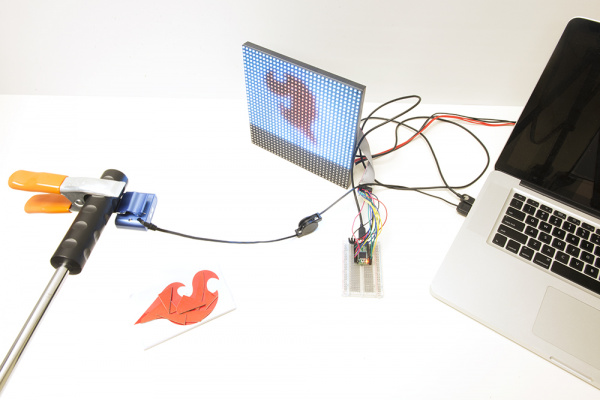
Now for the big finish! Plug in the RGB Panel power supply to a wall outlet, the Teensy 3.1 and webcam get plugged in to your computer's USB ports. Now start the Processing sketch; it will take a little bit to start up as it goes through all the available cameras (if you have a Mac you'll notice the green light on your iSight flash on and off once or twice). Once it starts up, a little preview box will pop up on your computer, and your RGB matrix should come to life, with the image from the webcam showing up (somewhat pixelated) on the RGB panel.
For photos, we set it up to look at a SparkFun flame sticker:
You may have noticed a few scraps of red cardboard on top of the sticker. Turns out the lighting in the studio and the reflectivity of the sticker (it's shiny) caused the sticker to get washed out - so we improvised.
