RED-V Development Guide
 bboyho,
  Englandsaurus
Examples (Zephyr RTOS)
Examples: Hello World
Phew, that's all done. Now we can move to the directory that was earlier created when we ran west init zephyrproject and build a project.
language:bash
cd ..
cd zephyrproject/zephyr
west build -b hifive1_revb samples/hello_world
We can now check to make sure our RED-V is connected. You should see a SEGGER device pop up when you run lsusb. If it's connected, go ahead and run west flash. Note that this may take a couple of tries, sometimes it helps to give the ol' reset button a tap or two and try again.
language:bash
west flash
What You Should See
Once uploaded, try opening a serial terminal to connect to the RED-V. Let's use the GNU screen. If you don't have it installed yet, type the following in the command line.
language:bash
sudo apt-get install screen
There are two serial ports that the RED-V enumerates to when inserted into the USB port. Type the following command to view the serial ports connected.
language:bash
dmesg | grep tty
Unplug and replug the RED-V to your USB port and type the command again. The messages that appear multiple times will be the RED-V. In this case, it should either be ttyACM0 or ttyACM1.
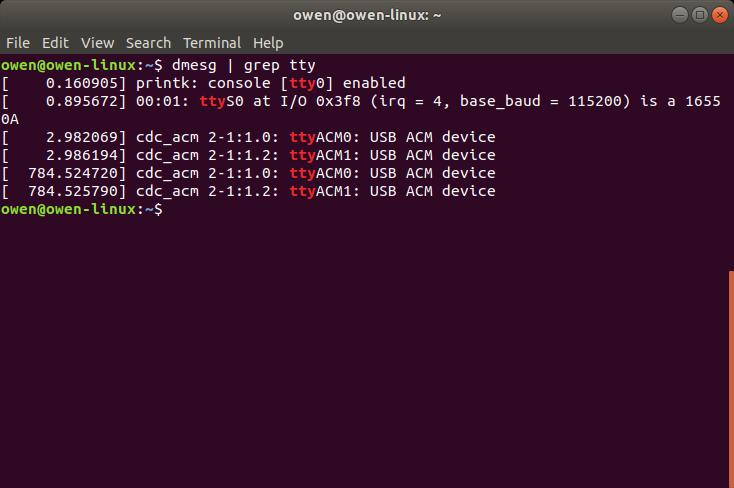
Connect to one of the ports using the following command set at 115200 baud.
language:bash
screen /dev/ttyACM0 115200
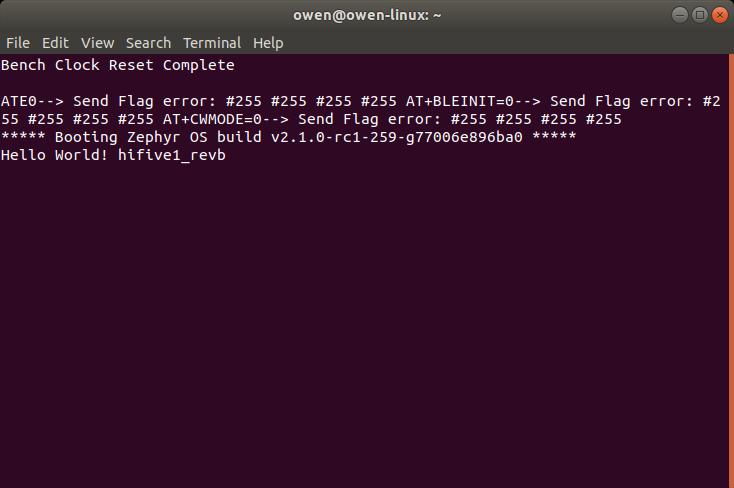
Since the example code only prints the message once, we'll need to hit the reset button once on the RED-V. You should see something similar to the Hello Wold example in Freedom Studio.
language:bash
Bench Clock Reset Complete

ATE0--> Send Flag error: #255 #255 #255 #255 AT+BLEINIT=0--> Send Flag error: #255 #255 #255 #255 AT+CWMODE=0--> Send Flag error: #255 #255 #255 #255
***** Booting Zephyr OS build v2.1.0-rc1-259-g77006e896ba0 *****
Hello, World! hifive1_revb
To disconnect CTRL + A and then \. You'll be asked by the application if you would like to exit. Type y and ENTER to exit the session.
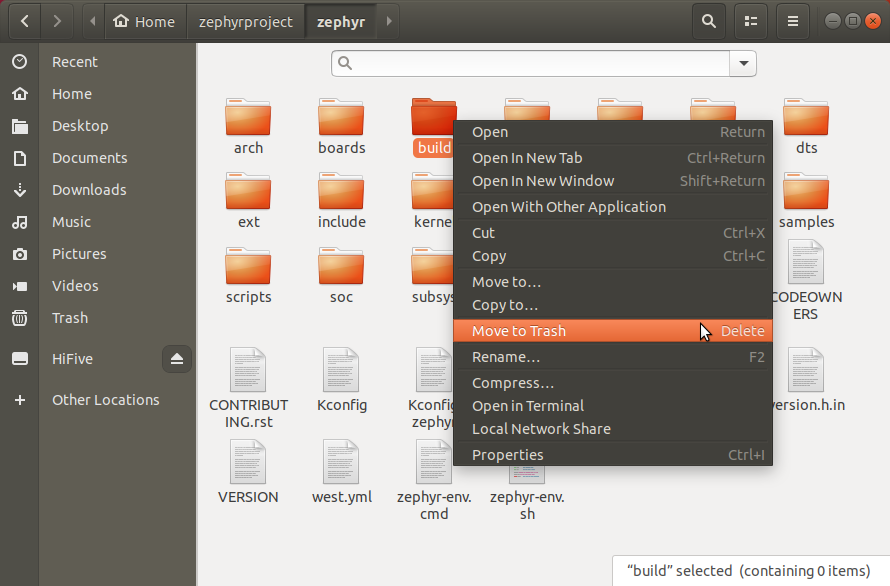
If you want to build a different project, simply delete the build directory using the following command to delete the folder. Then run west build again for your other project.
language:bash
rm -rv build/
For those that prefer the GUI, just head to the folder and to manually delete.
Examples: Blinky
Let's try to control the build-in LED on the RED-V. Head to the blink example and modify for GPIO pin 5.
language:bash
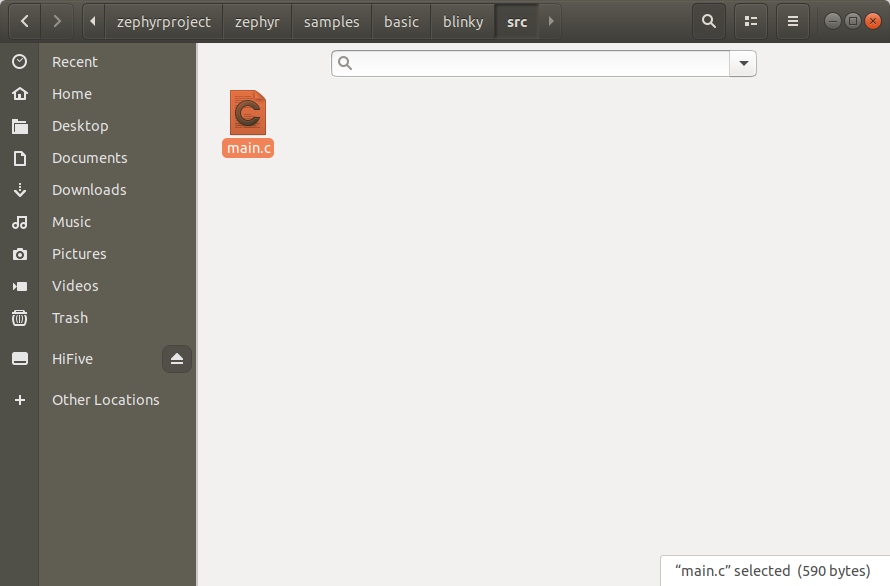
cd ~/zephyrproject/zephyr/samples/basic/blinky/src
gedit main.c
You can also navigate to the example using the GUI to open the blink example.
Once the modified.c file is open, change the definition for LED from DT_ALIAS_LED0_GPIOS_PIN to 5. We'll need to use the GPIO pin reference for the FE310 as opposed to the silkscreen label on the RED-V. You can also copy and paste the following into the file.
language:c
/*
 * Copyright (c) 2016 Intel Corporation
 *
 * SPDX-License-Identifier: Apache-2.0
 */

#include <zephyr.h>
#include <device.h>
#include <drivers/gpio.h>

#define LED_PORT    DT_ALIAS_LED0_GPIOS_CONTROLLER
#define LED     5

/* 1000 msec = 1 sec */
#define SLEEP_TIME  1000

void main(void)
{
    u32_t cnt = 0;
    struct device *dev;

    dev = device_get_binding(LED_PORT);
    /* Set LED pin as output */
    gpio_pin_configure(dev, LED, GPIO_DIR_OUT);

    while (1) {
        /* Set pin to HIGH/LOW every 1 second */
        gpio_pin_write(dev, LED, cnt % 2);
        cnt++;
        k_sleep(SLEEP_TIME);
    }
}
After changing, save the changes and hit CTRL+C in the terminal window. Head back to the zephyr folder to delete the build folder if you have not already. Then recompile the blink example and flash it to your RED-V board.
language:bash
cd ~/zephyrproject/zephyr/
rm -rv build/
west build -b hifive1_revb samples/basic/blinky
west flash
What You Should See
Check the built-in LED on the RED-V board. You should see the build-in LED blink every second!