Raspberry Pi 2 Starter Kit Hookup Guide
This Tutorial is Retired!
This tutorial covers concepts or technologies that are no longer current. It's still here for you to read and enjoy, but may not be as useful as our newest tutorials.
View the updated tutorial: Raspberry Pi 3 Starter Kit Hookup Guide
 MTaylor
Troubleshooting
Uh oh! Something must have gone wrong. Here's the common problems I ran into.
The serial is garbage!
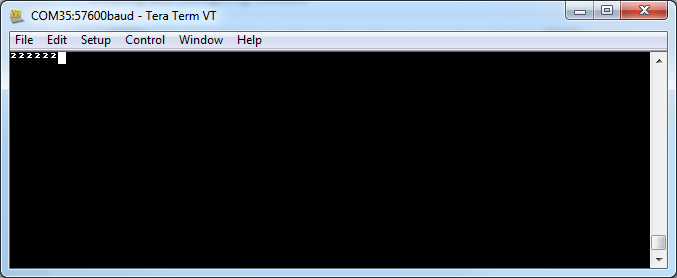
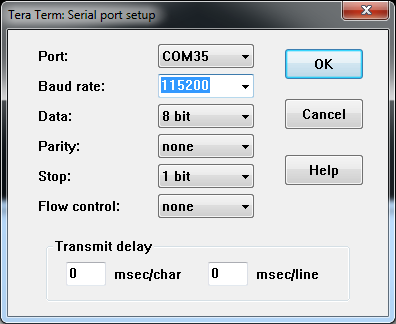
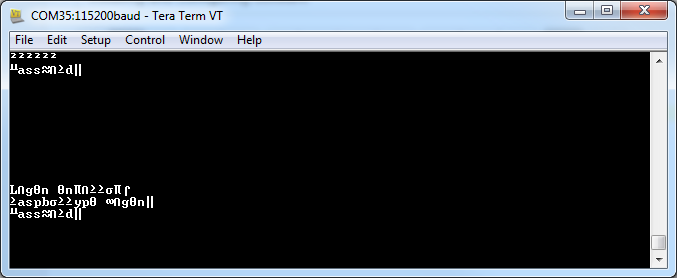
One thing that can happen while trying to find out the serial settings is that, after trying a few, even the correct settings show garbage. What happens is that with the wrong settings, some of the transmitted characters get time-scaled and resemble terminal control characters. These characters end up telling the server side to change its behavior! If the screen formatting looks OK but the characters are all garbage, this is probably what is up. Either close and re-open the serial terminal program or send terminal reset (Reset terminal and reset remote title for Tera Term) if available.
Monitor remains blank after inserting a card
I've found that when working with SD cards and another computer, sometimes I plug the card into the pi but it the monitor never comes up. In the few cases I've seen the activity lights by pin 1 of the ribbon connector are active but no display appears.
If this is the case,
- First try resetting the pi.
If that doesn't work,
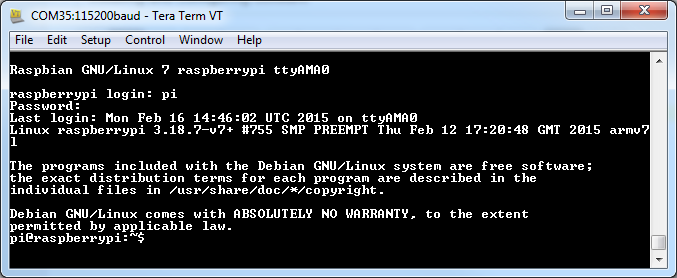
- Log in through another computer with the serial interface.
- Invoke the raspi-config dialog with "sudo raspi-config"
- Expand the partition -- even if has been done before!
- Finish the dialog and reboot.
This has solved the problem every time.
Starting from a blank microSD card
With any development, things can go pear-shaped. Sometimes it can be good to just start from a known state and try again. The process isn't covered by this guide, but the raspberrypi folks have done an excellent job at documenting it. These two steps can get you back to the beginning.
- Download the NOOBS image. As of this writing, it's at version 1.4.2.
- Follow the official installation instructions.
Performing a full system upgrade
Once connected to the internet, it can be a good idea update all the packages that are currently installed. Usually, new packages replace old ones that are faulty, but sometimes new packages have bugs on their own. If your current system is stable and all the funtions are good, maybe don't upgrade. If you're starting a frest project though, get everthing up-to-date before you start putting in the work.
Enter the following commands in the shell (process takes about 10 minutes)
sudo apt-get update-- go fetch the latest package information.sudo apt-get upgrade-- And answer Y. Upgrades all the packages. This stage will take a while.sudo shutdown -r now-- Reboot the machine.