Raspberry Pi 2 Starter Kit Hookup Guide
This Tutorial is Retired!
This tutorial covers concepts or technologies that are no longer current. It's still here for you to read and enjoy, but may not be as useful as our newest tutorials.
View the updated tutorial: Raspberry Pi 3 Starter Kit Hookup Guide
 MTaylor
Introduction
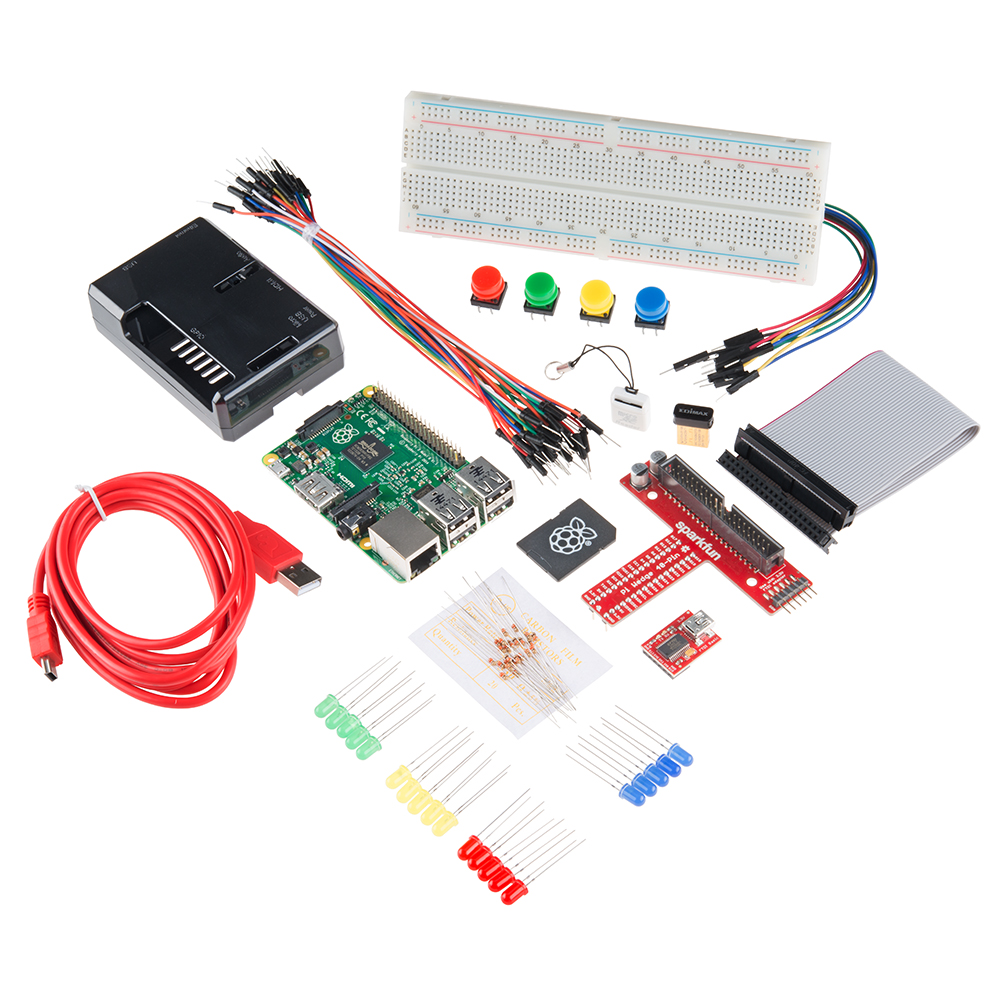
There's a lot of Raspberry Pi information going around lately. Whether it's Pi A, A+, B, B+, or Pi 2 B, any forum will have thousands of people giving all the answers possible to a problem. Though most methods work for any version, it can be tough to decide which information to choose. This is a reference of what is known to work for the Pi 2 and specifically, the Raspberry Pi 2 Starter Kit bundle.
Covered in This Tutorial
- Kit Assembly
- What to expect on the first boot
- Methods of working with the pi
- Configuring the Pi
- Resources for working with the GPIO
- Troubleshooting
- Serial
- Monitor
- Starting with a blank microSD card
- Performing a full system upgrade
Materials Required
There are a few methods to getting the RPi 2 running. You can operate the pi from its own peripherals, or you can use another computer with a serial link. Once any link is established, you can connect it to any network with DHCP hosting and use Telnet/SSH to operate the Pi.
Using the Pi 2 as a desktop:
- Pi 2 Starter kit -or- Pi 2 Accessory Kit and your own Pi
- USB Mouse
- USB Keyboard
- HDMI monitor/TV/adapted VGA
Configuring through the serial port / using Telnet/SSH:
- Pi 2 Starter kit -or- Pi 2 Accessory Kit and your own Pi
- 2nd computer with available USB port
- Terminal software such as HyperTerm or Tera Term
You'll also need an internet connection to get resources! This link can be wired or wifi and must be available for the Pi.
Suggested Reading and Viewing
- Serial Terminal Basics
- Raspberry gPIo -- Also linked-in later
- Pi Wedge Hookup Guide
- Getting Started With The Raspberry Pi -- video series