Raspberry Pi 2 Starter Kit Hookup Guide
This Tutorial is Retired!
This tutorial covers concepts or technologies that are no longer current. It's still here for you to read and enjoy, but may not be as useful as our newest tutorials.
View the updated tutorial: Raspberry Pi 3 Starter Kit Hookup Guide
 MTaylor
First Boot
Before you apply power for the first time, run through this pre-flight checklist.
- Is the micro SDcard installed and depressed?
- If using a monitor (stand-alone PC usage),
- Is the HDMI attached and the monitor powered on?
- Are the mouse and keyboard plugged in?
- Are the mouse and keyboard standard USB, not wireless?
- If using serial
- Is the wedge and ribbon cable connected and secure?
- Is the FTDI "BLK to BLK" and "GRN to GRN"?
- Is the FTDI connected to your computer with a USB cable?
- Is your terminal software configured to 115200 baud?
- Lastly, is the whole setup secure on your desk and not liable to jump onto the floor at the first touch?
Ok, you're ready to apply the power to the Pi.
What to expect on first boot with a monitor
First you should see a color chart that indicates the Pi has power and is doing something, but doesn't have software loaded yet. Next, the Pi "Hold shift to enter setup" screen appears briefly. Holding shift lets you get in and do Noobs level maintenance which is not covered by this guide.
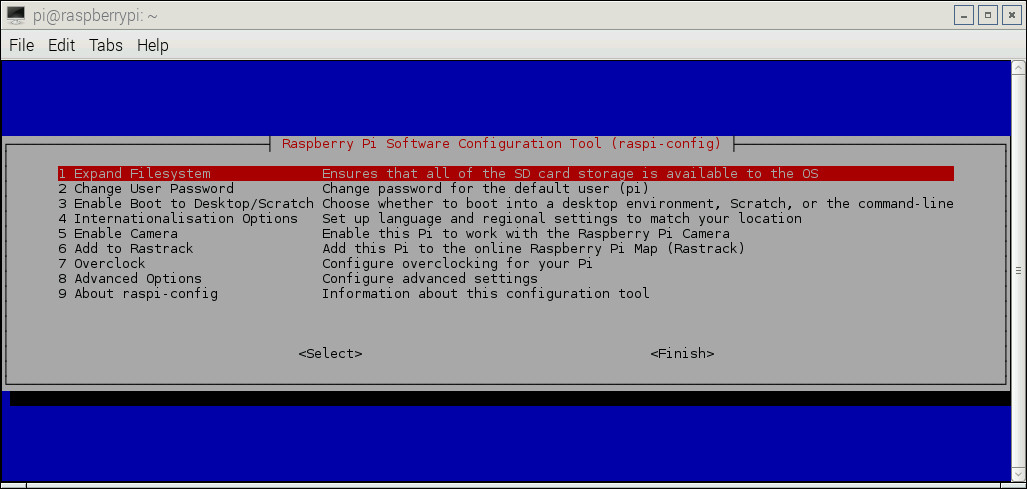
Next, linux starts booting and the log rolls down the screen. After it's gotten the system loaded, the raspi-config text window pops up and asks you questions. The card comes pre-expanded to fill the space so no actions need to be taken to get straight to a prompt, just select "Finish".
After that, you will be auto-logged in as user "pi", password "raspberry".
If the screen remained dark, check out the troubleshooting section of this hookup guide -- it shows a method of manually invoking the raspiConfig. With some monitors this can happen, but, usually after it's fixed, it's no problem until SDcards, power, or monitor changes.
What to expect on first boot with only serial
Without a monitor, the first boot should happen with a serial connection to monitor what is going on.
First boot instructions for serial:
- Open up a serial terminal and configure to 115200 buad.
- Send a few characters out the port and watch the FTDI. One of the LEDs should flash with each character.
- Plug in the micro usb power to the Pi.
Now, the boot log should start scrolling as the system boots.
This time, no raspi-config tool pops up, and you are not auto-logged in. Log in with "pi" and "raspberry" to get to a prompt.