Qwiic Distance Sensor (VL53L1X) Hookup Guide
This Tutorial is Retired!
This tutorial covers concepts or technologies that are no longer current. It's still here for you to read and enjoy, but may not be as useful as our newest tutorials.
View the updated tutorial: Qwiic Distance Sensor (VL53L1X, VL53L4CD) Hookup Guide
 Englandsaurus
Hardware Assembly
Arduino Examples
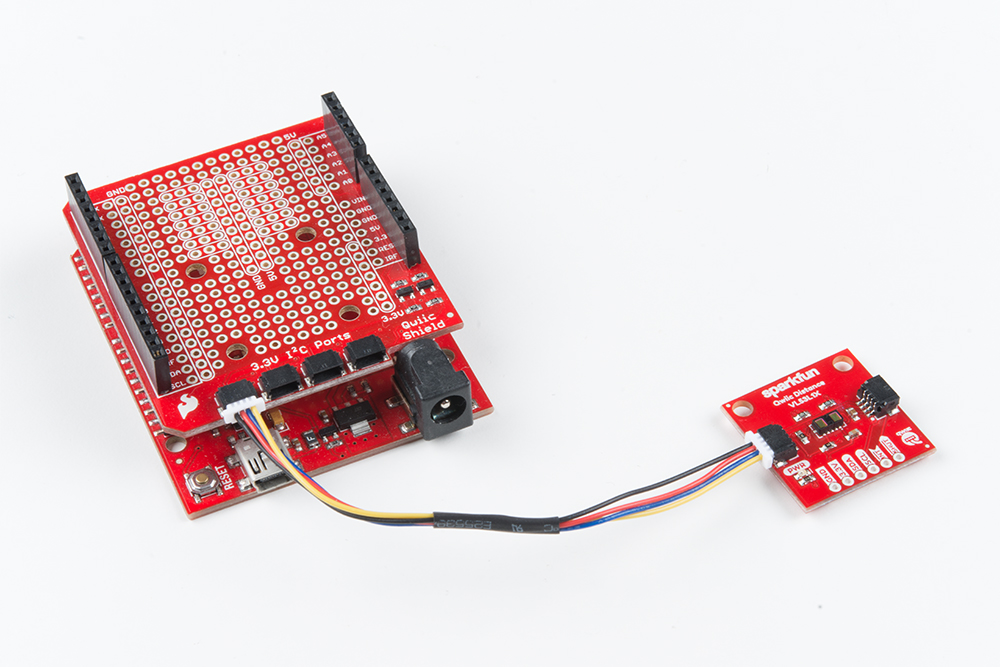
If you haven't yet assembled your Qwiic Shield, now would be the time to head on over to that tutorial. Depending on the microcontroller and shield you've chosen, your assembly may be different, but here's a handy link to the Qwiic Shield for Arduino and Photon Hookup Guide to get you started!
With the shield assembled, SparkFun's new Qwiic environment means that connecting the sensor could not be easier. Just plug one end of the Qwiic cable into the VL53L1X breakout, the other into the Qwiic Shield and you'll be ready to upload a sketch and figure out how far away you are from that thing over there. It seems like it's too easy too use, but that's why we made it that way!