Contributors:
santaimpersonator, MAKIN-STUFF
Introduction
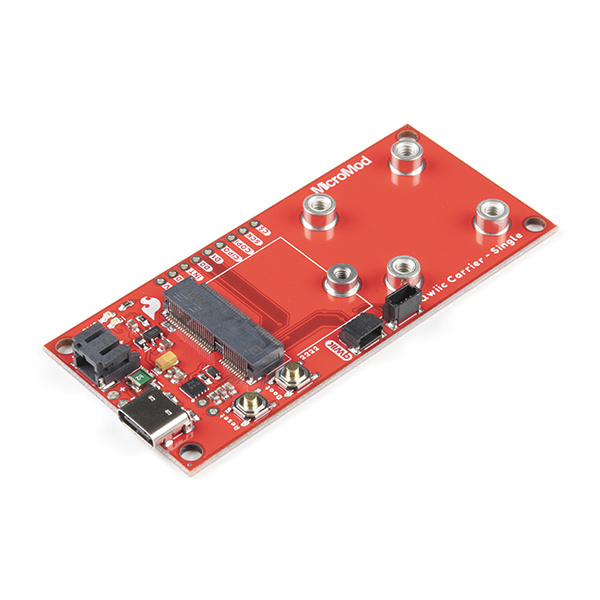
The MicroMod Qwiic Carrier Board can be used to rapidly prototype with other Qwiic devices; it is available in either a single or double mounting configuration. Just like other MicroMod Carrier Boards, users are free to develop with MicroMod Processor Board of their choice.
DEV-17723
The Single MicroMod Qwiic Carrier Board can be used to rapidly prototype with other Qwiic devices.
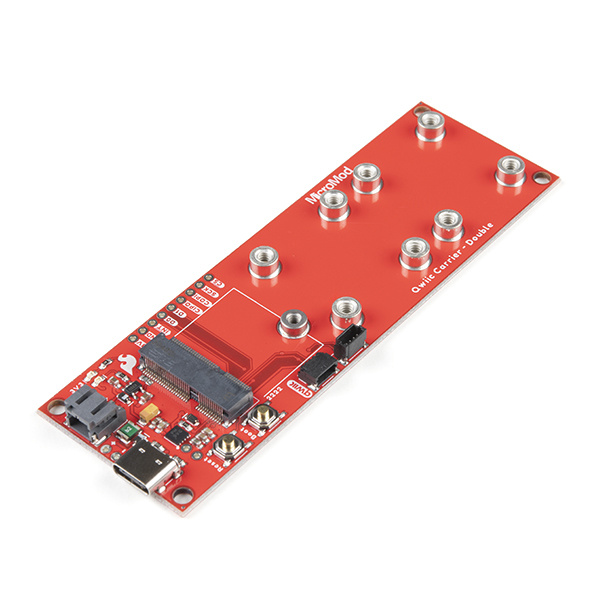
DEV-17724
The Double MicroMod Qwiic Carrier Board can be used to rapidly prototype with other Qwiic devices.
For a quick overview, check out our product video showcasing the MicroMod Qwiic carrier boards:
Required Materials
To get started, users will need a few of items listed below. (You may already have a some of these items; read through the guide and modify your cart accordingly.)
MicroMod Processor Board
Like other MicroMod Carrier Boards, a Processor Board is required for the product to operate. Users will need a Processor Board (of their choice) to attach to the MicroMod M.2 connector; since, one is not included with this product. Below, are few options:
DEV-16791
With a 32-bit ARM Cortex-M4F MCU, the SparkFun MicroMod SAMD51 Processor Board is one powerful microcontroller packaged on a …
KIT-19935
The SparkFun MicroMod mikroBUS™ Starter Kit is designed to give you just what you need to start using the MicroMod and Clic…
DEV-21438
The MicroMod STM32WB5MMG Processor has a powerful combination of computing and wireless capabilities all on one Processor.
KIT-22636
Whether you're an agriculturalist, a professional meteorologist, or a weather hobbyist, building a weather station can be a r…
Required Hardware
A Phillips screw driver is necessary to attach the Processor board to the Carrier Board. Additionally, a USB-C cable is needed to connect the Carrier Board to a computer.
CAB-14743
USB C is fantastic. But until we have converted all our hubs, chargers, and ports over to USB C this is the cable you're goin…
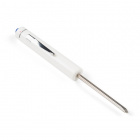
TOL-09146
This is just your basic reversible screwdriver - pocket sized! Both flat and phillips heads available. Comes with pin clip an…
Optional Hardware
To connect Qwiic breakout boards for your MicroMod project, Qwiic cables are required. Users can also attach the Qwiic devices with 4-40 screws or stacked them with standoffs.
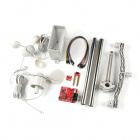
KIT-15081
To make it even easier to get started, we've assembled this Qwiic Cable Kit with a variety of Qwiic cables from 50mm to 500mm…
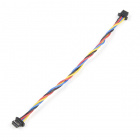
PRT-17259
This polarized I2C cable insulation is made from silicon making it more flexible than our original Qwiic cable particularly i…
PRT-10463
Metal Hex Male/Female standoffs. #4-40 thread with 3/8" shank and 3/16" thread length. Can be stacked to create any length.
…
PRT-10453
There are your standard Philips-head 4-40 screws. They are 1/4" long and come in packs of ten. This is the screw size we use …
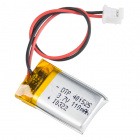
A single-cell Lithium-ion battery can be connected to the Qwiic Carrier Board for portability.
PRT-13851
This is a very small, extremely lightweight battery based on Lithium Ion chemistry, with the highest energy density currently…
PRT-13853
This is a very small, extremely light weight battery based on Lithium Ion chemistry. This is the highest energy density curre…
PRT-13855
These are very slim, extremely light weight batteries based on Lithium Ion chemistry. Each cell outputs a nominal 3.7V at 200…
PRT-13813
Slim, extremely light weight batteries based on Lithium Ion chemistry. Each cell outputs a nominal 3.7V at 1000 mAh!
Retired
To modify the jumpers, users will need soldering equipment and/or a knife.
TOL-09325
This is your basic spool of lead free solder with a water soluble resin core. 0.031" gauge and 100 grams. This is a good spoo…
TOL-14579
This 10mL no-clean flux pen from Chip Quik is great for all of your solder, de-solder, rework, and reflow purposes!
TOL-09200
It's like an Xacto knife, only better. We use these extensively when working with PCBs. These small knives work well for cutt…
TOL-14228
The WLC100 from Weller is a versatile 5 watt to 40 watt soldering station that is perfect for hobbyists, DIYers and students.…
Retired
Suggested Reading
The MicroMod ecosystem is a unique way to allow users to customize their project to their needs. The Qwiic connect system is a simple method for interfacing with I2C devices. Click on the banners below for more information on each system.
For users who aren't familiar with the following concepts, we also recommend reading the following tutorials before continuing.
Serial Communication
Asynchronous serial communication concepts: packets, signal levels, baud rates, UARTs and more!
I2C
An introduction to I2C, one of the main embedded communications protocols in use today.
Getting Started with MicroMod
Dive into the world of MicroMod - a compact interface to connect a microcontroller to various peripherals via the M.2 Connector!
Designing with MicroMod
This tutorial will walk you through the specs of the MicroMod processor and carrier board as well as the basics of incorporating the MicroMod form factor into your own PCB designs!
Installing an Arduino Library
How do I install a custom Arduino library? It's easy! This tutorial will go over how to install an Arduino library using the Arduino Library Manager. For libraries not linked with the Arduino IDE, we will also go over manually installing an Arduino library.
Installing Arduino IDE
A step-by-step guide to installing and testing the Arduino software on Windows, Mac, and Linux.
Installing Board Definitions in the Arduino IDE
How do I install a custom Arduino board/core? It's easy! This tutorial will go over how to install an Arduino board definition using the Arduino Board Manager. We will also go over manually installing third-party cores, such as the board definitions required for many of the SparkFun development boards.


