Qwiic Carrier Board Hookup Guide
Hardware Assembly
For those unfamiliar with the MicroMod ecosystem, be sure to review the Getting Started with MicroMod guide.
Getting Started with MicroMod
Processor Board
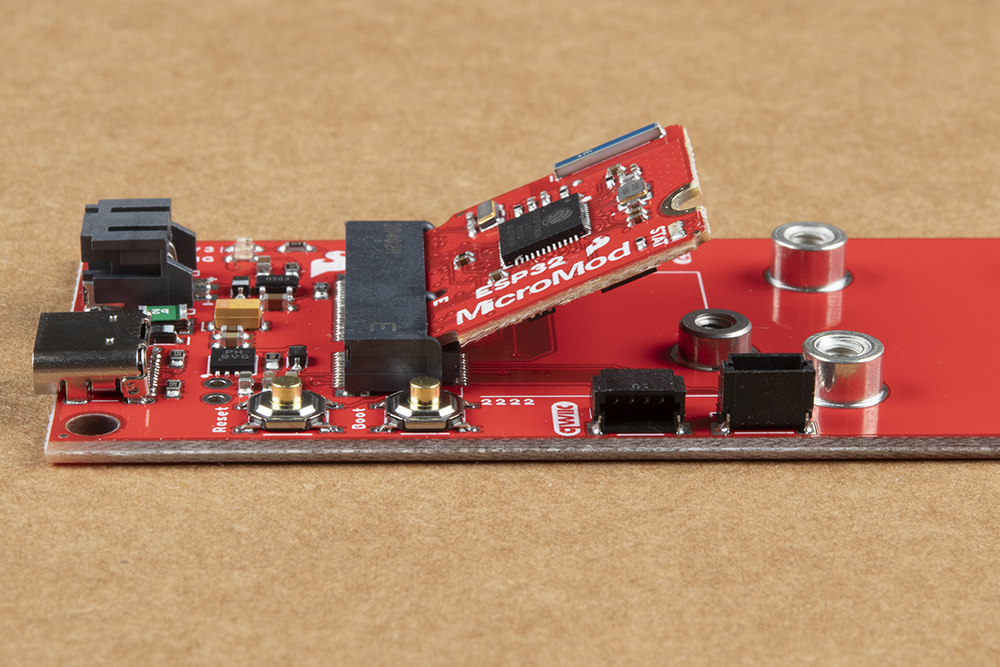
To get started with the Qwiic Carrier Board, users will need a compatible Processor. Insert the MicroMod Processor board into the M.2 socket at an angle, with its edge connector aligned to the matching slots.
When inserted properly, the Processor board will rest at an angle:
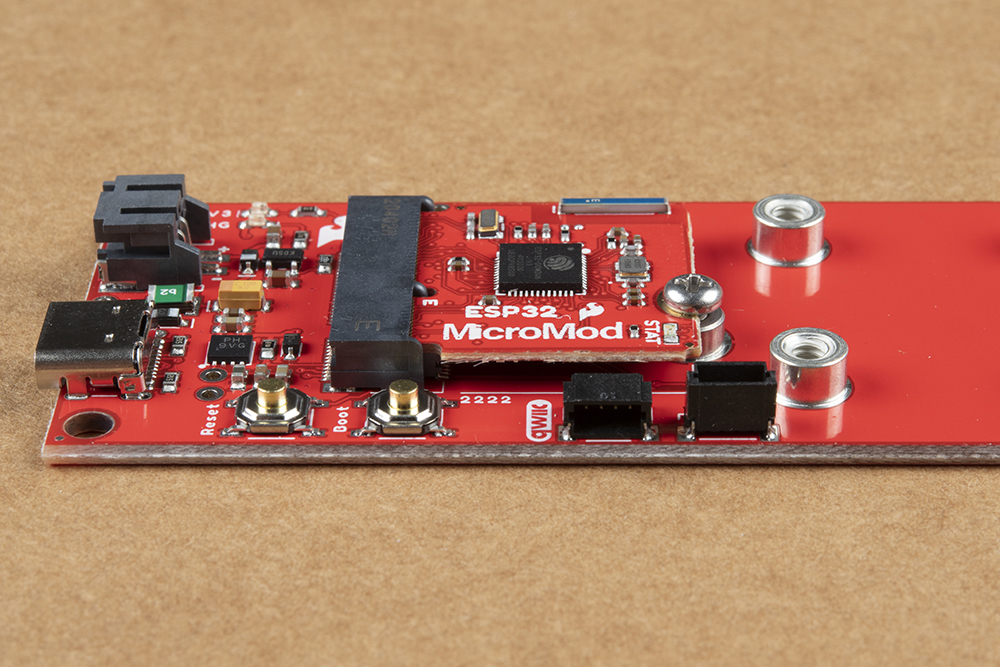
To secure the processor board, gently hold down on the board and attach the M.2 screw with a Phillip's head (PH0 or PH1) screw driver. Below, is an example of an assembled MicroMod system:
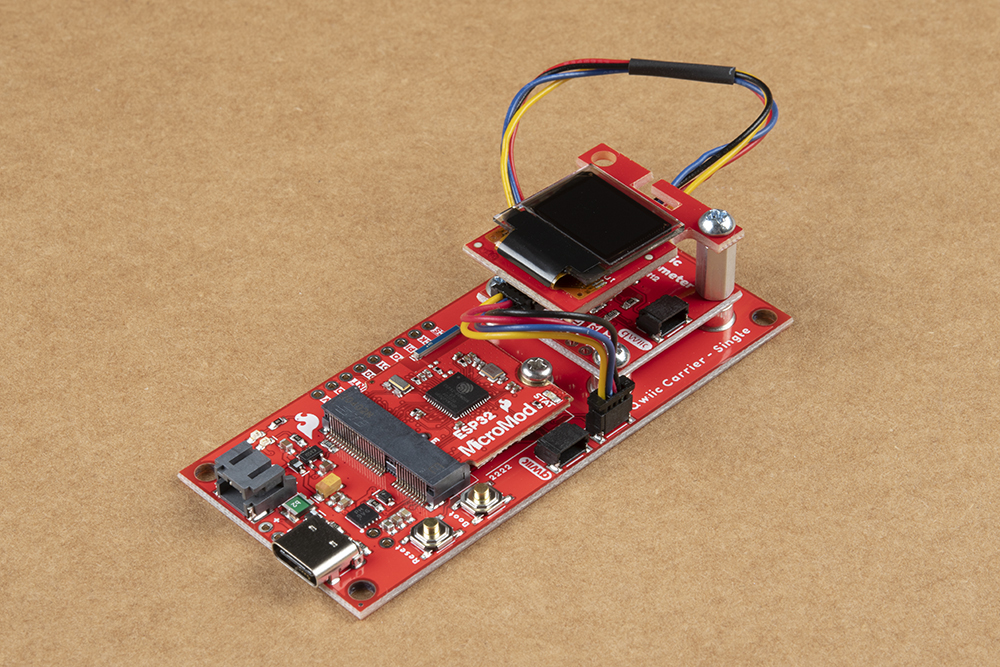
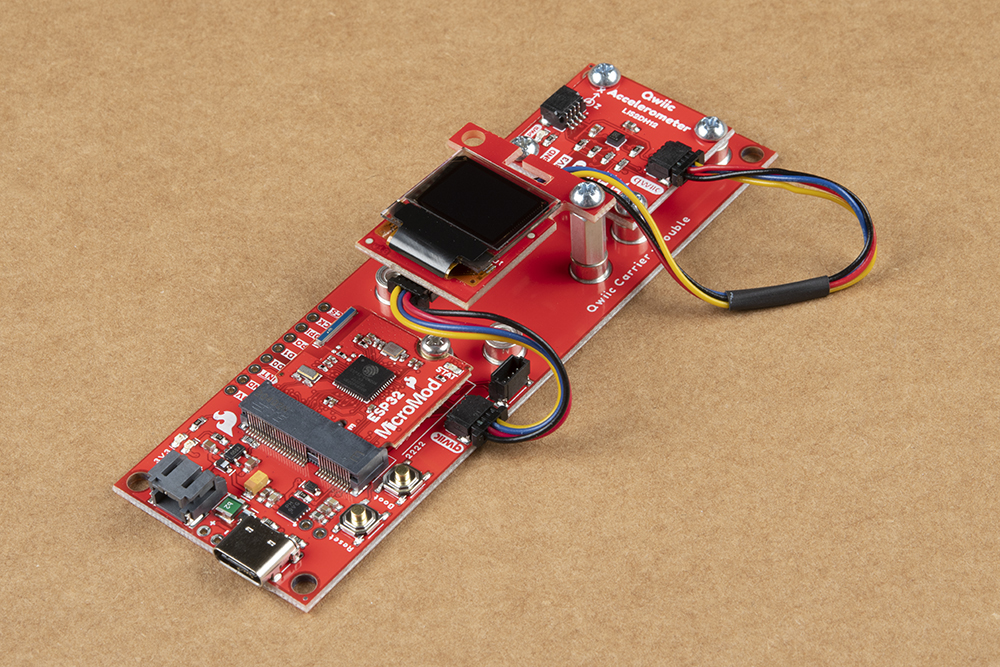
Qwiic Devices
Screw inserts are available in either a single or double configuration to attach/mount 1" x 1" Qwiic devices to the Qwiic carrier board. The inserts are compatible with 4-40 screws; additionally, 4-40 3/8" standoffs can also be used to stack boards vertically.
To electronically connect the Qwiic devices to the Carrier Board, users will need Qwiic cables. For more information, check out our Qwiic ecosystem page.
Programming
To program the processor board utilized on the Qwiic Carrier Board; connect the board to a computer with a USB-C cable. Depending on the Processor board, user may need to install drivers (if they have not done so already).
Note: Make sure that the correct board definitions are installed in the Arduino IDE, for the selected Processor board. For help installing board definitions, use the MicroMod processor boards landing page and review the associated hookup guide for that hardware.
Installing Board Definitions in the Arduino IDE
