Qwiic Carrier Board Hookup Guide
Example
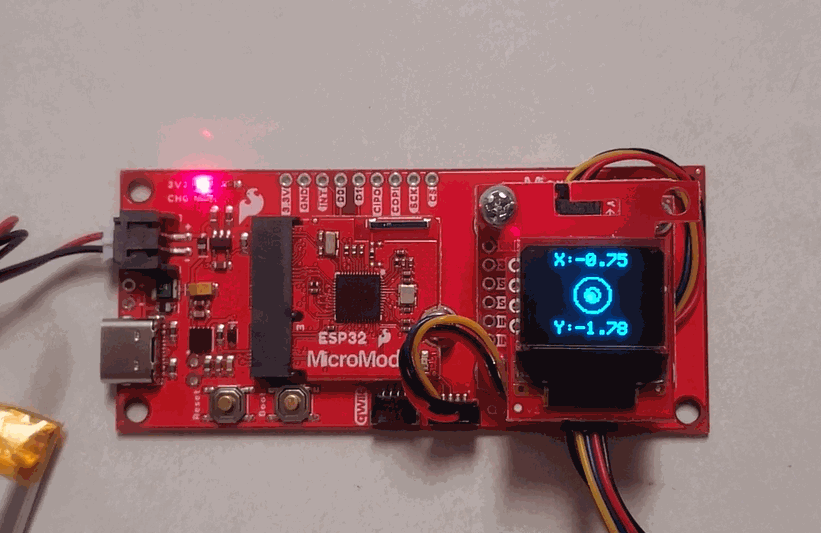
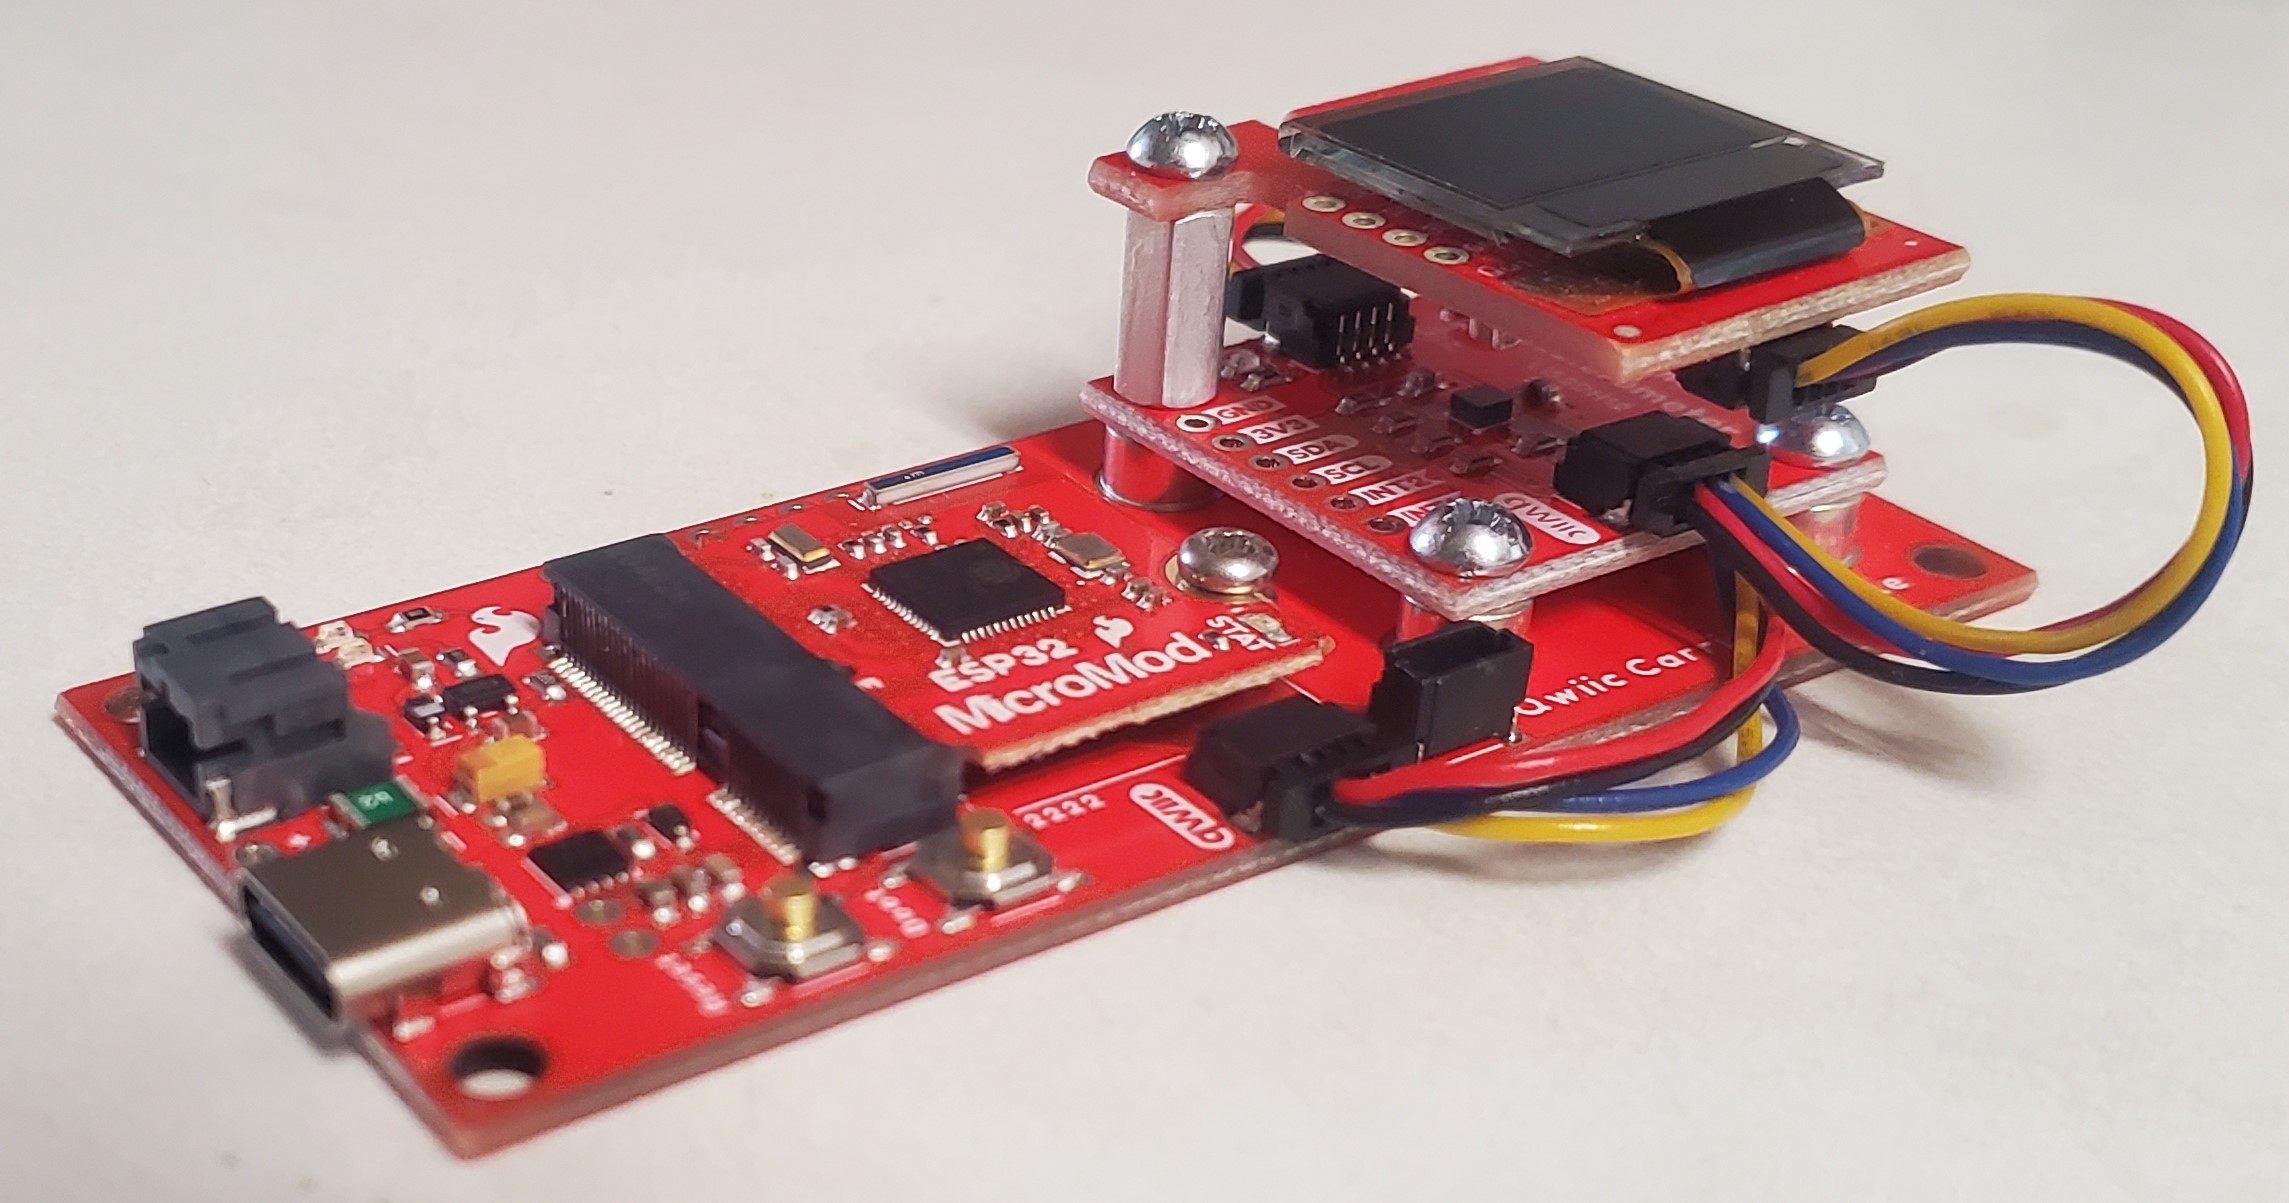
Below is a simple demonstration of using the MicroMod Qwiic Carrier Board to create a bubble level, using an accelerometer and OLED display. Users will also need other parts and accessories; all parts besides the Qwiic carrier board are listed below:


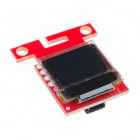
SparkFun Micro OLED Breakout (Qwiic)
LCD-14532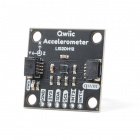
Note: We have chosen the MicroMod ESP32 for the processor board for this demonstration; however, users are free to utilize the processor board of their choice.
Please note, that the sample code below is intended to program processor boards that are compatible with the Arduino IDE. Therefore, processor boards like the RP2040 are going to need extra effort to adapt the code (technical assistance for which, is not available).
Assembly
The assemble process is relatively straight forward. The primary thing that users need to pay attention to is the orientation of the OLED display relative to the axes of the accelerometer. The x-axis should point to the right of the OLED display and the y-axis should point to the top of the display (see images below).
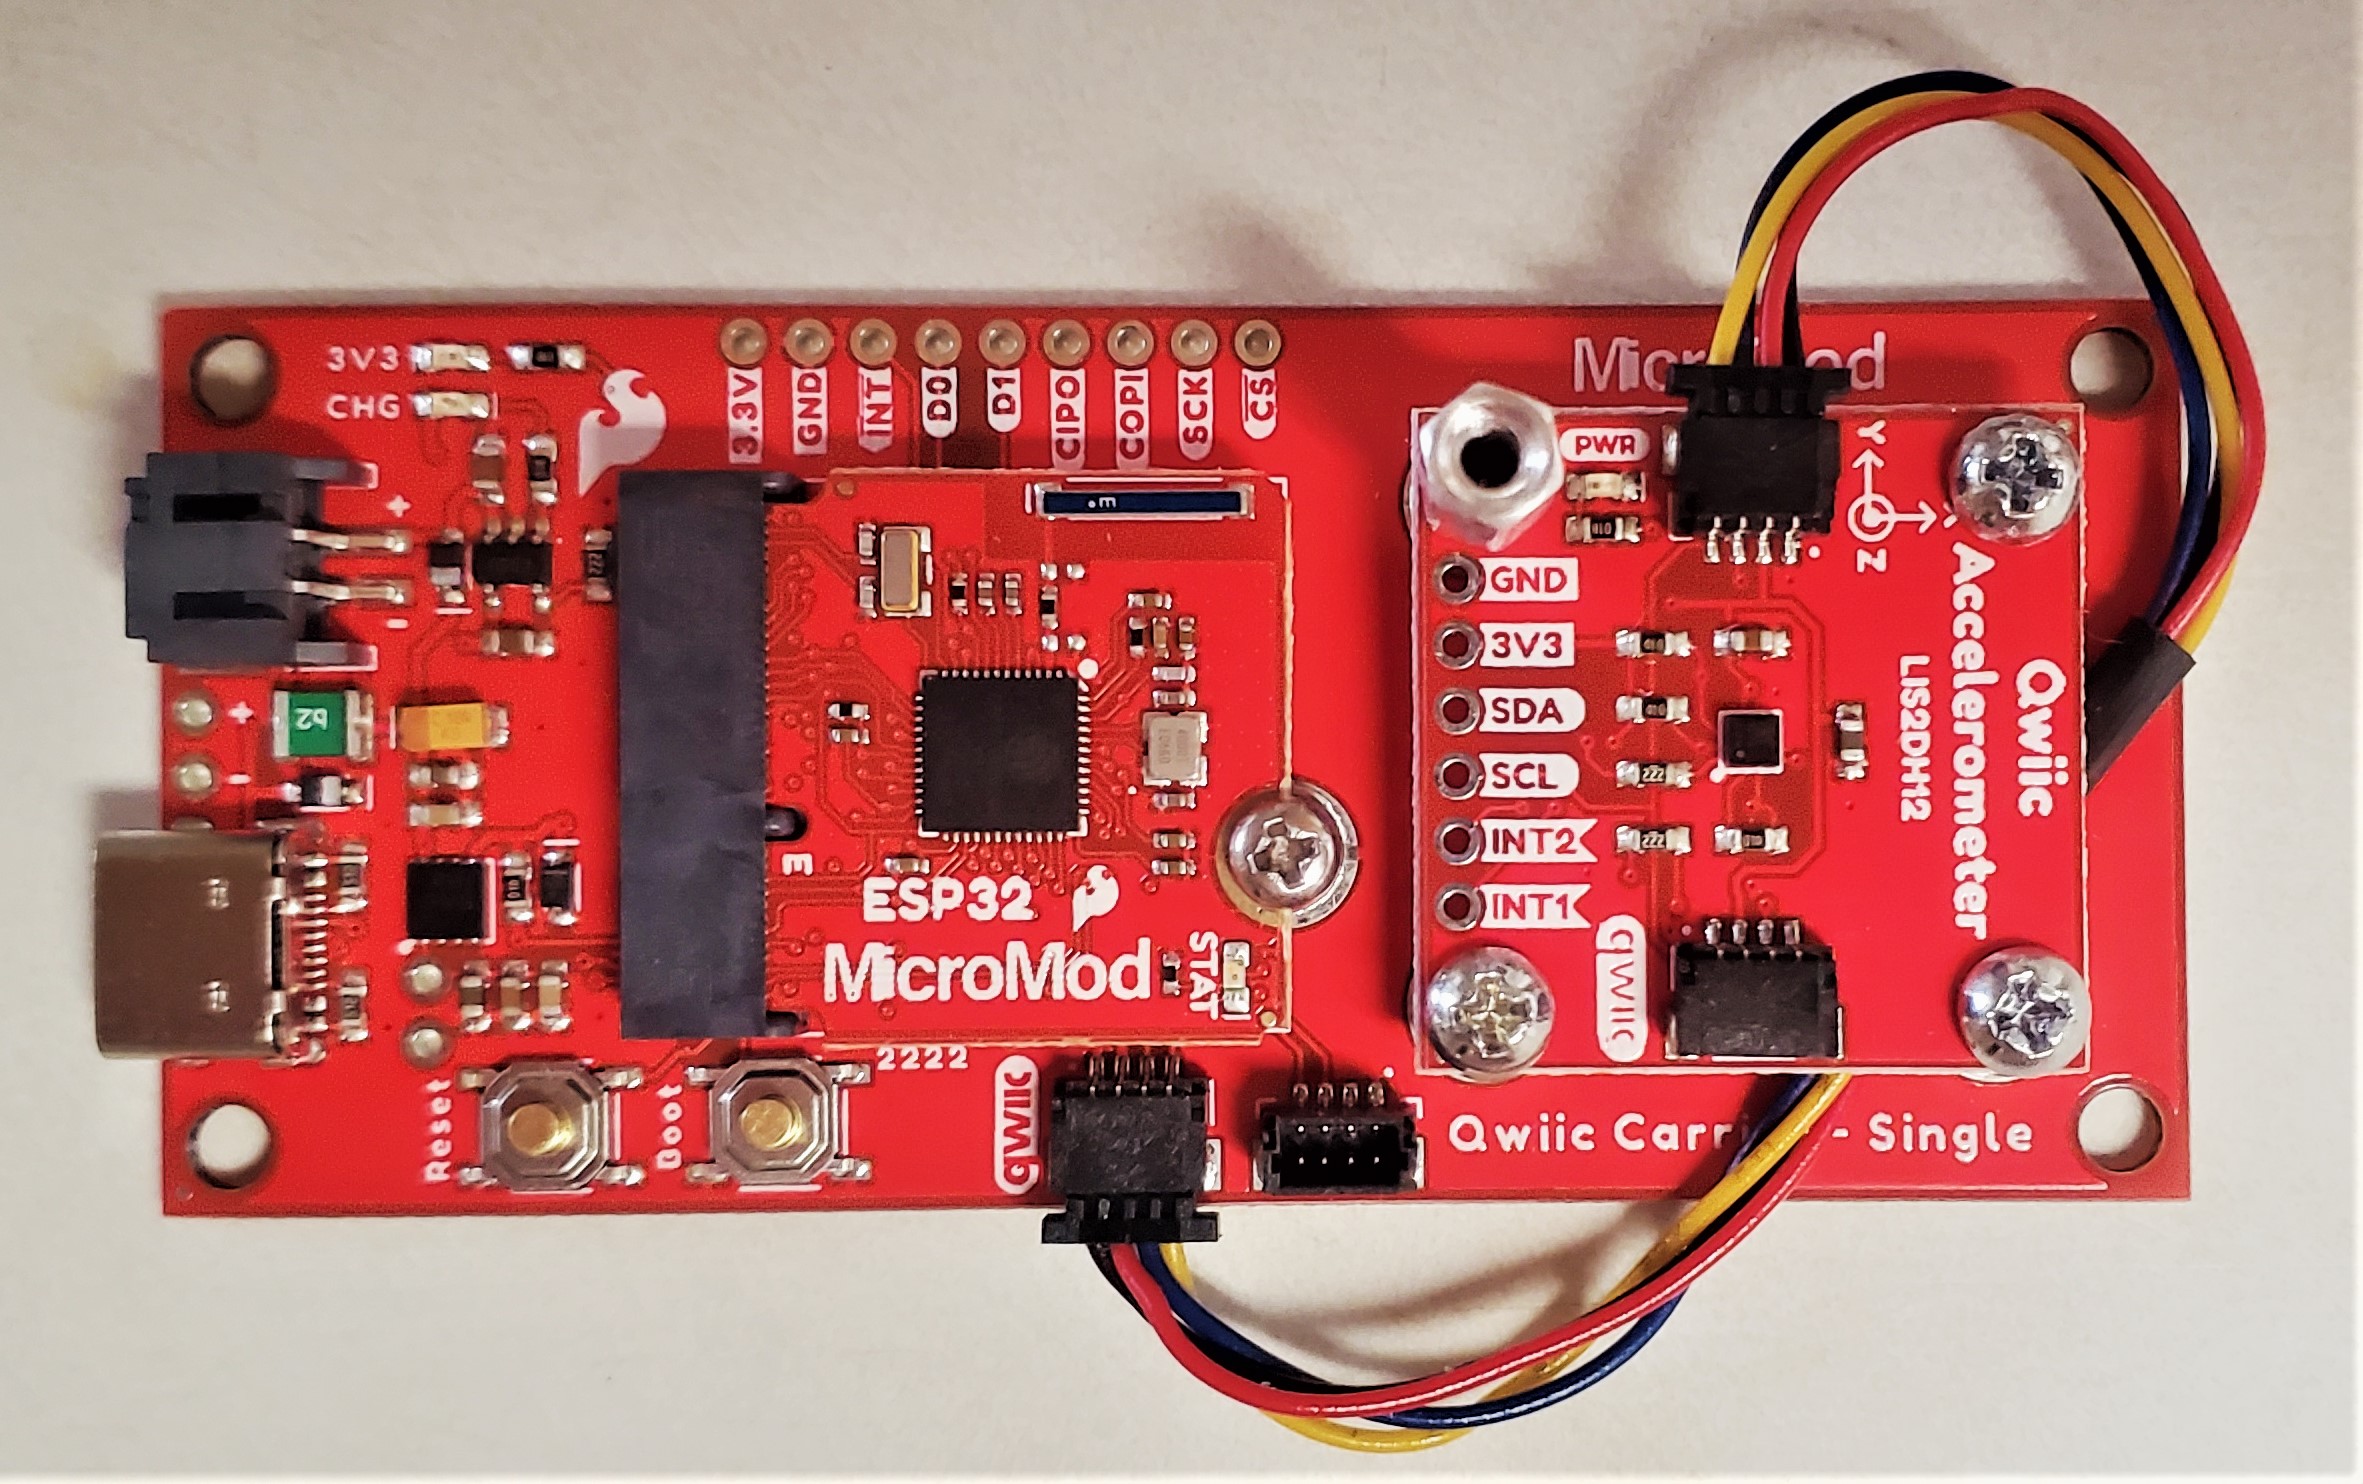
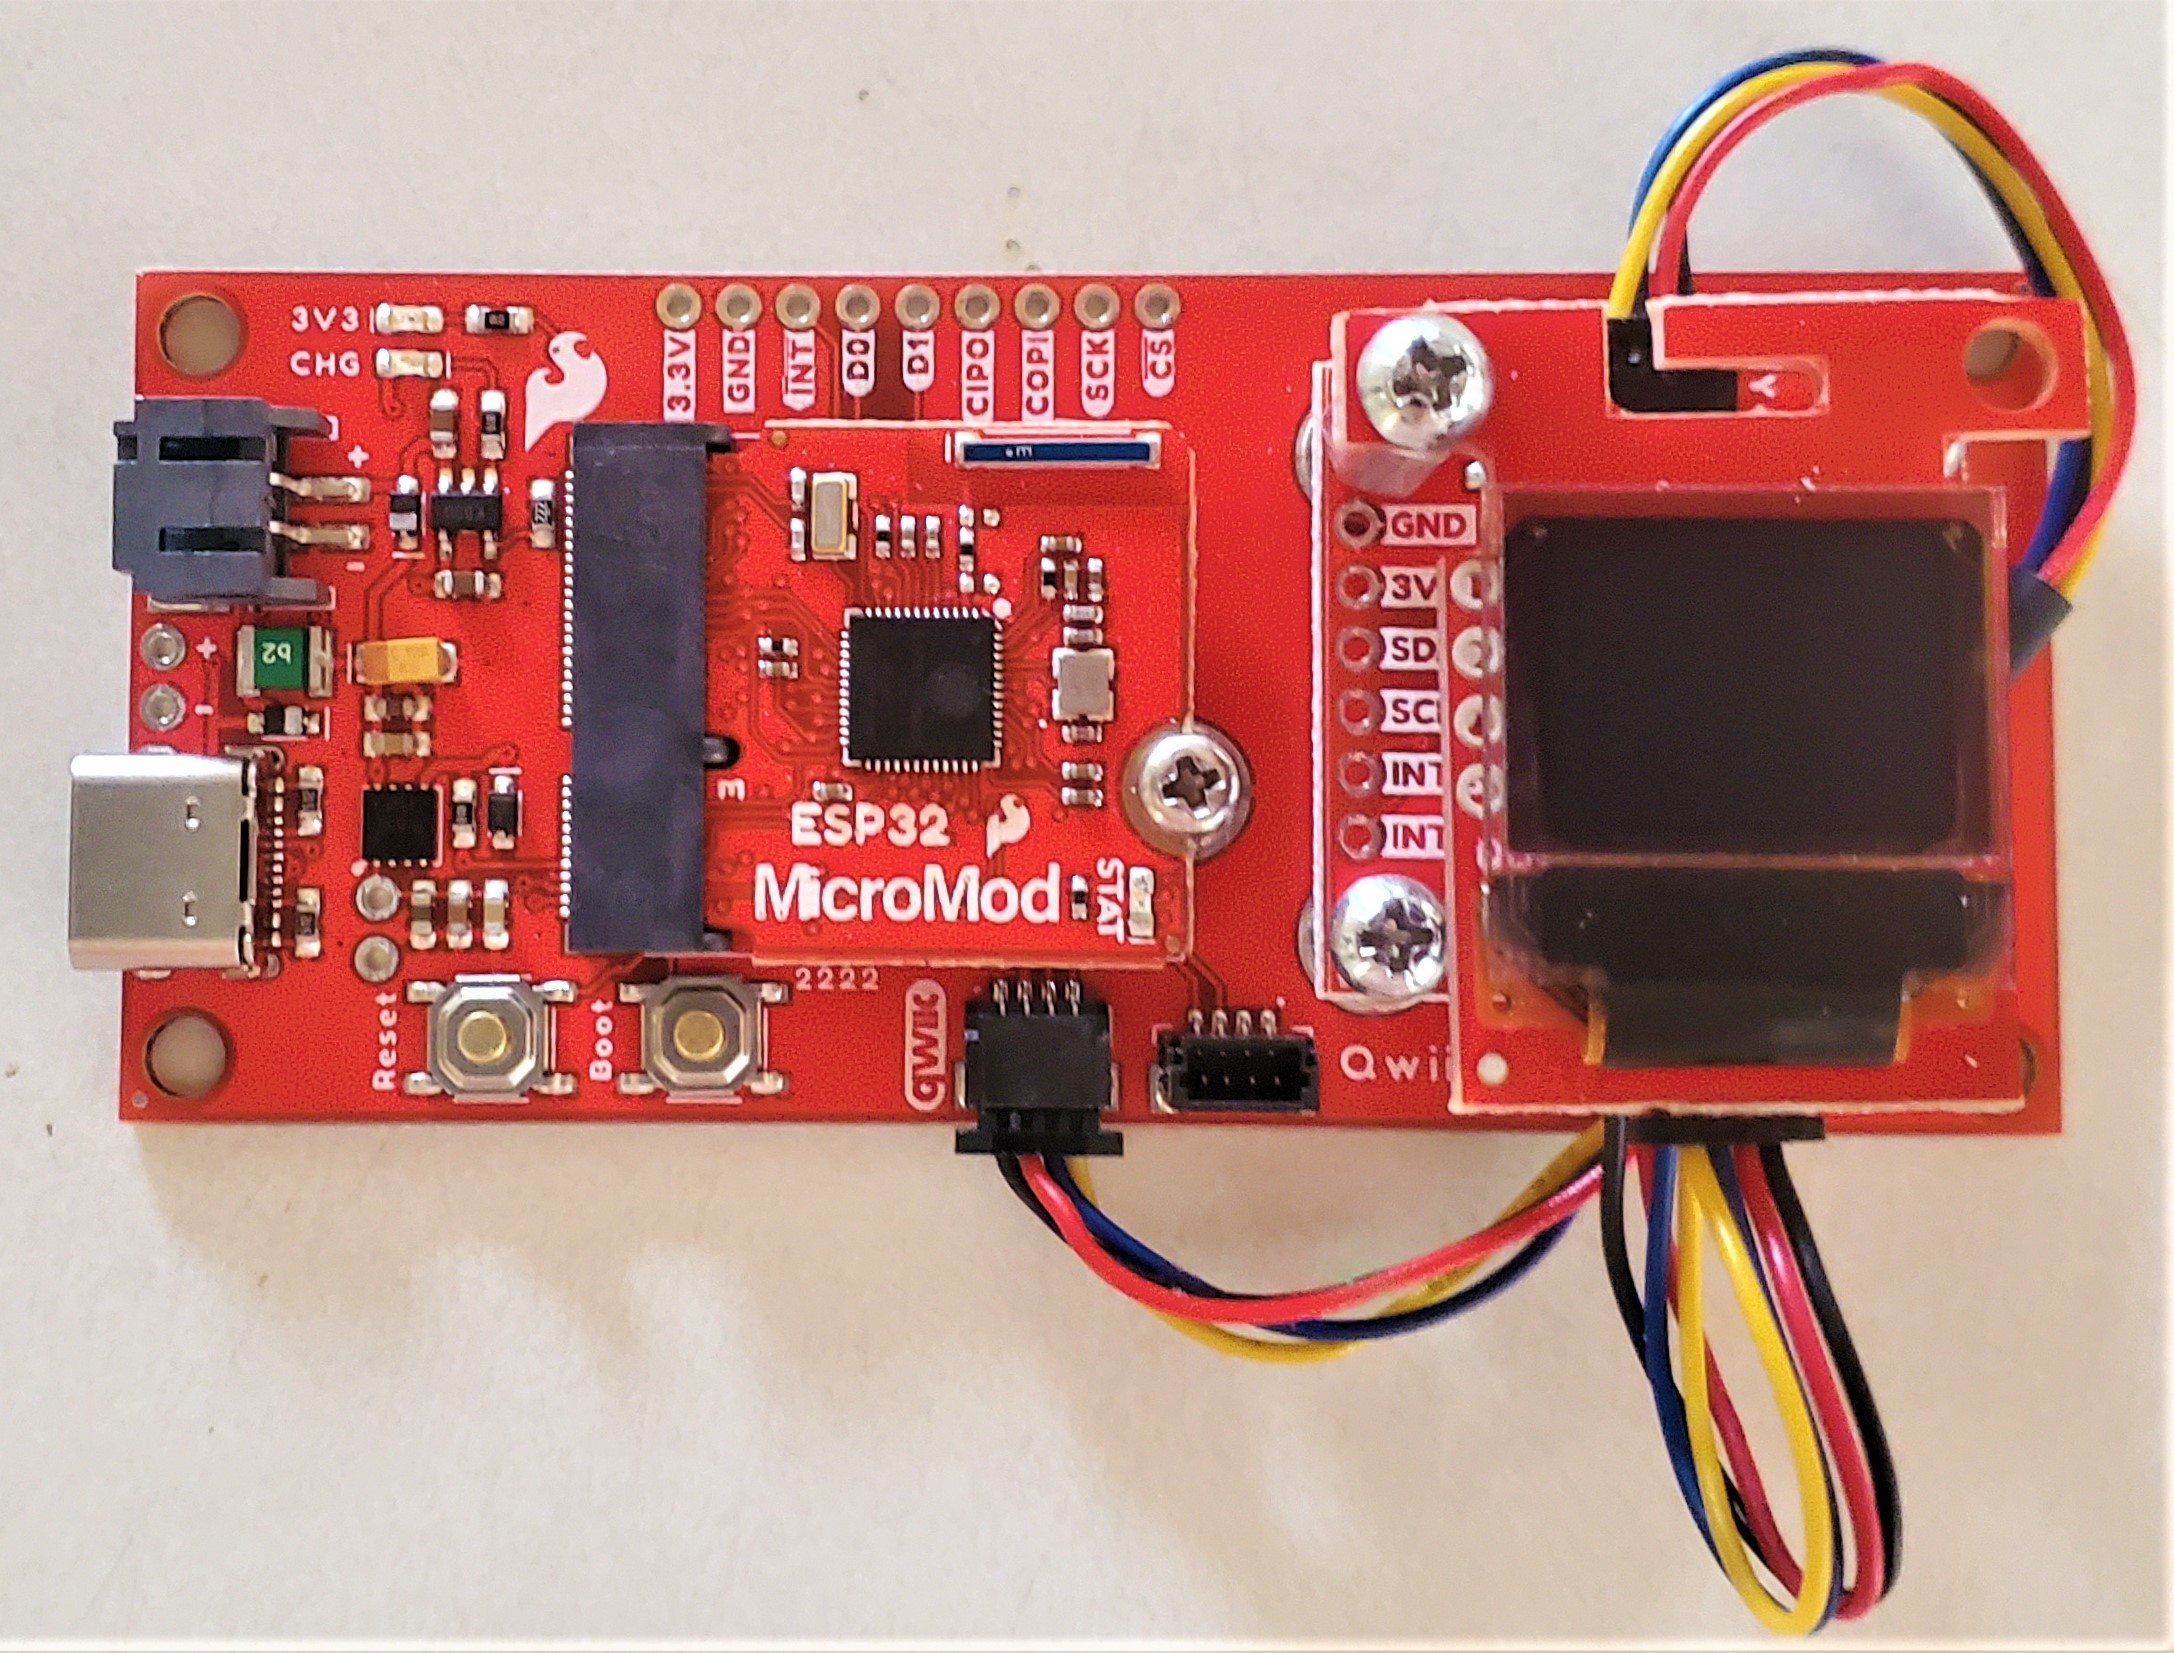
Some users may find it the movement of the bubble in the example code to be more intuitive if the OLED display is stacked above the accelerometer.
Example Code
Users can download the example code here or by clicking the button below. Besides the RP2040 processor board, users only need to select the proper port and board from the board manager in the Arduino IDE before uploading the code.
The following sections break down the example code execution for users who might want to modify the code. Please note, as defined in our terms of service, that we do not provide technical assistance for any code modifications.
Dependencies
Below are the dependencies for the code including the libraries, pin definitions, and variable instantiations. The example code requires both the Micro OLED and LIS2DH12 Arduino libraries to be installed in the Arduino IDE.
Tip: While in the Arduino IDE, users can click the links in the code (i.e. //Click here to get the library: http://librarymanager/All#SparkFun_LIS2DH12) to pull up the required library in the library manager.
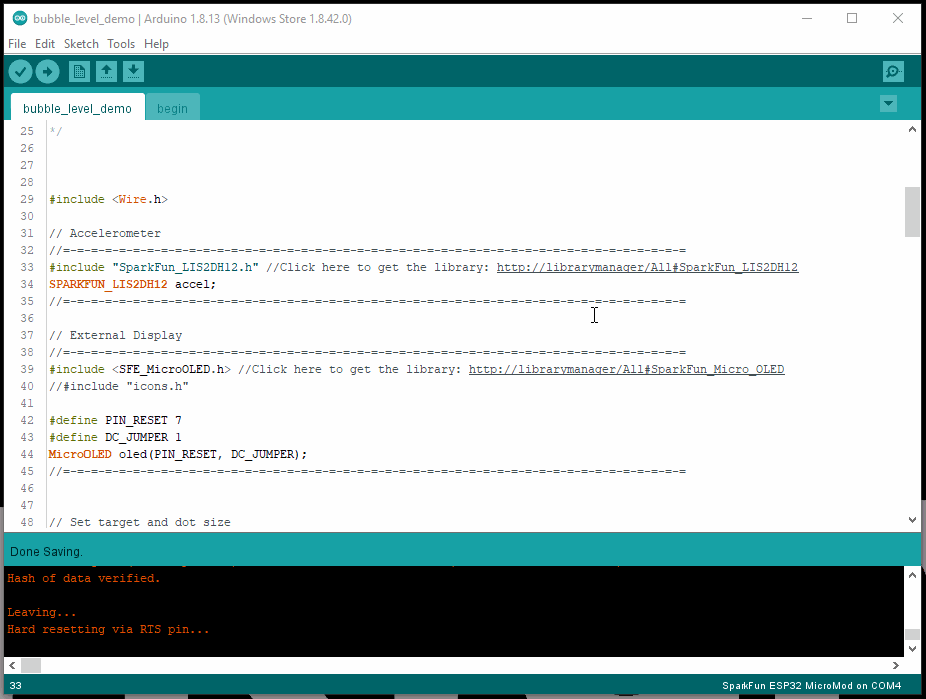
Clicking the link to pull up the required library in the Arduino IDE. (Click to enlarge)
Installing an Arduino Library
Libraries and Pin Definitions
This section of the code contains the required libraries and pin definitions for the code.
language:c
#include <Wire.h>

// Accelerometer
//=-=-=-=-=-=-=-=-=-=-=-=-=-=-=-=-=-=-=-=-=-=-=-=-=-=-=-=-=-=-=-=-=-=-=-=-=-=-=-=-=-=-=-=-=
#include "SparkFun_LIS2DH12.h" //Click here to get the library: http://librarymanager/All#SparkFun_LIS2DH12
SPARKFUN_LIS2DH12 accel;
//=-=-=-=-=-=-=-=-=-=-=-=-=-=-=-=-=-=-=-=-=-=-=-=-=-=-=-=-=-=-=-=-=-=-=-=-=-=-=-=-=-=-=-=-=

// External Display
//=-=-=-=-=-=-=-=-=-=-=-=-=-=-=-=-=-=-=-=-=-=-=-=-=-=-=-=-=-=-=-=-=-=-=-=-=-=-=-=-=-=-=-=-=
#include <SFE_MicroOLED.h> //Click here to get the library: http://librarymanager/All#SparkFun_Micro_OLED
//#include "icons.h"

#define PIN_RESET 7
#define DC_JUMPER 1
MicroOLED oled(PIN_RESET, DC_JUMPER);
//=-=-=-=-=-=-=-=-=-=-=-=-=-=-=-=-=-=-=-=-=-=-=-=-=-=-=-=-=-=-=-=-=-=-=-=-=-=-=-=-=-=-=-=-=
Variables
This section of the code instantiates most of the variables used in the code.
language:c
// Set target and dot size
int radiusLarge = 10; // Target area 2
int radiusSmall = 4;  // Target area 1
int radiusBubble = 2; // Bubble size

// Set initial roll and pitch measurement
double averagedRoll = 0.0;
double averagedPitch = 0.0;
Setup Loop
This section of the code runs the setup loop, which initializes the serial output, I2C connection, the OLED display operation, and the accelerometer operation and configuration.
language:c
void setup()
{
  // Initialize Output for Print Statements
  Serial.begin(115200);
  Serial.println("SparkFun Accel Example");

  // Initialize I2C Connection
  Wire.begin();
  //Wire.setClock(400000);

  beginDisplay(); //Check if an external Qwiic OLED is attached and display splash screen

  // Check for accelerometer
  if (accel.begin() == false)
  {
    Serial.println("Accelerometer not detected. Check address jumper and wiring. Freezing...");
    while (1)
      ;
  }

  // Set sample/data rate for accelerometer
  // The larger the avgAmount the faster we should read the sensor
  //accel.setDataRate(LIS2DH12_ODR_100Hz); //6 measurements a second
  accel.setDataRate(LIS2DH12_ODR_400Hz); //25 measurements a second
}
Setup Functions
These functions are executed in the setup loop, to initialize the OLED display I2C connection and display the splash screen.
language:c
// Ping an I2C address and see if it responds
bool isConnected(uint8_t deviceAddress)
{
  Wire.beginTransmission(deviceAddress);
  if (Wire.endTransmission() == 0)
    return true;
  return false;
}


void beginDisplay()
{
  // Connect to address display is on by pinging addresses
  // 0x3D is default on Qwiic board
  if (isConnected(0x3D) == true || isConnected(0x3C) == true)
  {
    //Init and display splash
    oled.begin();     // Initialize the OLED
    oled.display();   // Display splash screen
    delay(1200);
    oled.clear(PAGE); // Clear the display's internal memory

    oled.setCursor(15, 7); //x, y
    oled.setFontType(0); //Set font to smallest
    oled.print(F("Bubble"));
    oled.setCursor(19, 20); //x, y
    oled.print(F("Level"));

    oled.display();
    delay(1200);
  }
}
Main loop
This section of the code runs the main loop. The code retrieves roll and pitch calculation, clears the display buffer, displays the bubble and target circles or areas. If the position of the bubble is within the target are, the roll and pitch angles are displayed as X and Y coordinates on the screen.
language:c
void loop()
{
  getAngles(); // Calculate roll and pitch angles based on the acceleromter readings
  oled.clear(PAGE); // Clear the display's internal memory

  // Set dot position
  double bubbleX = LCDWIDTH / 2 - averagedPitch; // Bubble location on x-axis
  double bubbleY = LCDHEIGHT / 2 - averagedRoll; // Bubble location on y-axis

  // Limit bubble position to edge of screen
  if (bubbleX < radiusBubble) { bubbleX = radiusBubble; }
  else if (bubbleX > LCDWIDTH - radiusBubble) { bubbleX = LCDWIDTH - radiusBubble - 1; }
  if (bubbleY < radiusBubble) { bubbleY = radiusBubble; }
  else if (bubbleY > LCDHEIGHT - radiusBubble) { bubbleY = LCDHEIGHT - radiusBubble - 1; }

  // Draw circle relative to dot
  oled.circle(LCDWIDTH / 2, LCDHEIGHT / 2, radiusLarge);
  oled.circle(LCDWIDTH / 2, LCDHEIGHT / 2, radiusSmall);
  oled.circleFill(bubbleX, bubbleY, radiusBubble);

  // Display angle/position once bubble is inside larger target area
  if ( sqrt(averagedPitch * averagedPitch + averagedRoll * averagedRoll) < (radiusLarge - radiusBubble))
  {
    oled.setFontType(0); //Set font to smallest

    oled.setCursor(LCDWIDTH/2 - 21, 0); //x, y
    oled.print("X:");
    oled.print(-averagedPitch);
    oled.setCursor(LCDWIDTH/2 - 21, LCDHEIGHT - 8); //x, y
    oled.print("Y:");
    oled.print(averagedRoll);


//    oled.setCursor(LCDWIDTH/2 - 11, 0); //x, y
//    oled.print(averagedRoll);
//    if (-averagedPitch < 0) { oled.setCursor(LCDWIDTH - 29, LCDHEIGHT/2 - 3); }
//    else { oled.setCursor(LCDWIDTH - 23, LCDHEIGHT/2 - 3); }
//    oled.print(-averagedPitch);
  }

  oled.display();
}
getAngles() Function
This function is executed in the main loop. The code retrieves accelerometer readings, translates the readings into roll and pitch angles, and calculates an average based on a sample set size (avgAmount = 16).
language:c
void getAngles()
{
  averagedRoll = 0.0;
  averagedPitch = 0.0;
  const int avgAmount = 16;

  // Average readings after 'avgAmount' samples
  for (int reading = 0 ; reading < avgAmount ; reading++)
  {
    while (accel.available() == false) delay(1); // Wait for accelerometer connection

    // Retrieve data from accelerometer
    float accelX = accel.getX();
    float accelY = accel.getY();
    float accelZ = accel.getZ();

    // Optional modification: https://www.nxp.com/docs/en/application-note/AN3461.pdf
    //int signZ = constrain(accelZ, -1, 1);
    //double roll = atan2(accelY , signZ * sqrt( accelZ * accelZ + .001 *  abs(accelX) ) ) * 57.3;

    // Calculate roll and pitch angles
    double roll = atan2(accelY , accelZ) * 57.3;
    double pitch = atan2((-accelX) , sqrt(accelY * accelY + accelZ * accelZ)) * 57.3;
    if (constrain(accelZ, -1, 1) == -1) { roll = atan2(accelY, -accelZ) * 57.3; } // Invert if upside down

    averagedRoll += roll;
    averagedPitch += pitch;

    // Debug Print Statements
    //Serial.print(roll, 6);
    //Serial.print(", ");
    //Serial.print(pitch, 6);
    //Serial.print(", ");
    //
    //Serial.print(accelX);
    //Serial.print(", ");
    //Serial.print(accelY);
    //Serial.print(", ");
    //Serial.print(accelZ);
    //Serial.println("");
  }

  averagedRoll /= (float)avgAmount;
  averagedPitch /= (float)avgAmount;

  // Debug Print Statements
  //Serial.print(averagedRoll, 6);
  //Serial.print(", ");
  //Serial.print(averagedPitch, 6);
  //Serial.println(", ");

}
Demo Operation
Below is a demonstration of the example code in action. Enjoy!