Proto Pedal Chassis Hookup Guide
Contributors:
 Byron J.,
  MTaylor
Introduction
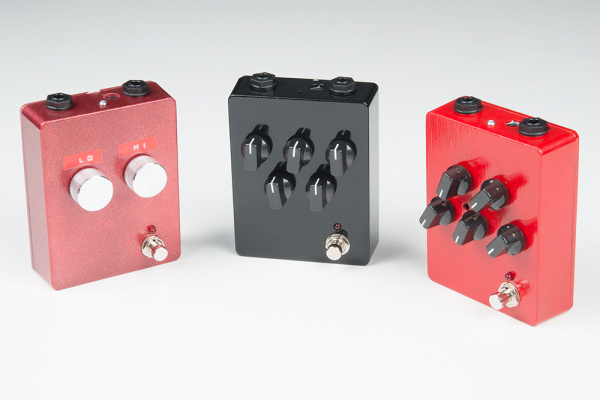
The Proto Pedal chassis comes with the holes required to interface the PCB, but since different pedal designs use different types of controls, we've left drilling holes for the controls to the builder. This guide will take you through laying out and drilling holes, then painting the chassis.
We'll be drilling a chassis to match the digital Proto Pedal example, which shows an application using a Teensy 3.2 and an Audio Adapter with the Proto Pedal and Proto Pedal Chassis.
Materials
Required:
- The Proto Pedal and Chassis
- A twist drill bit (not spade) that matches the desired hole diameter
- A pilot drill of about 1/8 inch. Make sure it's sharp and fresh!
- A few drill bits between to step up to the desired size.
- Ruler
- Center punch (a large metal screw and hammer will work)
- Variable speed hand drill, wired or cordless
- Clamps, vice, holders
- Some scrap wood blocks
- A pencil
Also Recommended:
- Thin circular file (needle or chain sharpening file)
- Speed square
- Combination square / scribe
- Spring loaded center punch
- Isopropyl Alcohol / Acetone
- Paint
Recommended Reading
- If got here from the ether, check out the Proto Pedal Assembly and Theory guide which shows how to assemble the circuit board that goes in the case. Make sure to assemble this first.
