Proto Pedal Chassis Hookup Guide
 Byron J.,
  MTaylor
Drilling
When you're happy with your center punch marks, it's time to start drilling.
Drilling Metal
When drilling metal, it's important to start with a small pilot hole, and work progressively up to the desired size. For these holes, they'll be 5/16 inch for the 10k linear potentiometers. Each successive hole should be 25% to 50% larger than it's predecessor.
When drilling metal, use a moderately slow speed, and reasonable pressure. A drill that's too fast can cause the bit to overheat, and is more dangerous if you lose control.
Preparation
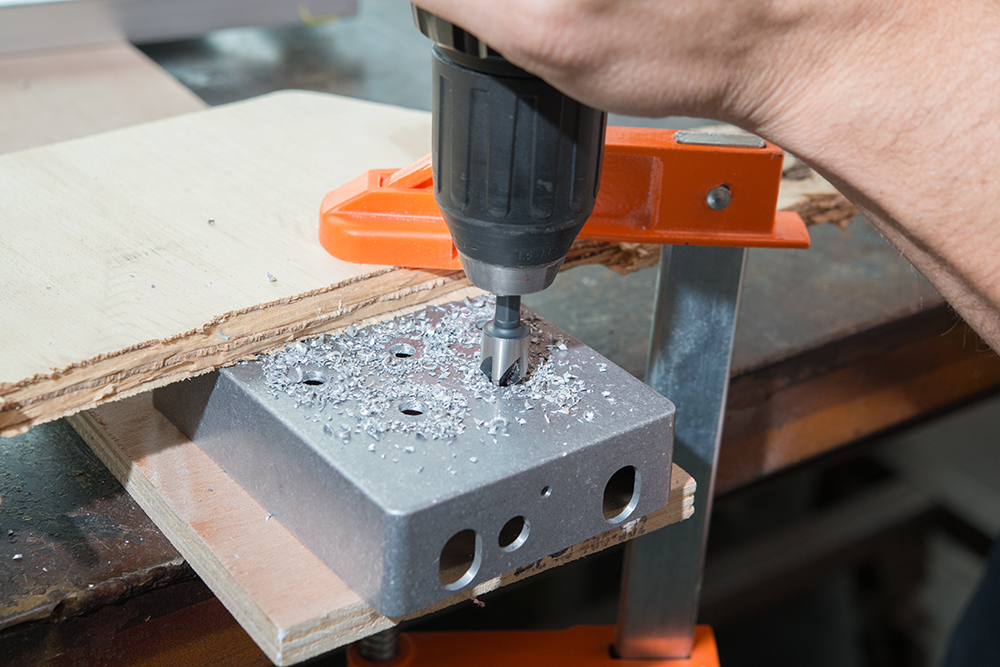
Before drilling, solidly secure the workpiece with a vice or a clamp.
Here, three bits have been selected and the piece is clamped. You may think you can just hold the piece down with your hand, but more often than not it will wedge on the drill bit and spin around, whacking your hand and causing injury (and perhaps damaging the workpiece). Also, use scrap wood to protect the piece from marring, and to provide something soft for the drill bits to crash into when they break through.
Drilling
Start with a small pilot hole. This is the most important drill as it will guide the other holes.

A challenge with using a hand drill is maintaining perpendicularly to the work surface. As a reference, set a square on the piece and use it as a visual guide. Before you start drilling, hold the drill where you think it should go and move your head around like an owl to see that you've got good alignment from all angles.
When you're ready, drill with a medium speed and decent pressure. The bit should produce a constant stream of waste material. If it seems like it's just spinning, doublecheck you're not in reverse, try adding more pressure, or slow the drill speed.
After the pilot holes are complete, move up to the next larger bit, and use it to enlarge each hole. As you move to larger and larger bits, less speed should be required.
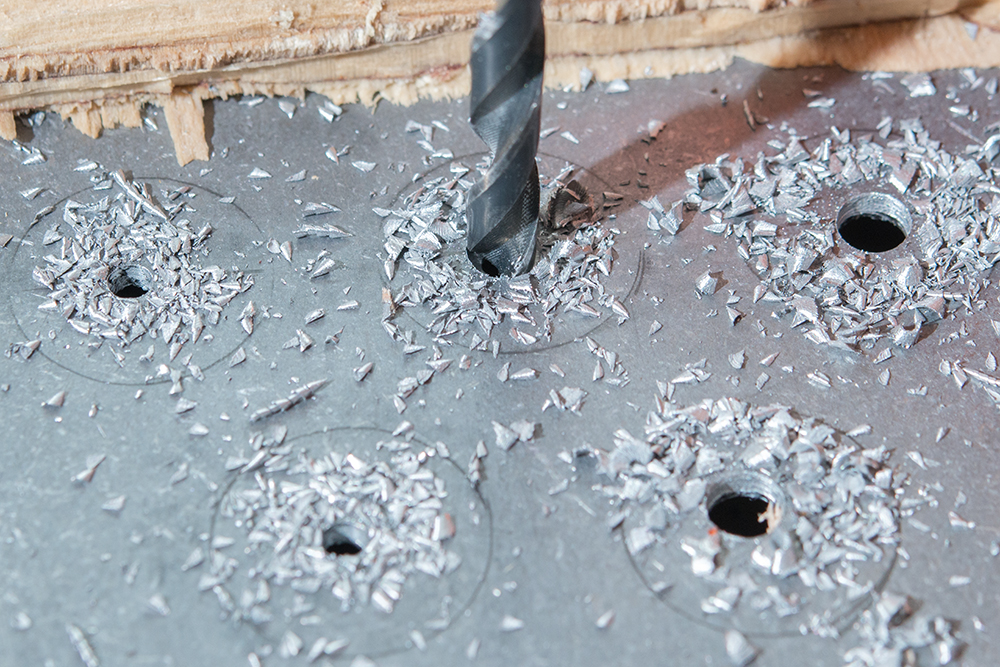
After an intermediate hole, we can drill the final hole, 5/16 inch.
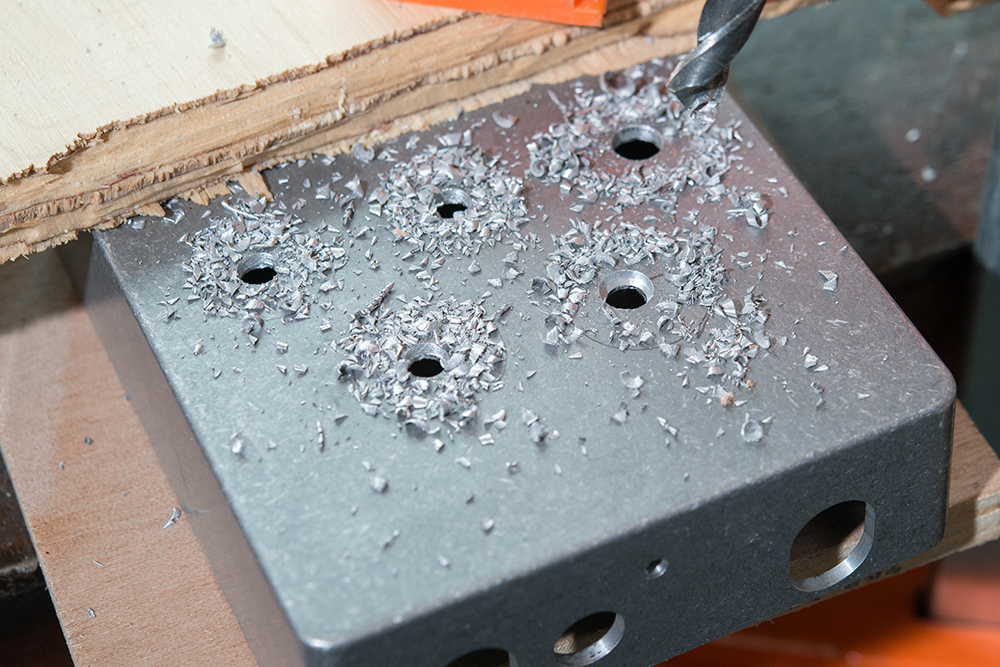
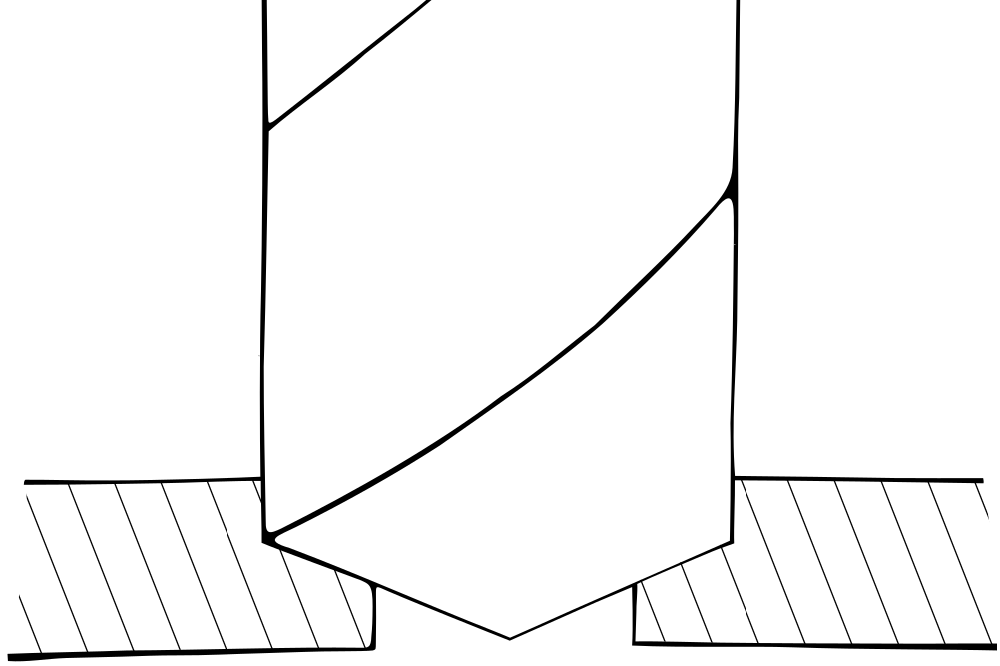
The drill has been stopped partway through to show the overlap detail (lower right).
The drilled holes frequently have a sharp burr around the edge. If you like, you can bevel the edges with a chamfer tool, or clean them up with a file. It's not required, but will get rid of the sharp edges.