Contributors:
 SFUptownMaker
 Introduction
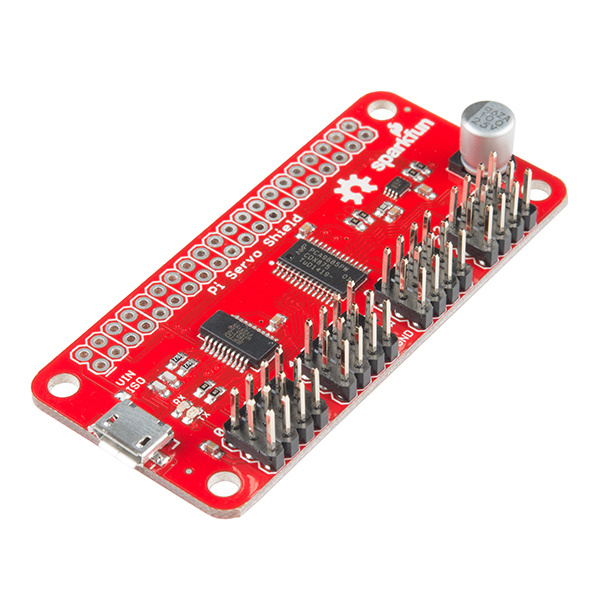
The SparkFun Pi Servo Hat allows your Raspberry Pi to control up to 16 servo motors via I2C connection. This saves GPIO and lets you use the onboard GPIO for other purposes. Furthermore, the Pi Servo Shield adds a serial terminal connection which will allow you to bring up a Raspberry Pi without having to hook it up to a monitor and keyboard.
DEV-14328
The SparkFun Pi Servo HAT allows your Raspberry Pi to control up to 16 servo motors in a straightforward and uncomplicated ma…
Retired
Required Materials
Here's what you need to follow along with this tutorial. We suggest purchasing a blank microSD card rather than a NOOBS ready card, since the NOOBS ready cards may not have a new enough OS to support the Pi Zero W.
PRT-14017
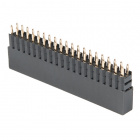
This 2x20 "tall" header has the same number and spacing of pins as a Raspberry Pi and provides your board with the ability to…
PRT-00116
A row of headers - break to fit. 40 pins that can be cut to any size. Used with custom PCBs or general custom headers.
DEV-14277
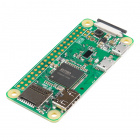
The Raspberry Pi Zero W is still the Pi you know and love, but at a largely reduced size of only 65mm long by 30mm wide and s…
TOL-13831
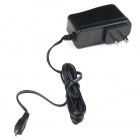
This is a high-quality switching 'wall wart' AC to DC 5.1V 2,500mA USB Micro-B wall power supply manufactured specifically fo…
COM-13833
This is a class 10 16GB microSD memory card, perfect for housing operating systems for single board computers and a multitude…
Retired
DEV-14328
The SparkFun Pi Servo HAT allows your Raspberry Pi to control up to 16 servo motors in a straightforward and uncomplicated ma…
Retired
In addition, you'll want some kind of servo motor to test the setup. Try testing the examples provided later in the tutorial with the generic sub-micro servo first.
ROB-09065
Here is a simple, low-cost, high quality servo for all your mechatronic needs. This servo is very similar in size and specifi…
Required Tools
No special tools are required to follow this product assembly. You will need a soldering iron, solder, and general soldering accessories.
TOL-09163
This is your basic tube of unleaded (Pb-free) solder with a no clean, water soluble resin core. 0.031" gauge and 15 grams
TOL-09507
This is a very simple fixed temp, quick heating, 30W 110/120 VAC soldering iron. We really enjoy using the more expensive iro…
Suggested Reading
You may want to review these tutorials before undertaking this one.
Raspberry Pi SPI and I2C Tutorial
Learn how to use serial I2C and SPI buses on your Raspberry Pi using the wiringPi I/O library for C/C++ and spidev/smbus for Python.
Hobby Servo Tutorial
Servos are motors that allow you to accurately control the rotation of the output shaft, opening up all kinds of possibilities for robotics and other projects.
