Pi Servo Hat Hookup Guide
 SFUptownMaker
Hardware Assembly
We suggest soldering the male headers onto the Pi Zero W.
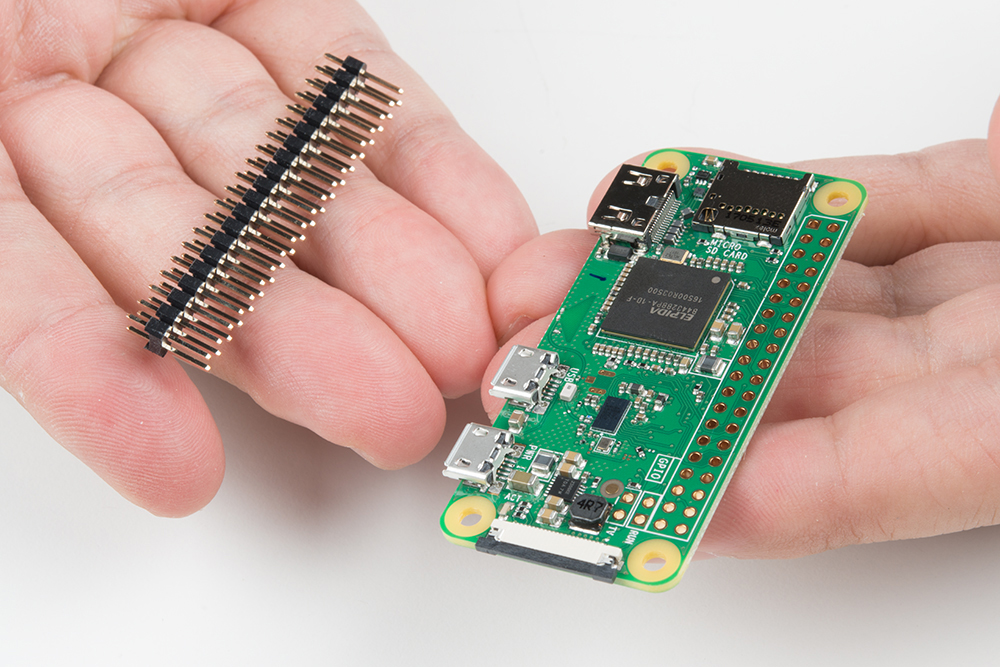
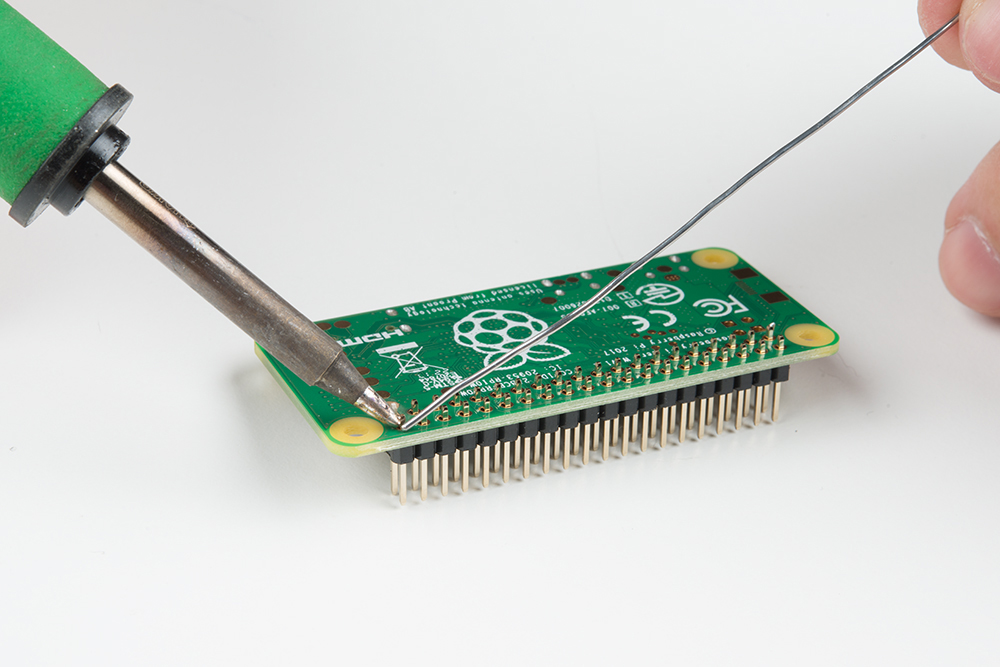
My favorite trick for this type of situtaion is to solder down one pin, then melt the solder on that pin with the iron held in my right hand and use my left hand to adjust the header until it sits flat as shown below. Make sure that you are soldering with the header's shorter side and the longer pins are on the component side. After tacking down one pin, finish soldering all the pins down to the Pi Zero W.
Repeat the steps with the female header and the Pi Servo Hat.
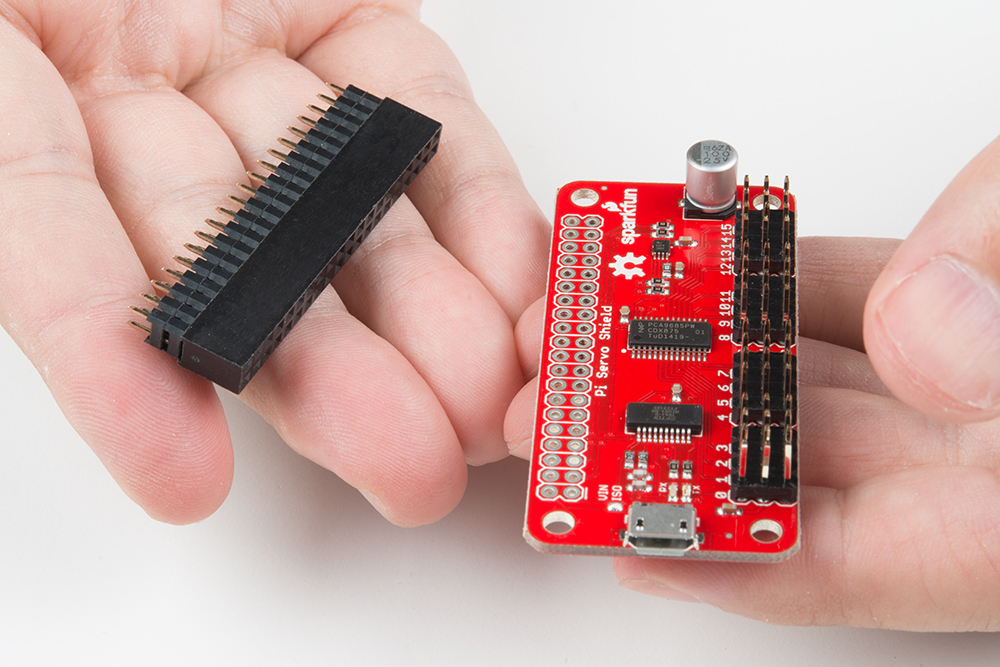
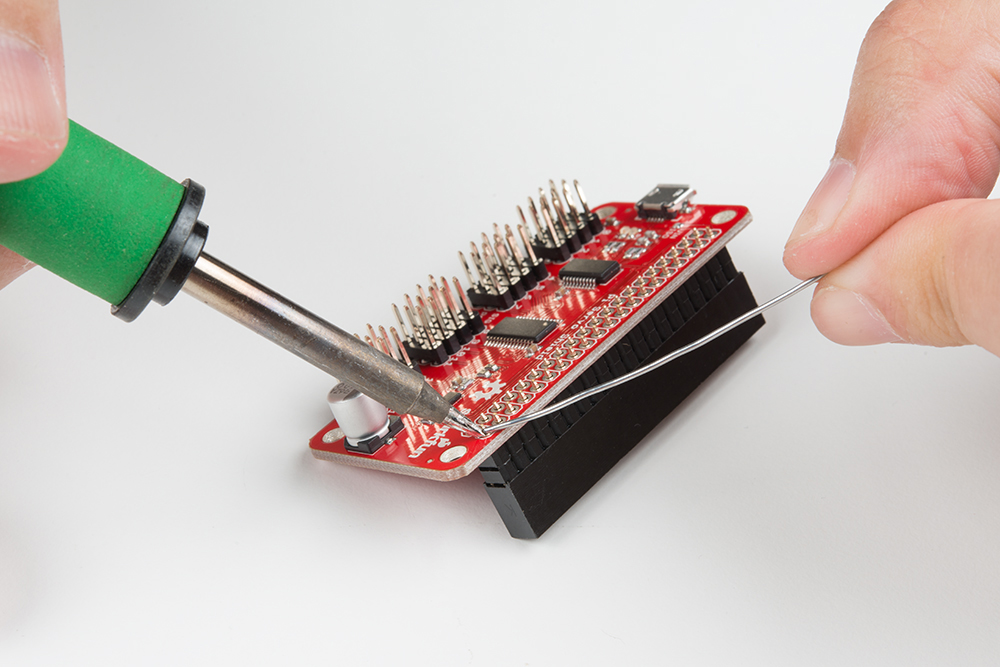
Make sure to insert the short pins from the bottom of the board and add solder to the component side so that the Pi Servo Hat stacks on top of the Pi Zero W's male header pins. You will also need to make sure that the header is sitting level before soldering down all the pins.
Once the headers have been soldered, stack the Pi Servo Hat on the Pi Zero W. Then connect a hobby servo to a channel "0" based on the servo that you are using. Try looking at the hobby servo's datasheet or referring to some of the standard servo connector pinouts listed in this tutorial. Using a sufficient 5V wall adapter, we can power the Pi Zero W. Plug the wall adapter into a wall outlet for power and connect the micro-B connector labeled as the "PWR IN" port on the Pi Zero W.