Photon Weather Shield Hookup Guide V11
This Tutorial is Retired!
This tutorial covers concepts or technologies that are no longer current. It's still here for you to read and enjoy, but may not be as useful as our newest tutorials.
 Joel_E_B
 Optional Peripherals
Soil Moisture Sensor
For those who want to keep track of their houseplant conditions or for those who want to know topsoil conditions in their gardens, the weather shield has an optional port for a Soil Moisture Sensor.
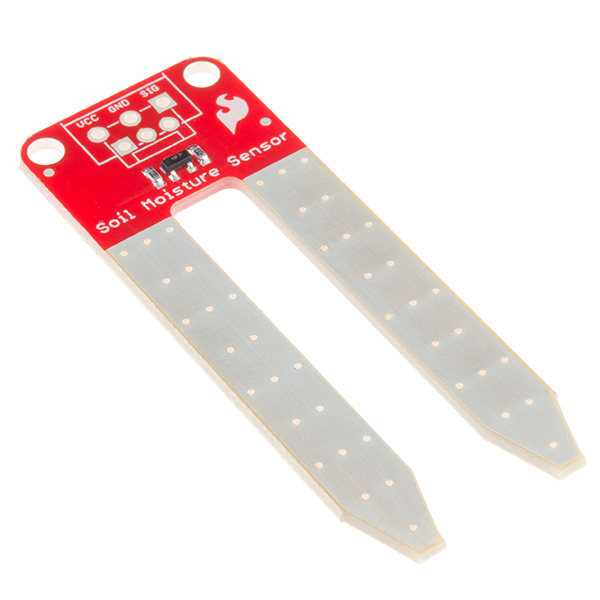
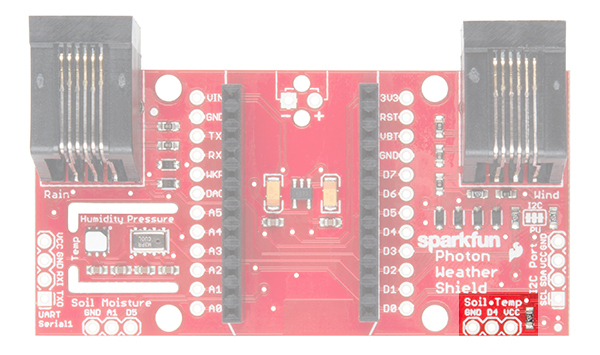
Leaving the soil moisture sensor powered all the time leads to corrosion of the probes. To account for this, this port breaks out Digital Pin D5 as the power pin for the sensor, allowing the Photon to power the sensor, take a reading, and then disable power, giving the probes a longer lifespan. The moisture level can be read on Analog Pin A1.

More information about the Soil Moisture sensor can be found in the Hookup Guide.
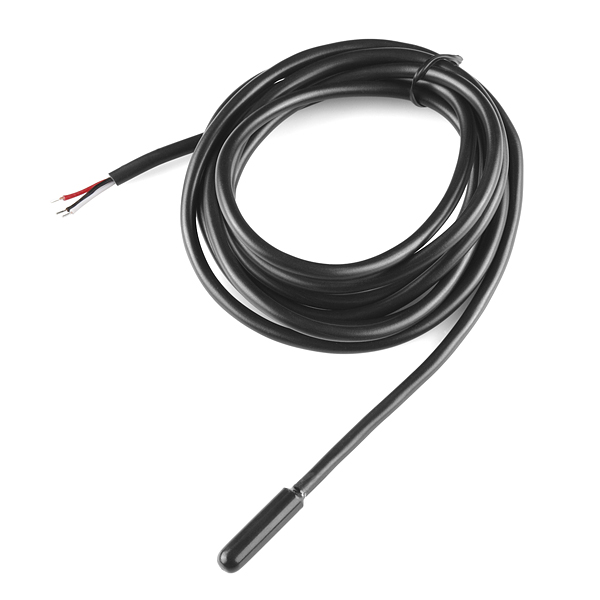
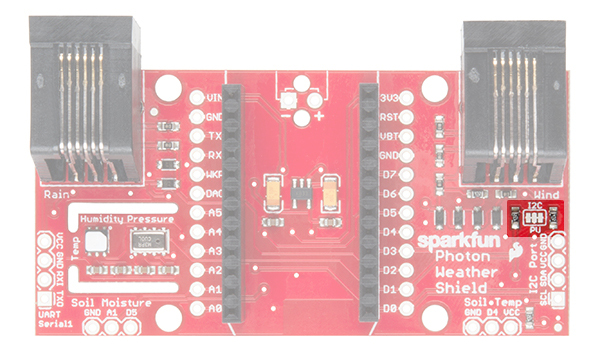
Soil or Water Temperature Sensor
In addition to soil moisture, you can also add a waterproof temperature sensor. Whether you have a pond you'd like to monitor near your weather station or you want to know if the ground is still frozen or not, this can be a great addition to any weather station.
The waterproof version of the DS18B20 temperature senor is a go-to option for many users looking to sense the temperature of various environments that may not be so kind to electronics.
A port for this sensor is broken out along with the necessary 4.7K pull-up resistor located between the Vcc and Signal lines. The Signal line is connected to Digital Pin D4. Communicate with this sensor using the OneWire and Dallas Temperature libraries.
I2C Port
I2C is becoming increasingly popular as a means by which to communicate with sensors. Thus, it made sense to add an I2C port to allow users to add other sensors to their project. One great example would be adding an external light sensor. Since most weather stations need to be enclosed in a weatherproof housing, having a light sensor on-board didn't make much sense. However, adding the I2C port allows one to connect sensors such as the TSL2561 Luminosity Sensor or the ISL29125 RGB Light Sensor along with a whole slew of other I2C sensors.
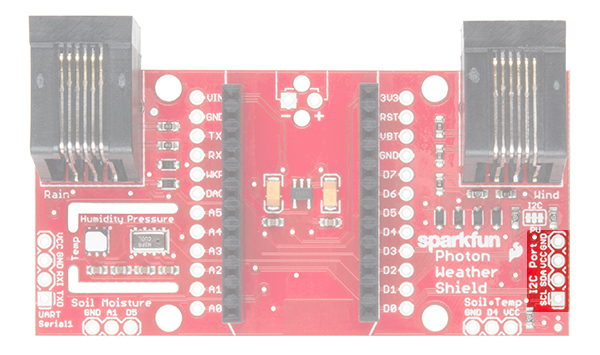
I2C Pull-ups
Many SparkFun I2C Breakouts have solder jumpers for disabling the pull-up resistors necessary on most I2C designs. The Photon Weather Shield is no different. If you already have a sensor that has pull-ups, you can disable them on the shield by cutting the traces with a hobby knife. Or, if you would rather leave the shield as is, you can disable the pull-ups on every I2C you add to the bus. The important thing to remember is that only one device on the bus needs to have its pull-ups active. All others should be disabled.
Serial 1 Port
There is another port broken out, this time for the USART Serial 1 port on the Photon. Serial ports are great for debugging. They also allow for various other wireless technologies to be attached for mesh networking or for user feedback via an LCD or other display. Let's say you wanted additional sensors around you home, well beyond the range of your WiFi signal. You could attach an Xbee Explorer to the Serial 1 port on the Weather shield and have your other node (consisting of a stand-alone XBee or an XBee Arduino combo, for example) out in the field, feeding data back to the Photon, which then sends the collective data to the web.
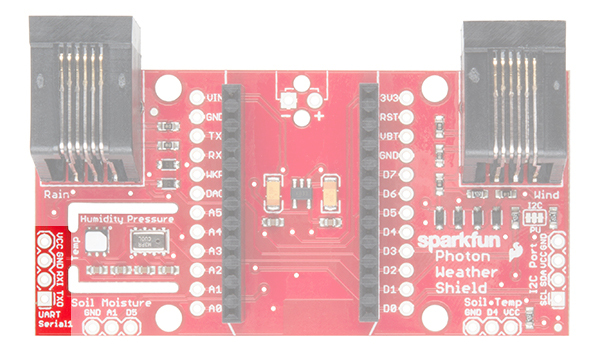
Another use case is wanting to have your weather station outside while still receiving data on a display indoors somewhere. This could easily be accomplished by attaching a BlueSMiRF Bluetooth module to the Serial 1 port and having another BlueSMiRF attached to a Serial Graphic LCD display installed in your home.
The pins on the shield match up with any of our BlueSMiRF modules. For other wireless solutions, you may have to wire each pin manually as they may not match up exactly.
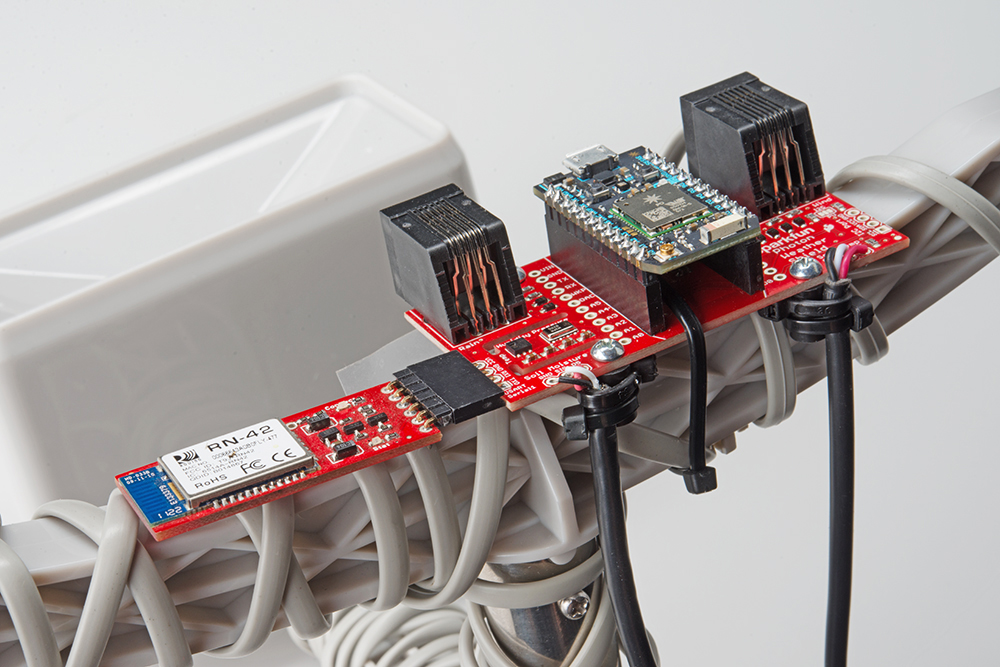
RJ-11 Weather Meter Connectors
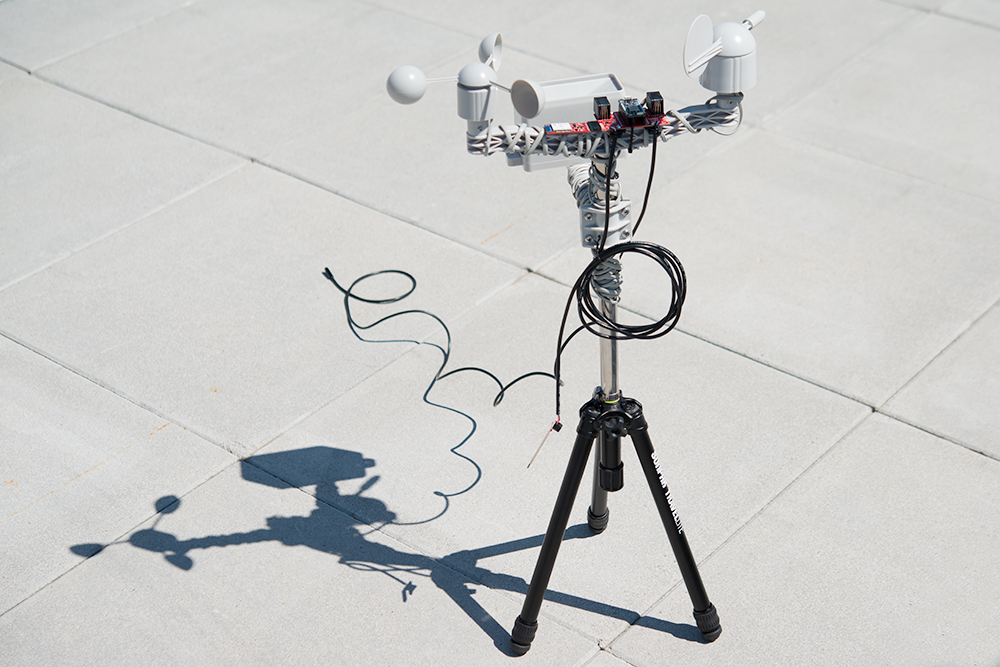
If you would like to place your Weather Shield outdoors and create a fully-functional weather station, you can grab a set of Weather Meters and connect them to the RJ-11 connectors located on the Weather Shield. With these meters attached, you can measure wind speed, wind direction and rainfall.
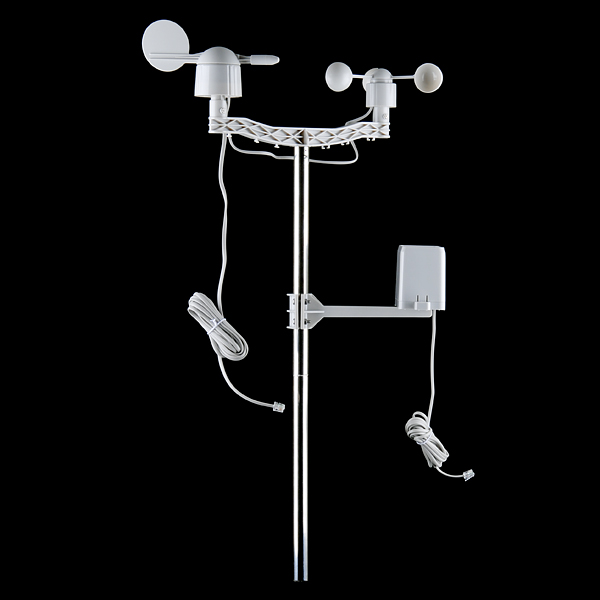
Weather Meters
SEN-08942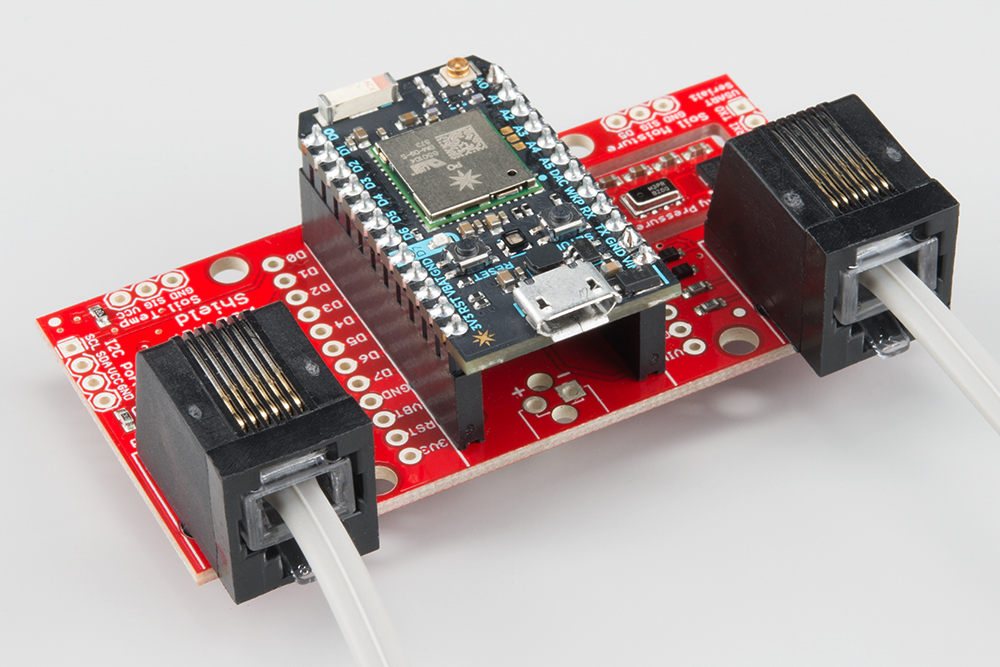
Throw in a stand, and you have yourself the makings for a very powerful weather station.