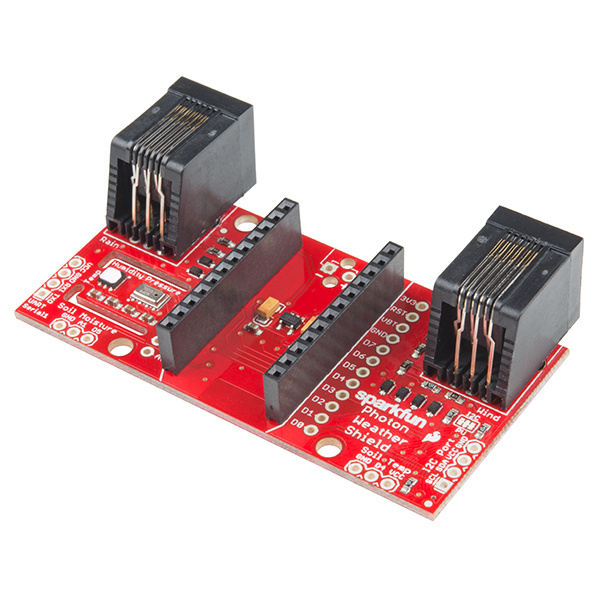
Photon Weather Shield Hookup Guide V11
This Tutorial is Retired!
This tutorial covers concepts or technologies that are no longer current. It's still here for you to read and enjoy, but may not be as useful as our newest tutorials.
Introduction
Have you ever wanted to have your own weather station? Or how about your own thermostat capable of controlling your home climate from the Web? Using the Photon from Particle coupled with the Photon Weather Shield from SparkFun, you can now connect your weather related project to the Internet of Things!
SparkFun Photon Weather Shield
DEV-13674Required Materials
If you are looking to just measure temperature, humidity, and/or barometric pressure, you can integrate the Photon Weather Shield into your project right out of the box! No soldering necessary!
The shield also has numerous optional ports on which other sensors can be connected. Those optional devices will be discussed briefly in this tutorial, but examples showing how to use those external peripherals will be included in another tutorial, linked at the end of this one.
To follow along with this tutorial, you will need the following.
Suggested Reading
The following are suggestions for other resources to read before getting started with your Photon Weather Shield.
If you have never worked with the Photon or the Core before, we highly recommend visiting the getting started documentation available on the Particle site.
We have also written a Photon Development Guide that goes over three different methods for developing code for the Photon.
Check out the Hookup Guides for each of the sensors located on the shield for more information specific to that sensor.
Si7021 Humidity and Temperature Sensor Hookup Guide
MPL3115A2 Pressure Sensor Hookup Guide
If you intend to use wind and rain Weather Meters with your SparkFun Photon Weather Shield, check out our Weather Meter Assembly Guide.
Weather Meter Hookup Guide
If you are unfamiliar with any of the concepts below, we suggest checking out those tutorials as well.
