Photon Weather Shield Hookup Guide V11
This Tutorial is Retired!
This tutorial covers concepts or technologies that are no longer current. It's still here for you to read and enjoy, but may not be as useful as our newest tutorials.
 Joel_E_B
Collecting Weather Data
If you have not done so already, attach your Photon to the Weather Shield, and apply power through the Micro USB jack on the Photon, plugging the other end of the USB cable into your computer. If you opted for one of the alternate power schemes mentioned in the Hardware Overview section, power your Photon and shield accordingly.
Your Photon's RGB LED should be breathing cyan to indicate that you are connected to the Internet and are ready to upload code.
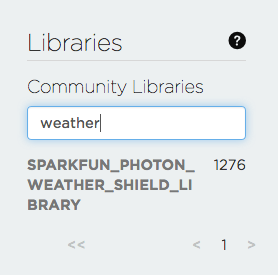
To see data from the Weather Shield, you need to upload a sketch to the Photon. Luckily, there's a library with an example sketch to get you started collecting weather data. To get to the example, click on the libraries button in the Particle IDE.

In the library search bar, type the word weather.
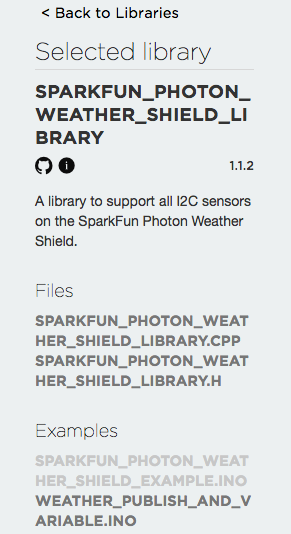
Click on the SparkFun_Photon_Weather_Shield_Library. You should see the library files (.cpp and .h) listed. Below the Examples heading, you should see a couple example .ino files. Click on the one that says SparkFun_Photon_Weather_Shield_Example.
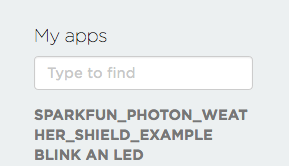
Once clicked, you should see a button that says "Use this Example". You should then see the sketch under the My apps heading.
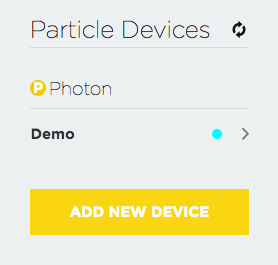
We now need to select the device to which to upload code. Clcik the devices icon in the IDE.

If you have just one Photon claimed, it will be the only device to choose from. If you have more than one Photon, you will need to select the star next to the device you want to program.
With the example open, click the verify button to make sure the code compiles correctly.

Once verified, click the upload button to program the Photon.

You should see the Photon's RGB LED blink magenta for a few seconds indicating it's being programmed.
Once your code is uploaded, the RGB LED should go back to breathing cyan to indicate it's connected and running.
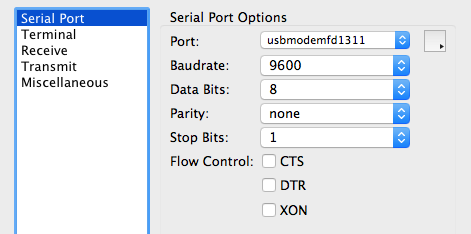
Now, open your favorite serial terminal program. Connect to the Photon at 9600 baud, and open a terminal.
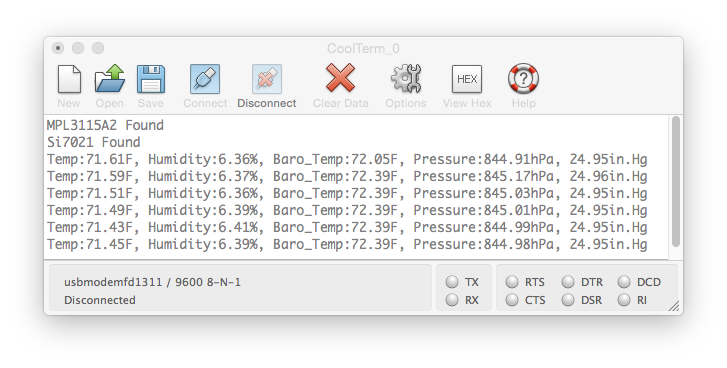
Once the terminal is connected, press any key to start streaming weather data. You should now see weather data printing out!
From here, the sky is the limit! You can utilize the Photon's Internet connectivity to post your data to all kinds of data collection services. You can also connect any combination of optional peripherals to the Weather Shield to create a custom weather station suited to your needs.