Photon Remote Temperature Sensor
This Tutorial is Retired!
This tutorial covers concepts or technologies that are no longer current. It's still here for you to read and enjoy, but may not be as useful as our newest tutorials.
 jenfoxbot
 Test, Encase and Install
Plug battery and solar panel into Photon battery shield. Check that the Photon successfully powers on, connects to WiFi (the Photon LED will be breathing cyan), and sends temperature data to your data stream (accessible via the public URL).
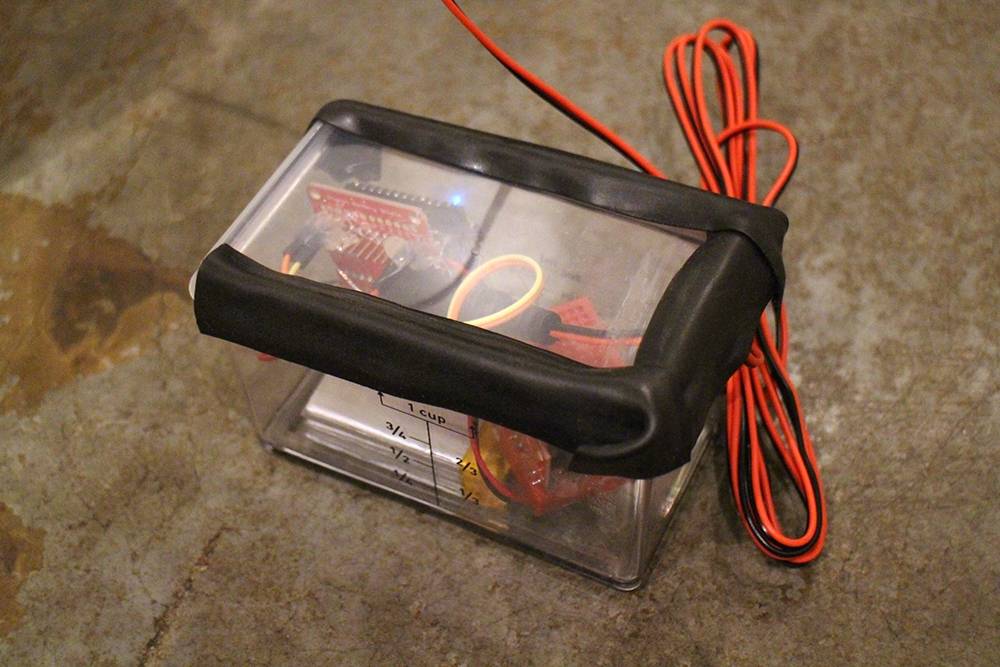
Coat electrical connections in epoxy or other (ideally waterproof) adhesive.
Please note that epoxy is very permanent. If you intend to modify the project or use the components for another project in the future, use an adhesive method that is removable, like hot glue.
Place electronics (except solar panel) in project case. Determine where the solar panel cable will enter the case. Use waterproofing electrical tape to seal area around solar panel cable or a drill hole in the case for the solar panel cable (coat exterior in waterproofing tape or epoxy). If you place the temperature sensor inside the case, ensure that there is sufficient air ventilation to avoid turning the project case into a sauna.
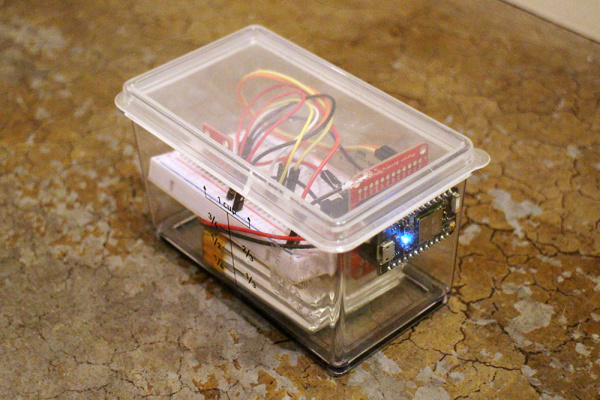
Be sure that the wires are not stretched or bent much as this will cause breakage over time.
Seal any remaining holes or other air gaps with waterproofing electrical tape or epoxy. If you are sealing the project case lid, it is highly recommended to use a removable sealant like the waterproofing electrical tape to access the electronics in the future.

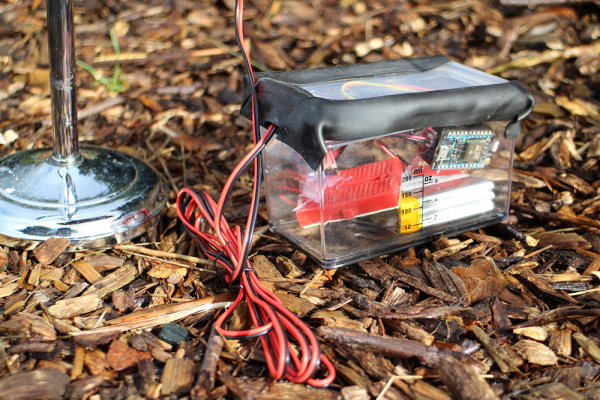
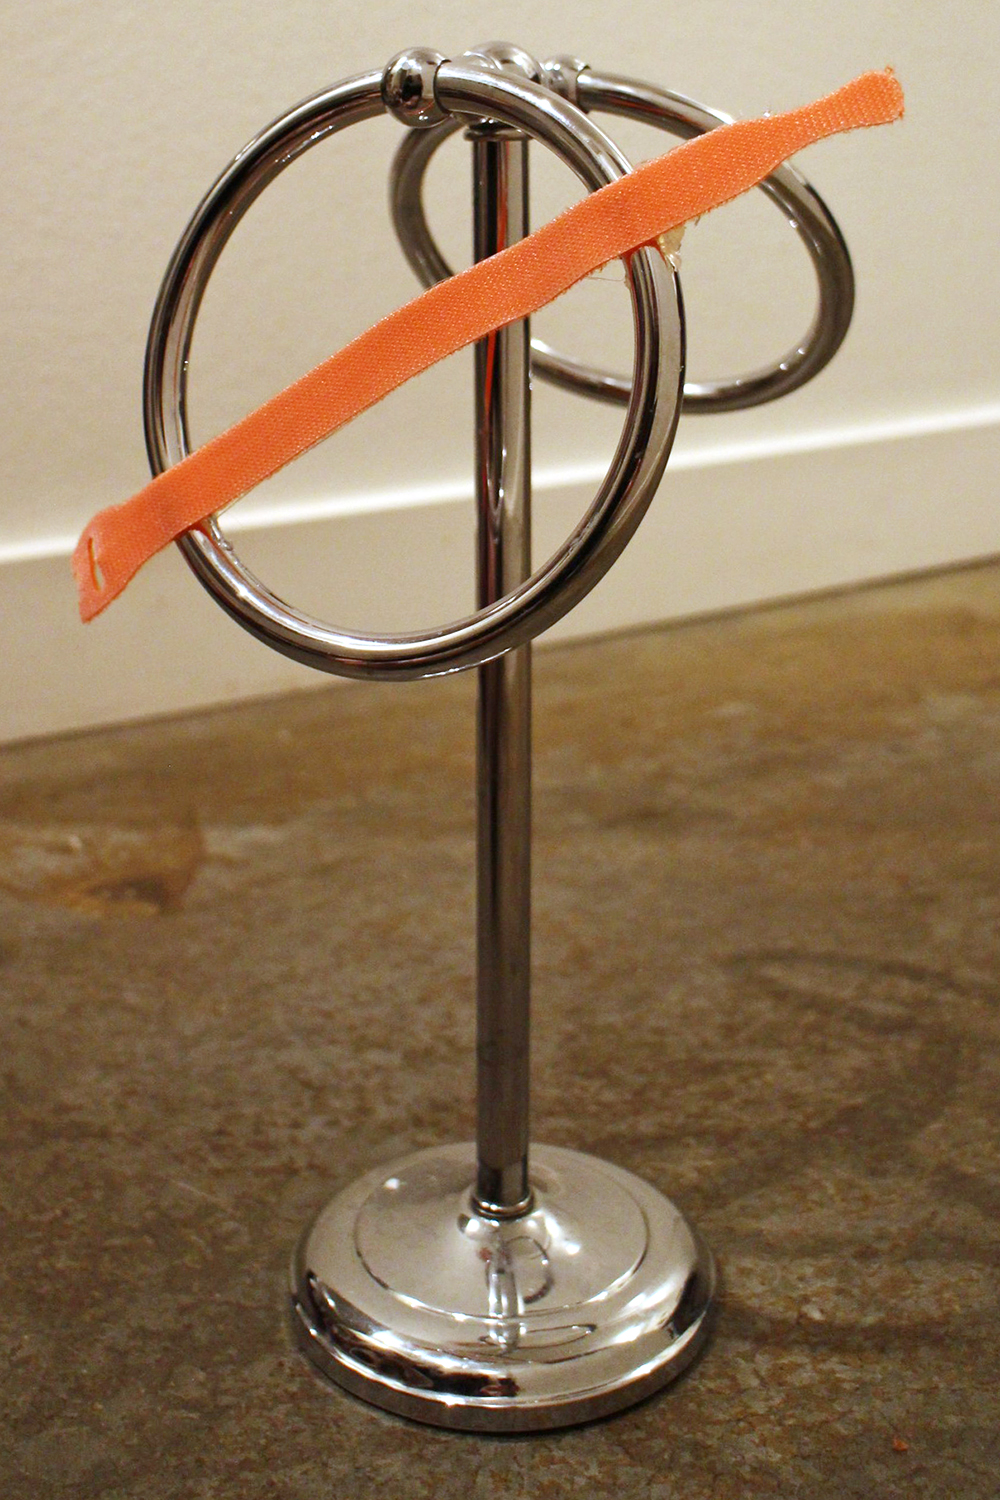
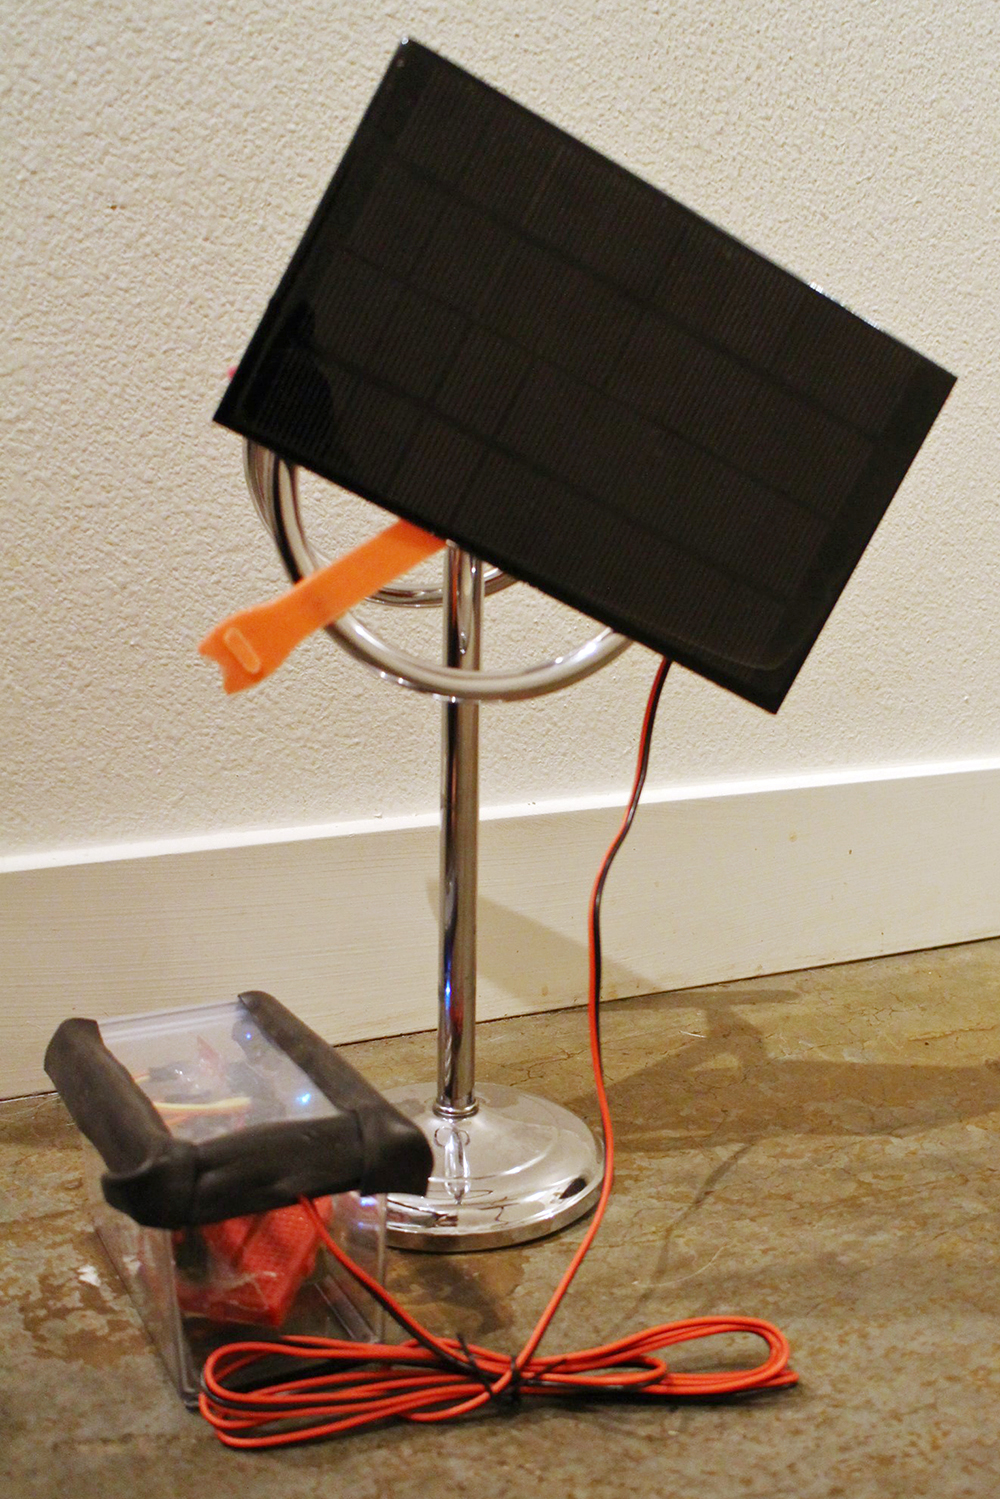
Connect solar panel to stand.

The stand in this example is a towel rack found at a local thrift store. This was perfect for my needs because 1) it was very inexpensive and 2) the rings are adjustable, which allows me to change the orientation of the solar panel to point it towards the maximum incident solar radiation (aka sunlight) depending on where it is installed outdoors and the current season (since the sun's path changes depending on the seasons).

There are tons of options for a stand! Peruse your garage/basement/attic/cupboards/closets or check out the outdoor section of a local thrift store or hardware store. Look for objects that can withstand nature's elements, will maintain ridigity, and can support the solar panel weight.
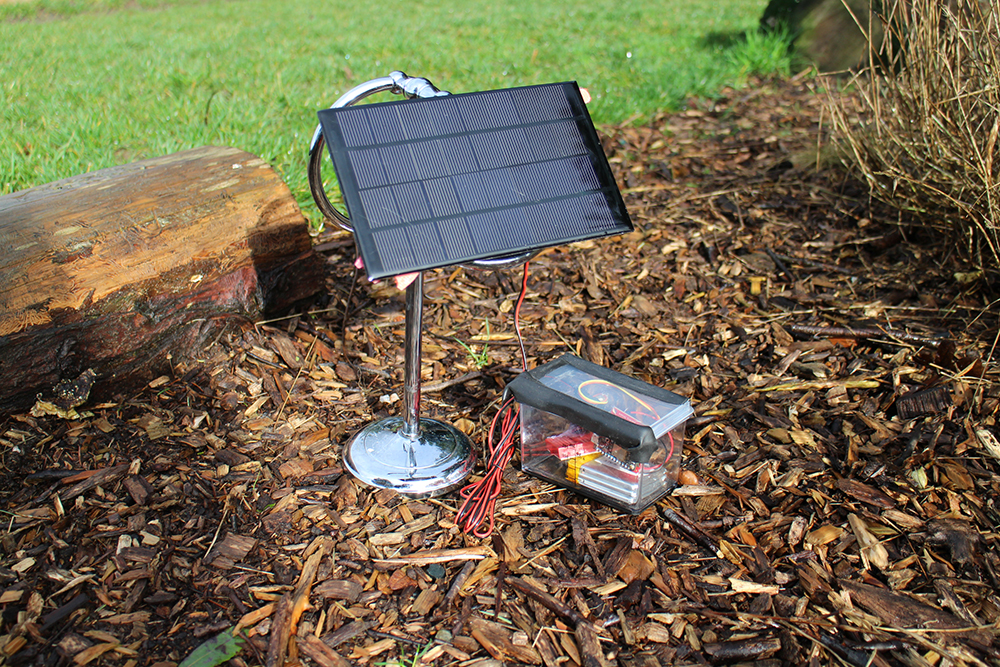
Once the case and stand are complete, connect the battery and solar panel to the Photon battery shield. Check that the Photon is adequately powered, connected to WiFi (pulsing light blue), and is uploading data to your data.sparkfun.com data stream.
The battery used in this tutorial has a capacity of 6Ah (Amp-hours), which means it can provide 6A for 1 hour. The Photon microcontroller average power consumption is between 80 - 100 mA. Assuming maximum current draw of 0.1A, this means that the battery can power the system for ~60 hours (2.5 days) without any charge from the solar panel. This is ideal/necessary for cloudy locations (like Seattle where this project was designed and built) or for remote sites that are difficult to access on a daily basis.
If you use a different battery, calculate the total number of hours the battery can power the Photon, without being charged by the solar panel. Do this by dividing the battery capacity (given in Amp-hours) by the Photon maximum current draw (0.1A). Since the sun hides behind the other side of the planet at night, be sure that your battery can provide power for at least 10-12 hours.
Install the system within reach of the WiFi signal for which it is configured -- the Photon will flash green if it is not connected to WiFi.
Be sure to place the temperature sensor in a shady location, avoiding direct sunlight, as incident solar radiation will increase the temperature measurement.
Place the solar panel in the sunniest spot available at your chosen location. Determine the optimum solar angle for your panel, and point the solar panel in that direction. You'll want to change this angle over the course of the year as the sun's angle changes (higher in the summer, lower in the winter, also highly dependent on location). Here's a great online calculator to help you determine the optimal solar angle in your particular city.


