OBD II UART Hookup Guide
Contributors:
 Toni_K
Introduction
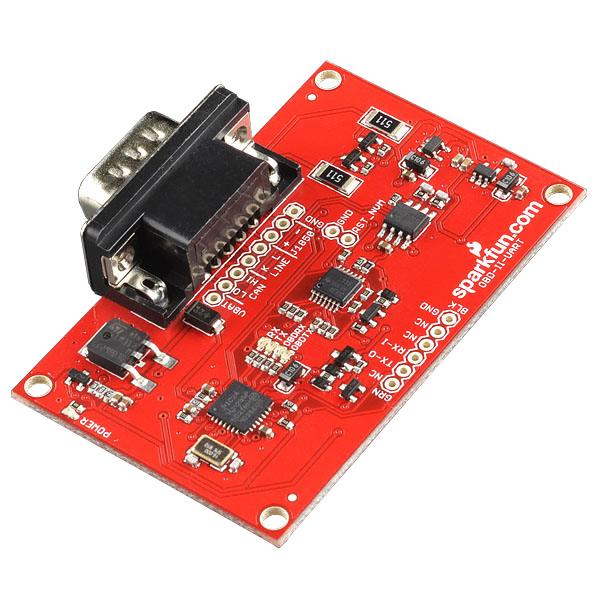
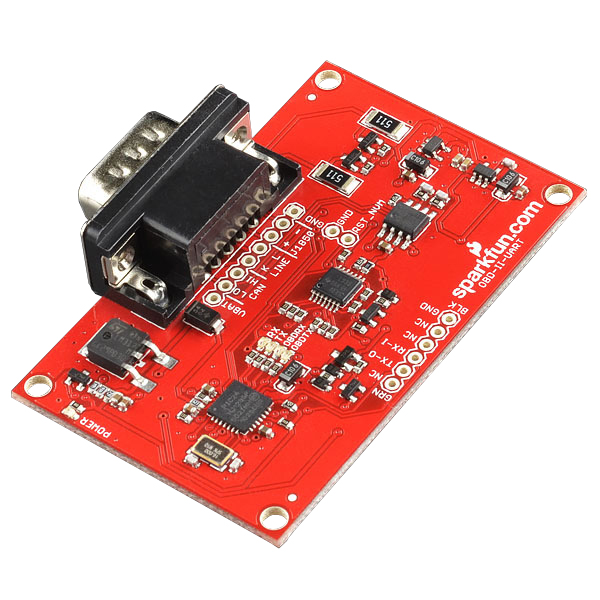
Have you ever had an infamous 'check engine light'? Did you wish you could just check the error code yourself and not deal with going to a mechanic? With the OBD-II UART, your wishing can become a reality. The OBD-II UART allows you to connect your car to a computer, embedded microcontrollers, or single board computers such as the Raspberry Pi or Beaglebone Black.
SparkFun Car Diagnostics Kit
RTL-10769This guide will show you:
- What hardware is included on the OBD-II UART
- The basics of OBD-II commands
- How to hook this up over FTDI directly with your computer
- How to hook this up to an Arduino and display information to an LCD
Required Materials
To follow along with the tutorial, you will need the following parts.
Required Tools
- Soldering iron
- Solder
- A laptop
Suggested Reading
This tutorial does expect the user to have experience with basic electronics and serial communication. If you are unfamiliar with these concepts or need a refresher, check out these other tutorials.
How to Solder: Through-Hole Soldering
This tutorial covers everything you need to know about through-hole soldering.
Serial Communication
Asynchronous serial communication concepts: packets, signal levels, baud rates, UARTs and more!
Working with Wire
How to strip, crimp, and work with wire.
What is an Arduino?
What is this 'Arduino' thing anyway? This tutorials dives into what an Arduino is and along with Arduino projects and widgets.
Hexadecimal
How to interpret hex numbers, and how to convert them to/from decimal and binary.
Getting Started with OBD-II
A general guide to the OBD-II protocols used for communication in automotive and industrial applications.

