Night Sky Halloween Costume
 Feldi
Feldi 
Stitching It Together
If you need help sewing with conductive thread, this tutorial covers the basics.
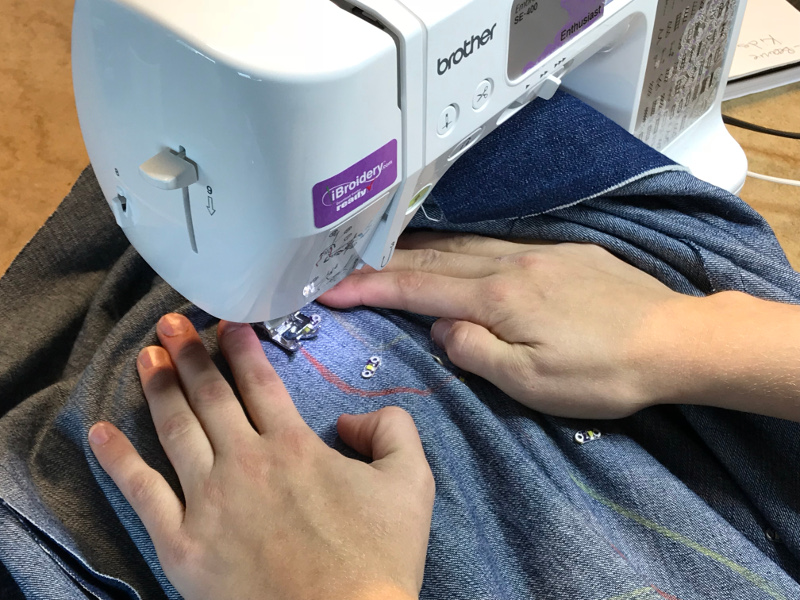
STEP 11:
Place a bobbin of conductive thread into your sewing machine, keeping the regular sewing thread on top. Sew along the lines drawn with the two colored pencils. These will act like rails on a breadboard as we move forward. Leave long tails of thread at the beginning and end of each sewn path.
STEP 12:
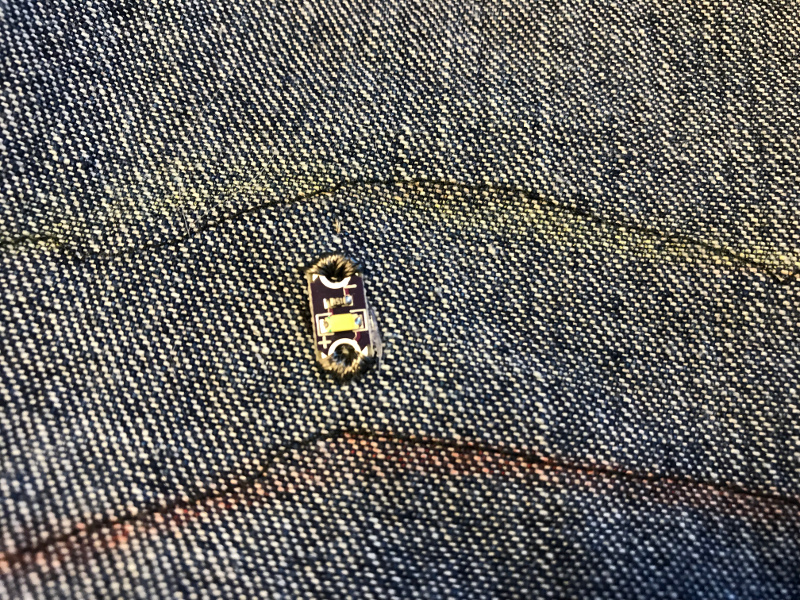
Connect the individual sew tabs on your components to the conductive thread paths that are acting as rails. For components near the end of the path, thread your needle with the conductive thread tail left at the end of the path and sew it around the tab. For the rest of the components, tie a new piece of conductive thread around the conductive thread on the rail, making sure it is secured tightly and that there is physical connection between the two threads. Then sew it around the sew tab of your component. In this step it is most important to make sure you are making strong connections. This usually means sewing over the tabs and knotting around the thread rails many times over. Also, do not forget to connect the battery holders on the opposite side of the fabric to the circuit!
The components should look like this when the tabs have been sewn:
The opposite side of the fabric with the conductive thread rails should look like this:

Repeat until all components in a single circuit are connected according to the diagram via conductive thread.
STEP 13:
Conductive thread can fray and easily cause an unnoticeable short, especially around the tails left from sewing and knotting around your connections. In order to protect these connections and avoid unnecessary shorts, lay your garment out with the battery holders up. Cut down the tails around your connections, and then immediately add a dab of hot glue to keep it both secure and insulated.
 |
 |
STEP 14:
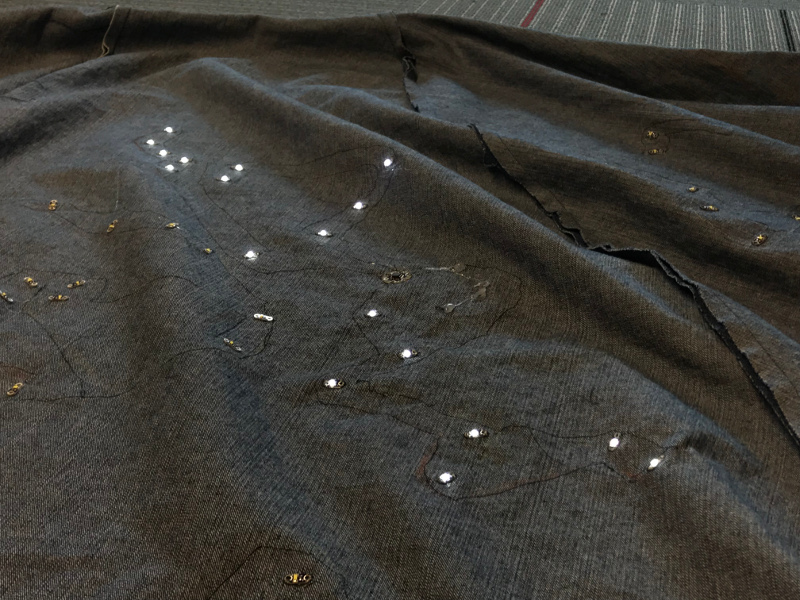
Once all of the loose thread has been either snipped away and/or insulated, you can test the circuit. Add batteries to the holders and switch them on. If an LED is not working, now is your time to figure out why and fix it. Issues usually include loose connections or shorts, and you may need to re-sew a component or two. Make sure to build in plenty of time for de-bugging your circuits.
Repeat steps 6--14 for the remainder of LEDs on your garment. We found that each circuit can take approximately 5--6 hours. So again, make sure you give yourself plenty of time to complete these steps.