MMA8452Q Accelerometer Breakout Hookup Guide
Introduction
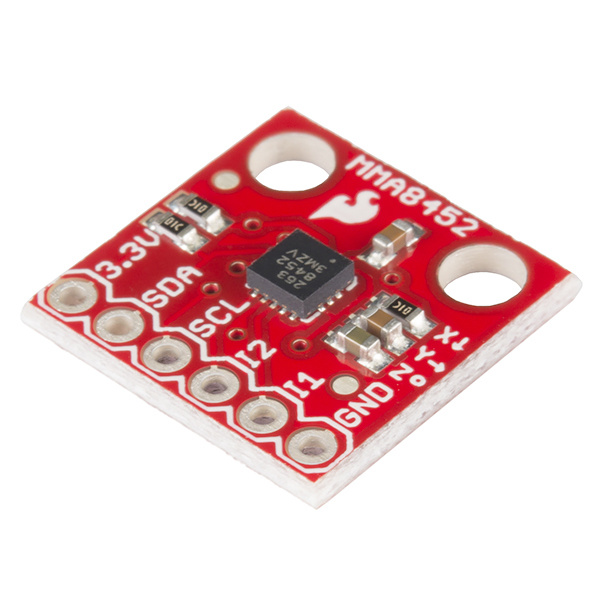
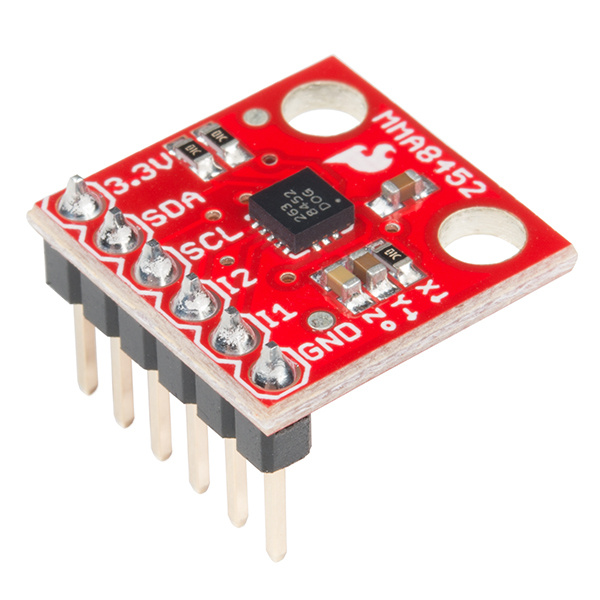
Freescale's MMA8452Q is a smart, low-power, three-axis, capacitive micro-machined accelerometer with 12 bits of resolution. It's perfect for any project that needs to sense orientation or motion. We've taken that accelerometer and stuck it on a breakout board, in order to make interfacing with the tiny, QFN package a bit easier.
The MMA8452Q is just a solid 3-axis accelerometer. It supports three, selectable sensing ranges: ± 2g, 4g, or 8g. It sports features like orientation detection, single and double-tap sensing, and low power modes. It's a digital sensor -- communicating over an I2C interface -- so you'll get reliable, noise-free data using as few as two microcontroller pins to interact with the accelerometer.
Covered In This Tutorial
This tutorial aims to get you started up with the MMA8452Q as quickly as possible. It's split into a handful of pages to explain how the board works and how to use it:
- Hardware Overview -- An overview of the MMA8452Q IC itself, and the breakout board we've stuffed it onto.
- Example Hookup -- How to connect the MMA8452Q to the ubiquitous Arduino. This hardware hookup is used in the next section...
- Example Code -- We've written an Arduino library to help make your Arduino sketch cleaner and easier to write. On this page we'll show off an example sketch using the library and demonstrate how to use the library on your own to control the accelerometer.
Required Materials
To follow along with this tutorial, the most unique components you'll need are:
- MMA8452Q Breakout Board -- This is a good place to start (unless you plan on dead-bugging the tiny IC itself.
- Arduino Board -- You should be able to use any Arduino board you have handy -- Arduino Uno, RedBoard, Pro, Mega, ...anything.
- 330Ω Resistors -- Assuming you're using a 5V-based microcontroller, these will help protect the MMA8452Q from out-of-spec voltages hitting its pins.
You'll also need some sort of interconnect between the breakout and Arduino. A breadboard and jumper wires are always an easy combo.
Finally, you'll need to solder a connector onto the MMA8452Q breakout. If you're using a breadboard to hook it up, we recommend straight male headers.
Suggested Reading
Before continuing on with this tutorial, we recommend you be somewhat familiar with the concepts in these tutorials:
- Accelerometer Basics -- This is a great primer on accelerometers -- how they work, and why they're used.
- I2C -- An introduction to the communication protocol we'll use to get our Arduino to talk to the MMA8452Q.
- Accelerometer Buying Guide -- If you're not sure which accelerometer is best for you, check out this guide.
- Logic Levels -- The MMA8452Q is a 3.3V device, so if you're using a 5V microcontroller (like the Arduino) you'll have to pay attention to the logic levels!

